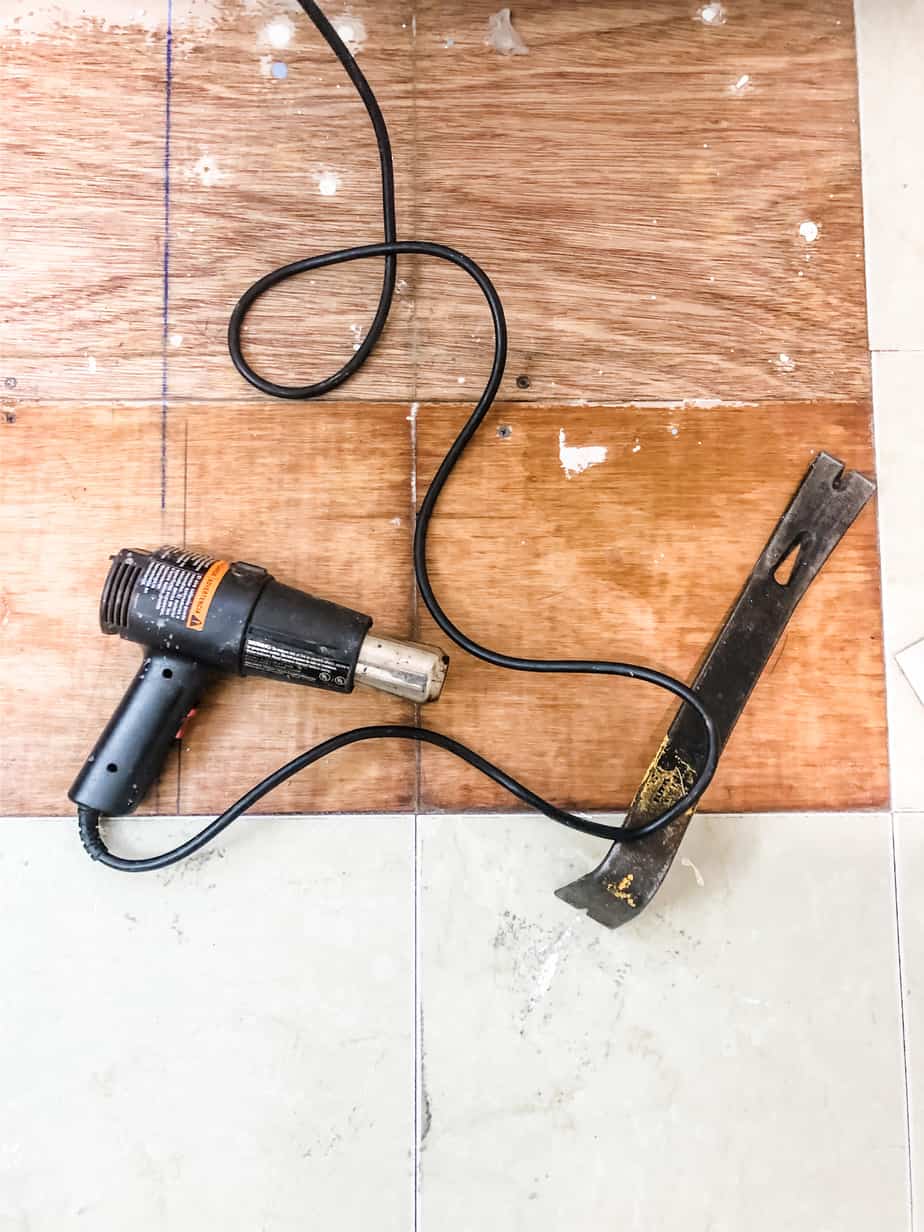
Remove old sticky tiles – with only 2 tools!
I had some old sticky tiles that needed to be removed in the bathroom and I did it with only 2 tools!
Hey all – this weekend I was hard at work removing the old sticky tiles in my kid’s bathroom. At first, I tried shoving a metal putty knife under the tile and I’ll tell ya – It didn’t go well. A little piece flicked off and I thought “oh boy – this is going to take a while”… Then I got smart and told my husband I needed his heat gun and not to ask any questions. And like a good husband, he pointed me in the right direction. After giving it a go – and blindly I might add. I probably should have watched a youtube video on how to properly use one, but hey – I made it out alive and with the sticky tile gone! Also I call that a win!
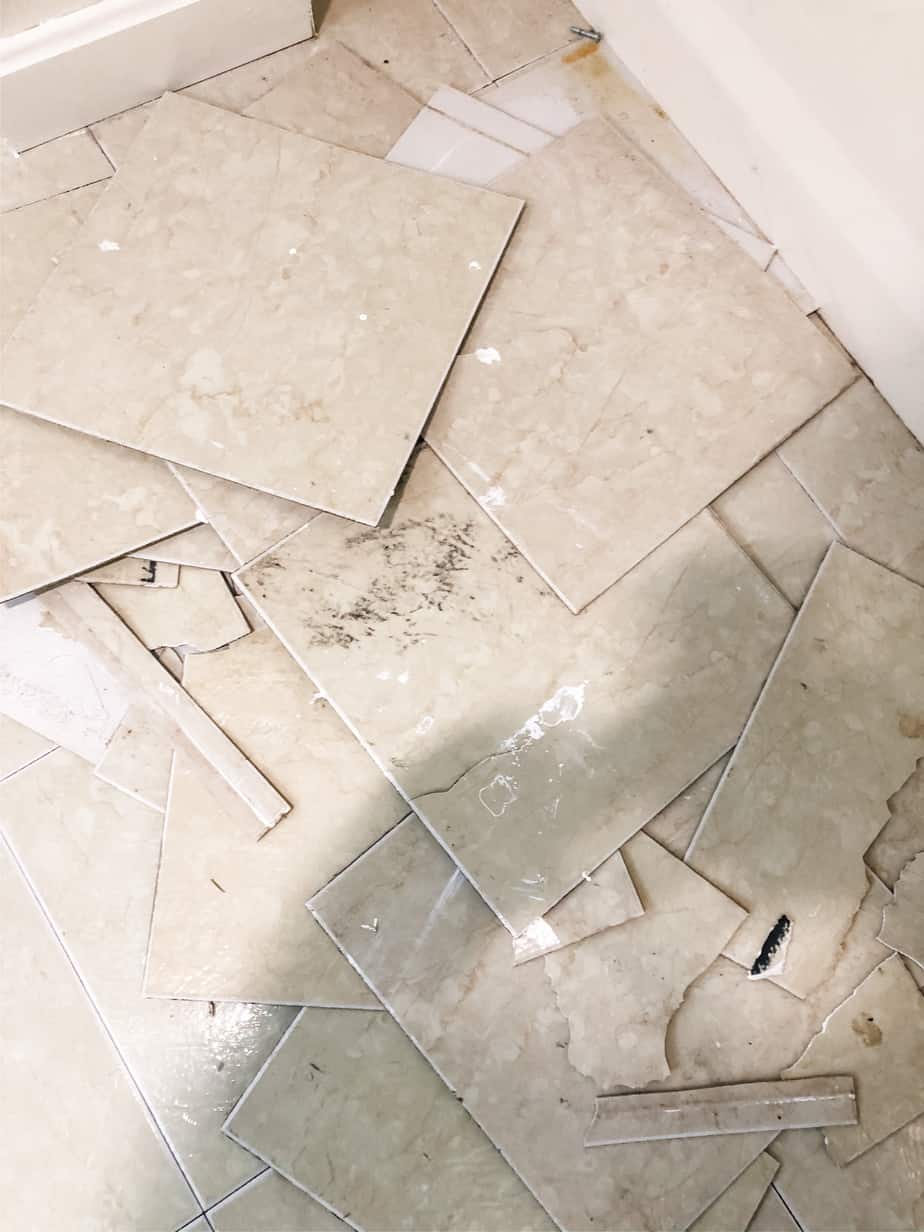
I started with heating up each individual tile.
Then, turning the heat gun off and using my metal pry bar to peel the tile off. This was time-consuming. If I was going to finish this bathroom any time this year – I was going to have to get a little more comfortable with managing this heat gun and my pry bar at the same time. It was a little uncomfortable – at first but after a while, I managed to use my pry bar with one hand while heating the tile with the other. The heat gun did most of the work and the pry bar really just needed pressure to keep it moving forward to peel off the tile. It was a fairly easy project and really only took me about 30-35 minutes total to remove all of the bathroom floor tiles.
I did find that…
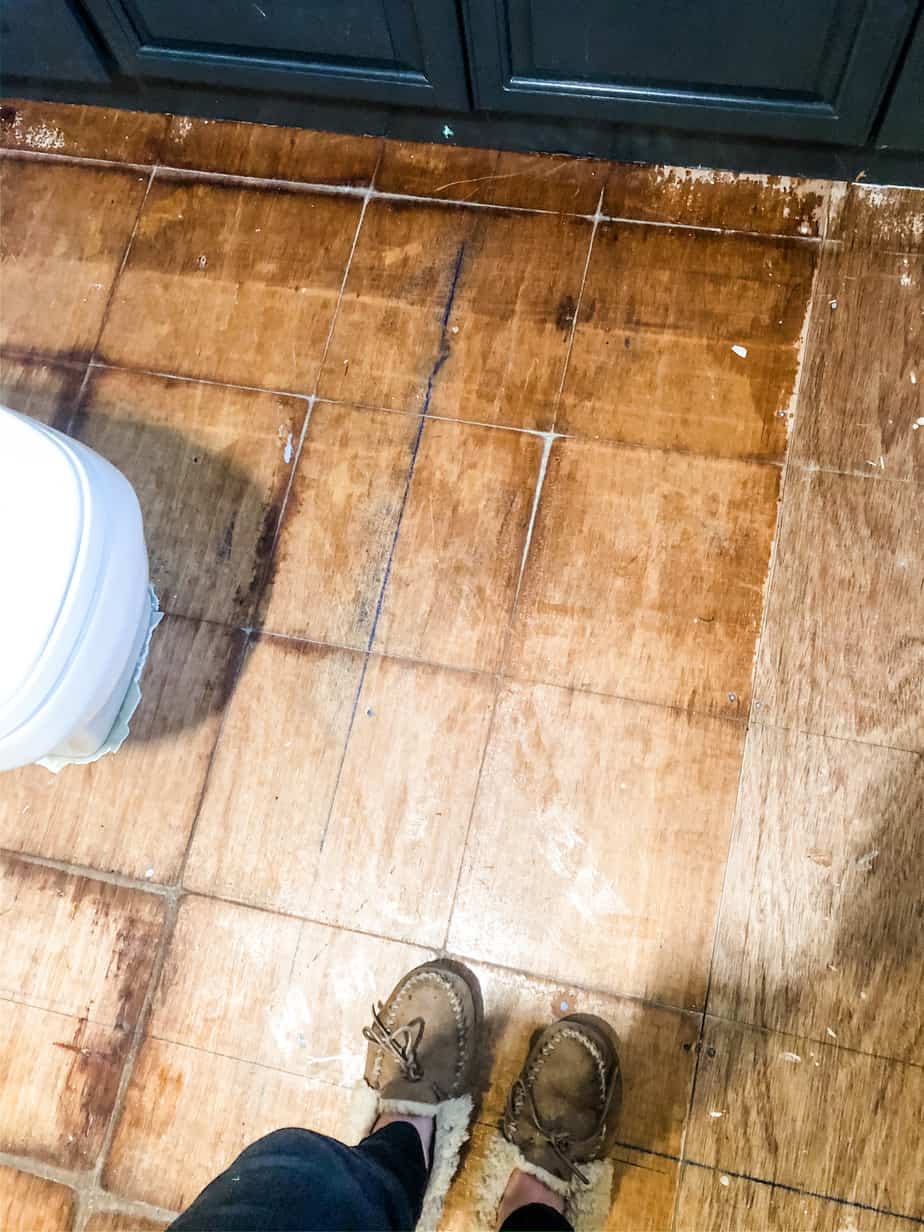
removing the tile starting at an open corner (meaning on the side of the tile that was already exposed) and working forward – using my body weight to propel the pry bar was really the best way to get the job done. The momentum and the heat gun really did the work for me. On the downside, I did get a couple of friction burns – no, not heat gun burns – friction burns. This was from my forearms rubbing on my jeans/long sleeve shirt while using the pry bar. It’s all right though – I mean If there wasn’t any pain or scarring (no scarring here) did it really even happen?!
Here’s a little timelapse video that shows the process of how it all went down.
The only trouble-some area was the toilet. The old sticky tile was laid before the toilet was installed so In order to remove all of the tiles – the toilet will have to be removed. I was determined to do this project on my own – but I think I’ll have to call in the big guns (my husband) to remove the toilet… I mean I probably could figure it out and move the toilet on my own… maybe?! But do I want to?!… Not really. Thank goodness my husband is so accommodating and said he would gladly step in and move the toilet for me. ~Swoon~ Ladies, get yourself a husband who moves toilets for you.
All in all –
On a scale from 1 to 10 for difficulty I’d say that this project was probably a 2/3. I was fairly easy – and once I got a hold of how to hold the pry bar and heat gun this project went by fairly quickly. Now, Laying down the new tile might be a little more difficult… we’ll see!
Doing your own project and want to use the tools I used? Click an image below to shop!

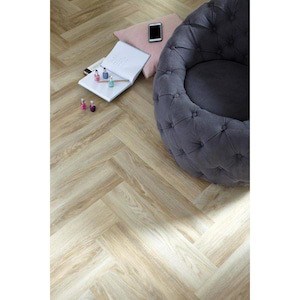
Be sure to pop over later this week to see how installing the new floor tile goes! Here’s a sneak-peek on how we’ll be laying down the new floor tile!
Much Love,
Go you! I’m busy with painting my spare bedroom this week. No need to move the toilet but I’ll know who to contact when I need to. 🤣 You said you wanted a road trip, right? Lol
Hope you guys are doing well and staying healthy. Love you all! 🥰🥰😘😘
Good luck with your painting!!
Fascinating. Definitely bookmarking this page. Really valuable info, thanks for posting. https://www.longviewbathroomremodeling.com/