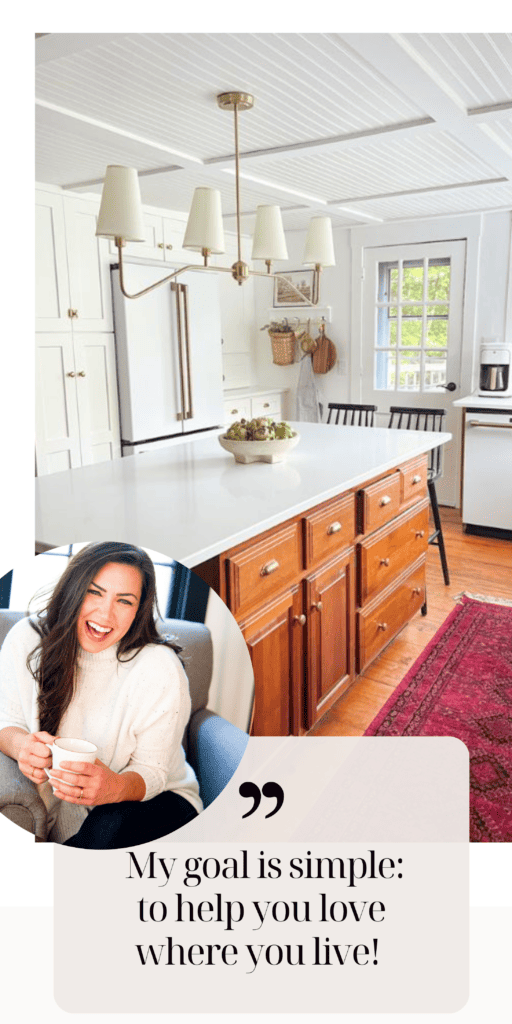
Welcome to the farmhouse!
I’m Kori, and I’m here to guide you through our 1700s farmhouse renovation journey, sharing DIY tutorials and all things interior design, from paint and color theory to decorating tips. My goal is simple: to help you love where you live!
For the past several years, my husband and I have been chronicling our adventure here at the farmhouse including sharing why we moved from city life to farm life and our goal to preserve the historical integrity of our home.
I’ve spent eight years in the design industry and have recently begun working toward becoming a certified interior designer. I’ve been recognized by Domino Magazine and interviewed as an industry expert, had my work featured in the Pioneer Woman, and had the honor of my home showcased in the 2022 fall edition of American Farmhouse Style Magazine – with a nine page spread!
Join us for the farmhouse journey, interior design tips, or a bit of both. Your path to a more beautiful and functional living space starts here! 🏡✨


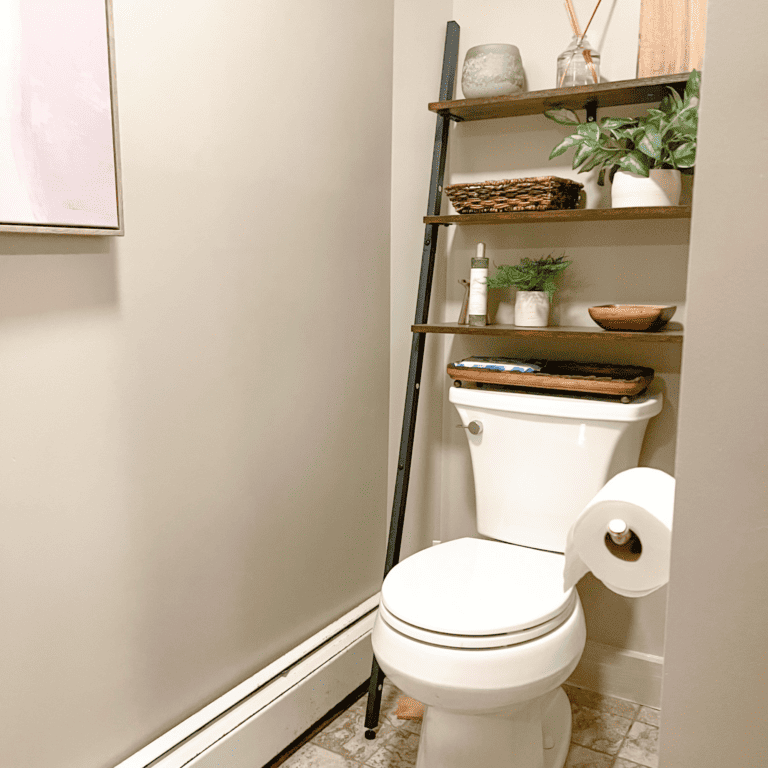
Take a look around…


E-design
Looking for help designing your space? I’m here to help! Unlike traditional design services, E-design isn’t contingent upon distance. To start, simply click the button below and fill out a design questionnaire and let me take it from there.


Shop my home
Shop my home with the liketoknowit app. Each image is linked with the items I’ve used to furnish, decorate, and style my house. I even share my favorite gadgets for the home AND some of the latest trends I’m wearing. I also share my favorite hair, skin care, and makeup products too.


Read the Blog
Catch up on all you’ve missed here at the farmhouse. You’ll find my latest renovations, how-tos, styling tips, tablescape, centerpieces, kid room design, and so much more. Be sure to subscribe so you don’t miss a thing.
Need a more hands on approach to design? Contact me about my design services!
Choose what package best fits your needs!
Hear from my past clients!
Latest on the Blog
View our Privacy Policy here.
© 2023 The Farmhouse Life •Sage Theme by Restored 316