Stairs Reno Take-2
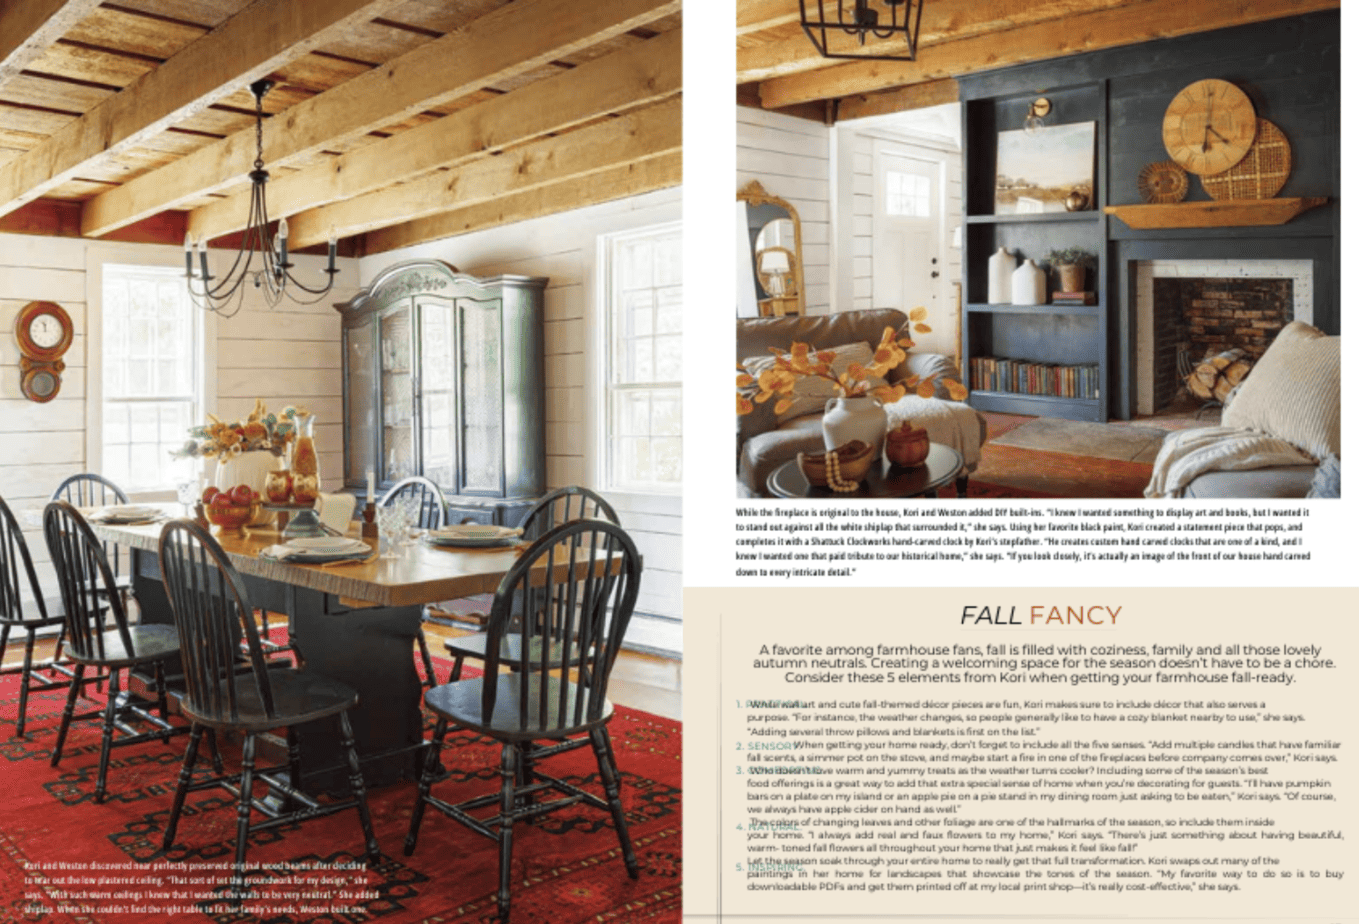
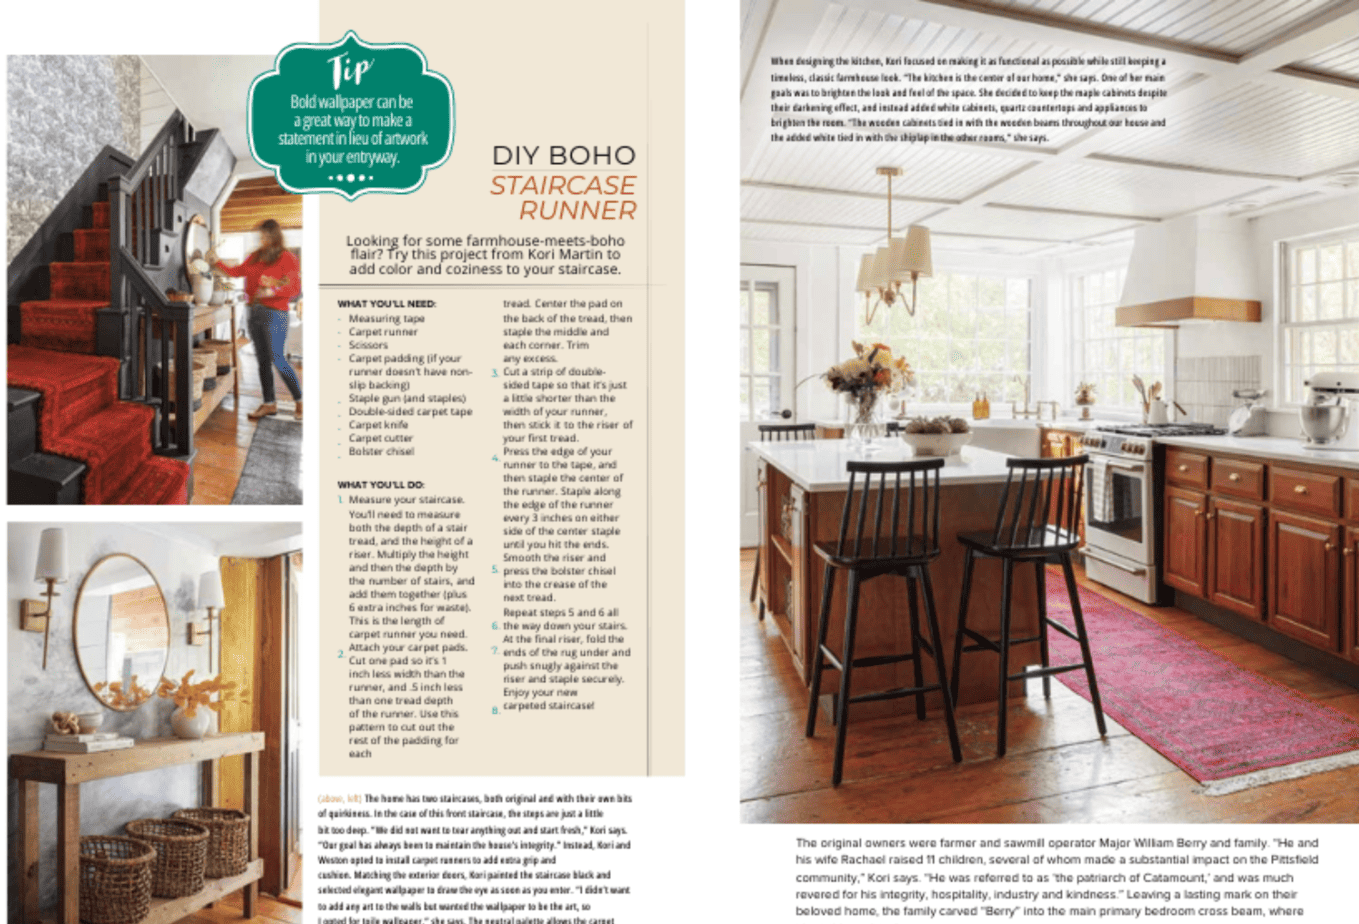
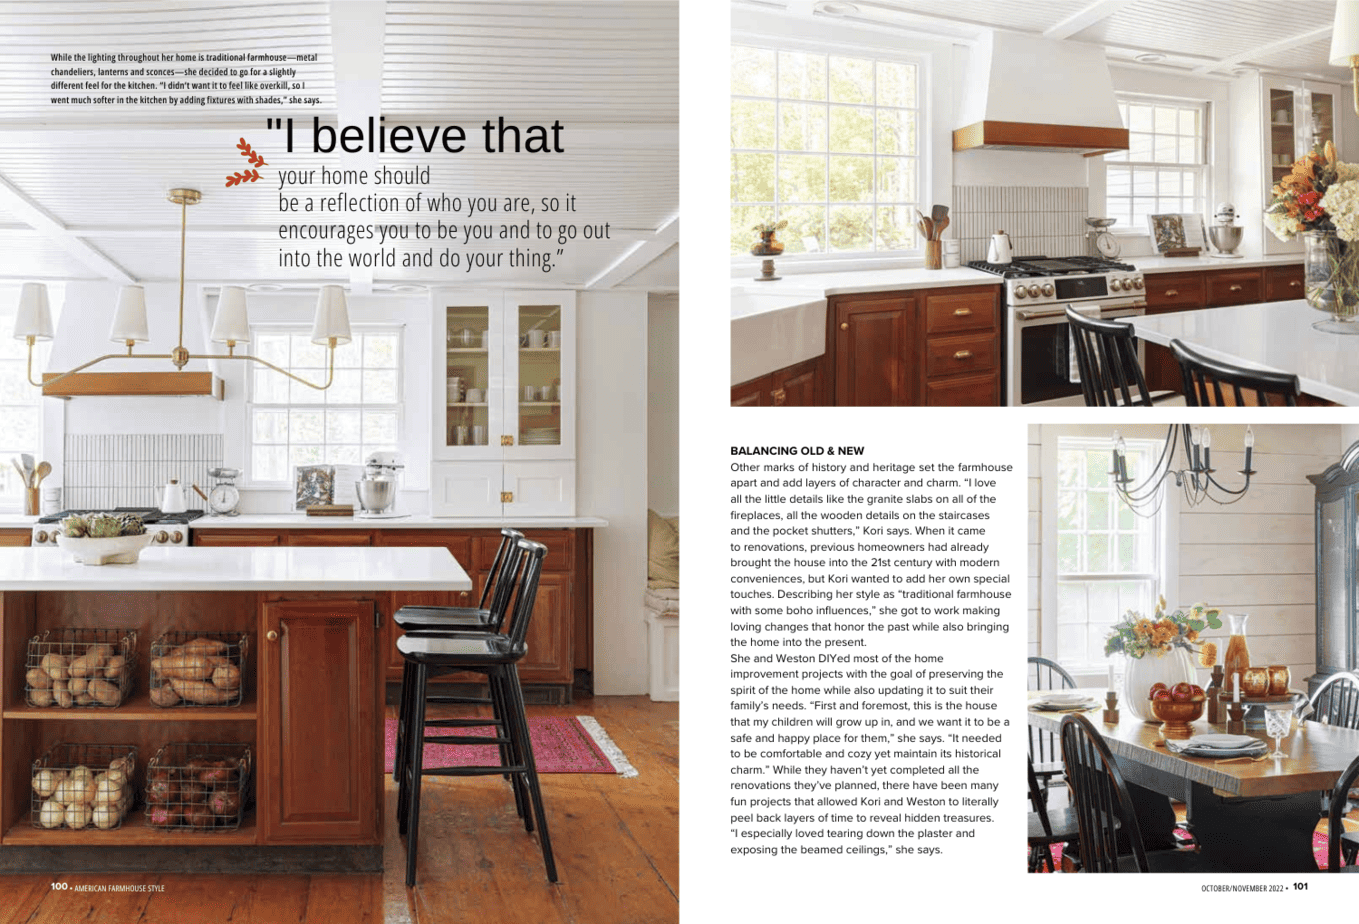
I finally finished my stairs reno and updated the whole look with wallpaper and a gallery wall!

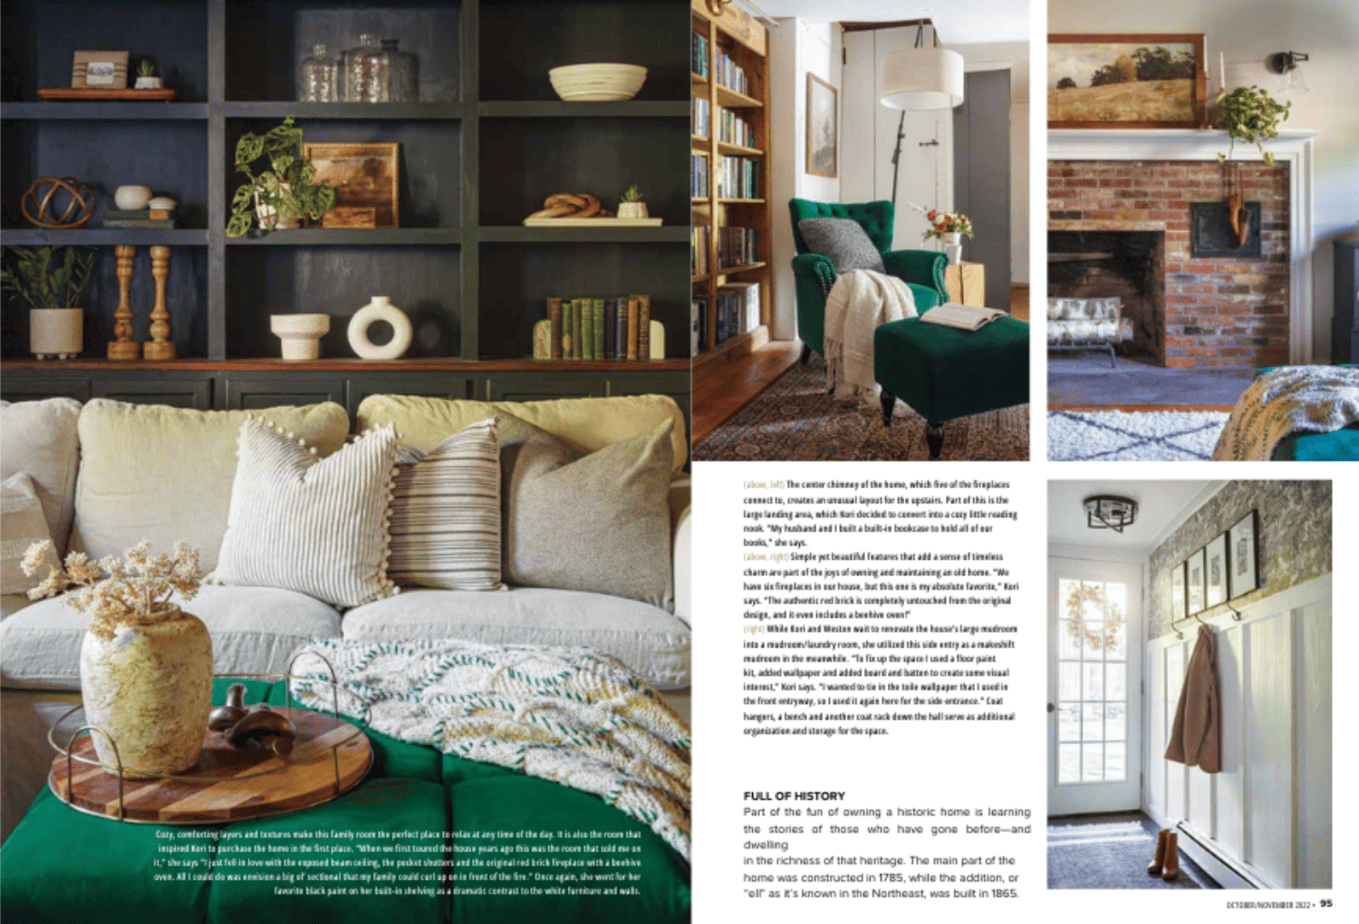
This stair reno project has taken me way too long to finish! The project itself was very easy to install, but finding the time this week to do it has been challenging!

Step one: paint the stairs
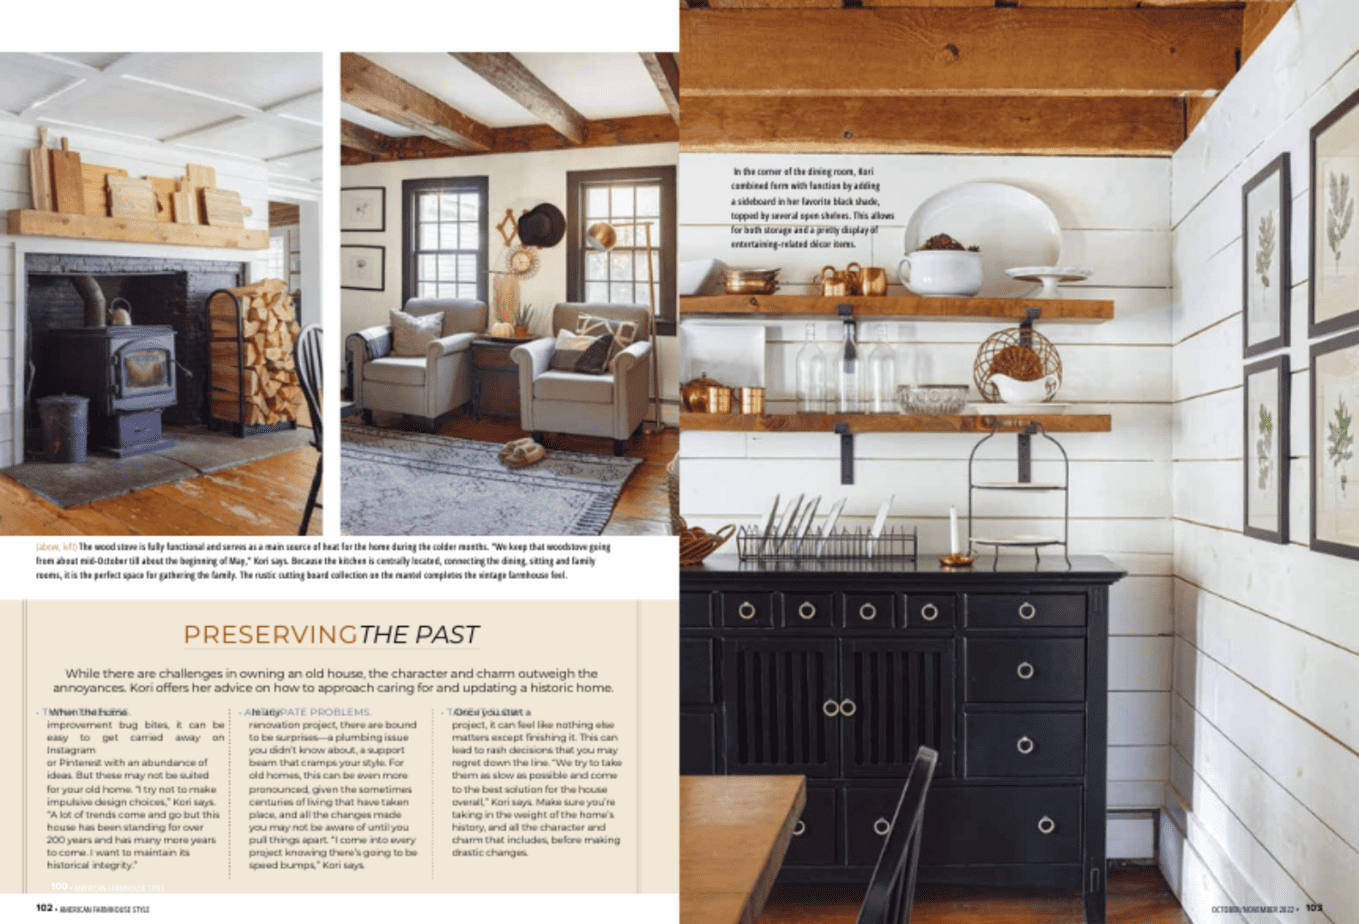
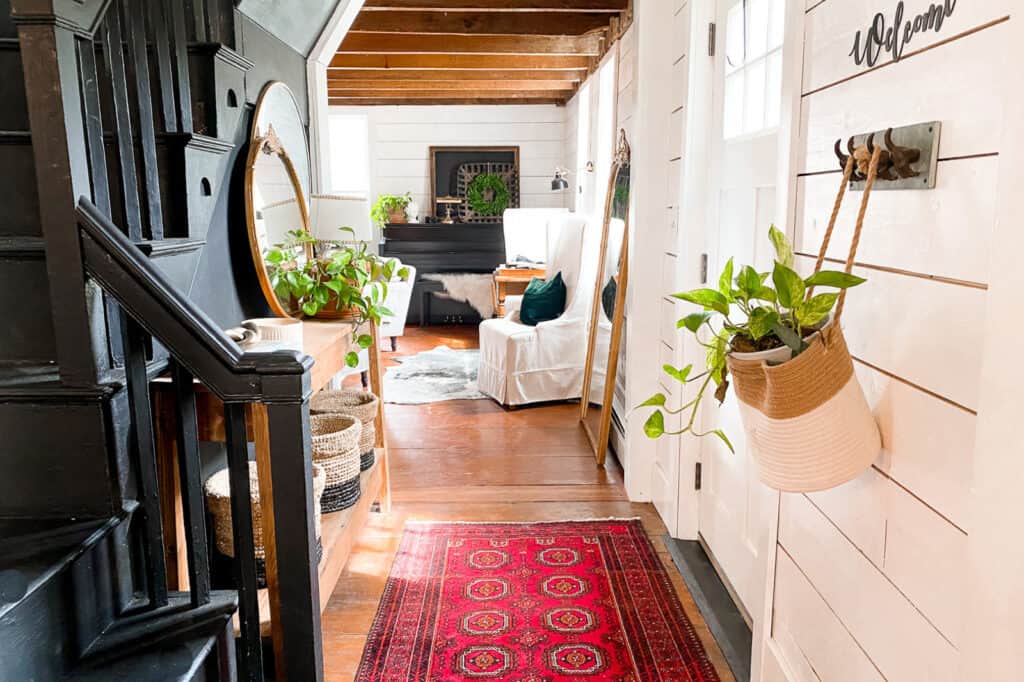
Is tarted by sanding, painting, and sealing the stairs black. My vision for this project was to stick to my main theme throughout the house which is more of farmhouse style, but also to add in a little bit of a boho twist!

Step two: Use a bold wallpaper
When coming up with a decor theme for a project, I usually find one source of inspiration. In this case, I saw the episode of Fixer-Upper where they painted their staircase black.
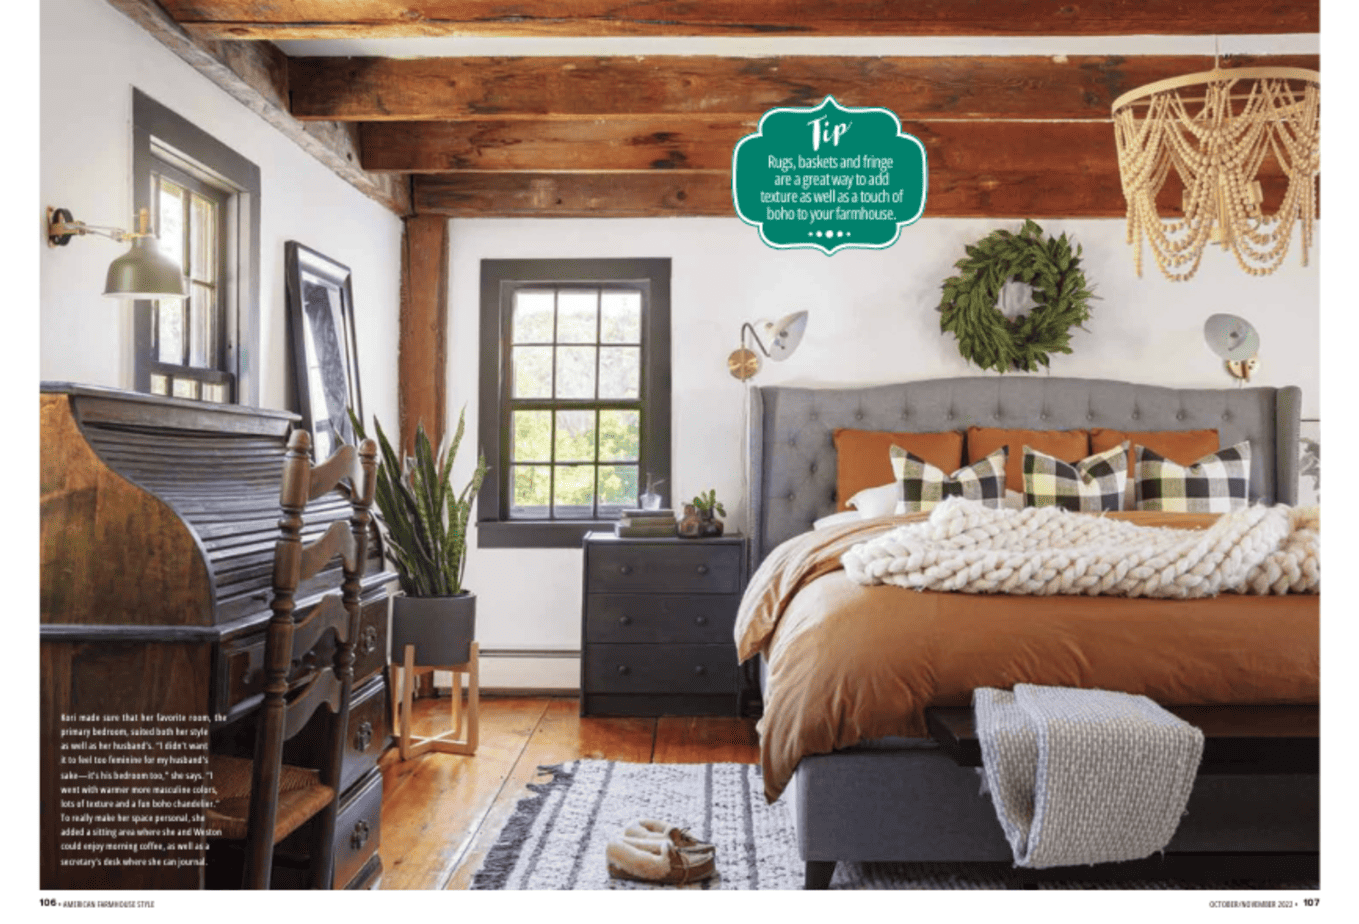
I was so drawn to it.. and soon after I discovered this black buffalo check wallpaper and I was hooked. I found the direction I wanted to go in! I don’t like to keep things too traditional, so to mix things up my plan is to add this boho beaded light fixture and this Persian rug!

Easy tips to removing old wallpaper
Before starting this project, just be sure to have a few tools on hand. I used a spray water bottle to not only use to take down the existing wallpaper, but also to use on the pre-pasted wallpaper to hang.
Next, be sure to have a scraper to help tear down wallpaper… that is if you have wallpaper to tear down and to use to help smooth out the wallpaper. I also needed a utility knife to cut the edges of the wallpaper. Plus I also used measuring tape and scissors to make sure to get my paper lined up perfectly.

Don’t cut corners when taking down the old wallpaper!
I had existing wallpaper here, so before I could hang the new wallpaper, I had to tear down what was there. Tearing the wallpaper down was kind of gruelling, but worth every second.
If I skimped on this step, my pre-pasted wallpaper may not have adhered as well as it should. I sprayed the wall and let it soak in, then used my wallpaper scraper and scraped it off.
Measure your wall before ordering your paper! It would be terrible to start a project and have to break for a week or two until more wallpaper comes in the mail… all because you measured wrong.
Don’t worry.. been there, done that! Thankfully I’m just doing an accent wall, so I only needed two rolls. This stuff is pricey! It came to around $90 for both.. but I guess wallpaper is pricey anyway.. and this one is good quality!

Hanging the pre-pasted wallpaper
Because this wallpaper has a pattern, It’s important to match each strip at the top before cutting the length of the paper.
Once I cut the exact measurement of the wall before lining up the pattern and I had to scrap that piece. It works best to bring the whole roll to the top of the wall.. match up your squares and mark it on the paper with a pencil.
Next, measure the length of the wall with measuring tape and then cut your paper from your marked spot. I like to give myself an inch on top and bottom for wiggle room.
Thankfully my husband was all too willing to help! Our landing was very high.. and we needed to build a platform so we could reach the very tall ceiling.
I let him do the top layer and I helped on the bottom lining things up. It works best to spray as you go instead of spraying the paper all at once as the instructions list. That way you can line things up easily without ripping the adhesive off.
As you spray the back of the paper, use your tool to smooth things out on the front end pressing the paper firmly to the wall. Although, I found that a wet rag worked best to smooth out all the lines! Lastly, use your utility knife to trim the top, bottom, and edges for a seamless look!


Create a gallery wall
When creating a gallery wall there are many shapes you can choose from. I went with a design that suited our staircase well. The frames creep up the stairs with the steps. Be sure to layout your pattern until you have it exactly how you want it!

Tape off the gallery wall area to mark your spots
Next, tape your design measurements to the wall so you can see how it’ll look hanging. A lot of designs change in this phase because you then realize your design doesn’t fit the wall correctly. Believe me, this has happened to me.
I find it best when hanging your gallery wall to frame out your taped design first. Meaning, start with your frames in all the corners, measuring along the way so everything lines up perfectly! Outline your design with your frames and then fill in the gaps. Be sure to measure the distance between each frame on the top and sides.

I love how it turned out! Hope you love it to!
Thanks for reading!
Chat soon,
Kori