Fall front porch decorating – farmhouse style!
It’s that time of year where the air is chilly and I usually have a pumpkin spiced latte in hand. Yea – I know, I’m basic. I can’t help it… I love Fall!
I usually have something baking in the oven too which I why my pants start fitting a little tighter this time of year as well. Not kidding… I seriously baked cookies, 2 loaves of bread, and an apple pie this weekend 😬.
Although my house does smell amazing from all this baking so there’s that. Plus the festive smell makes me want to go all out and decorate for Fall. So today I’m decorating my front porch – farmhouse style!
Buying Fall front door supplies
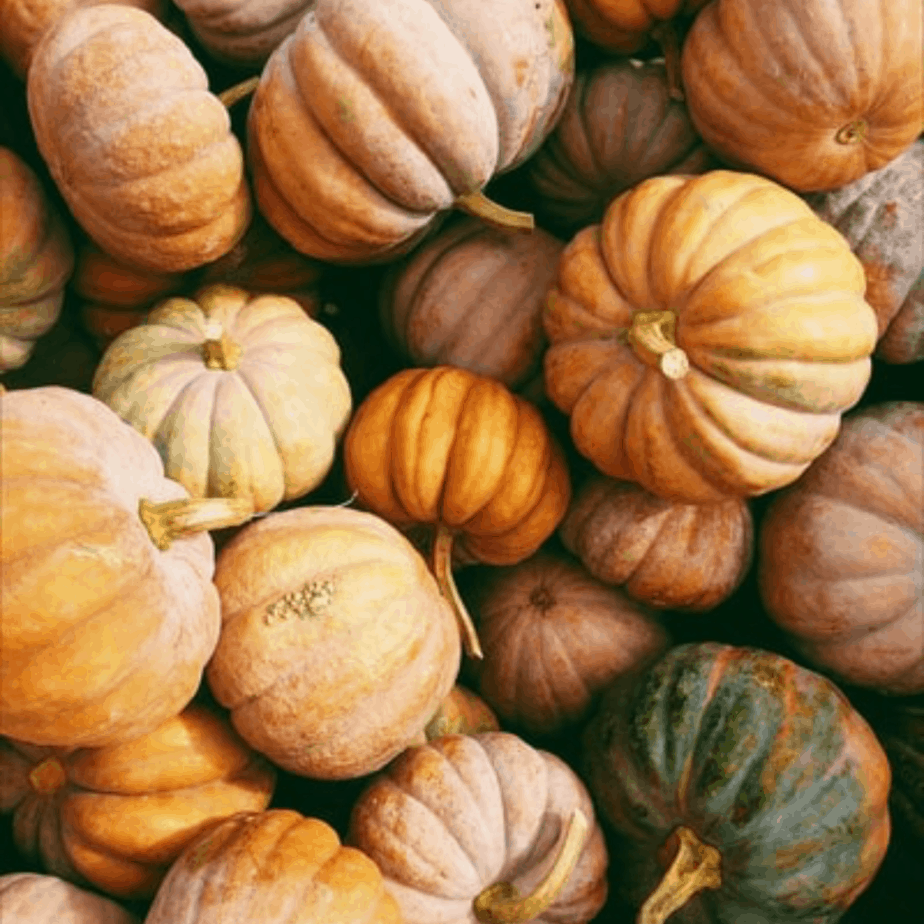
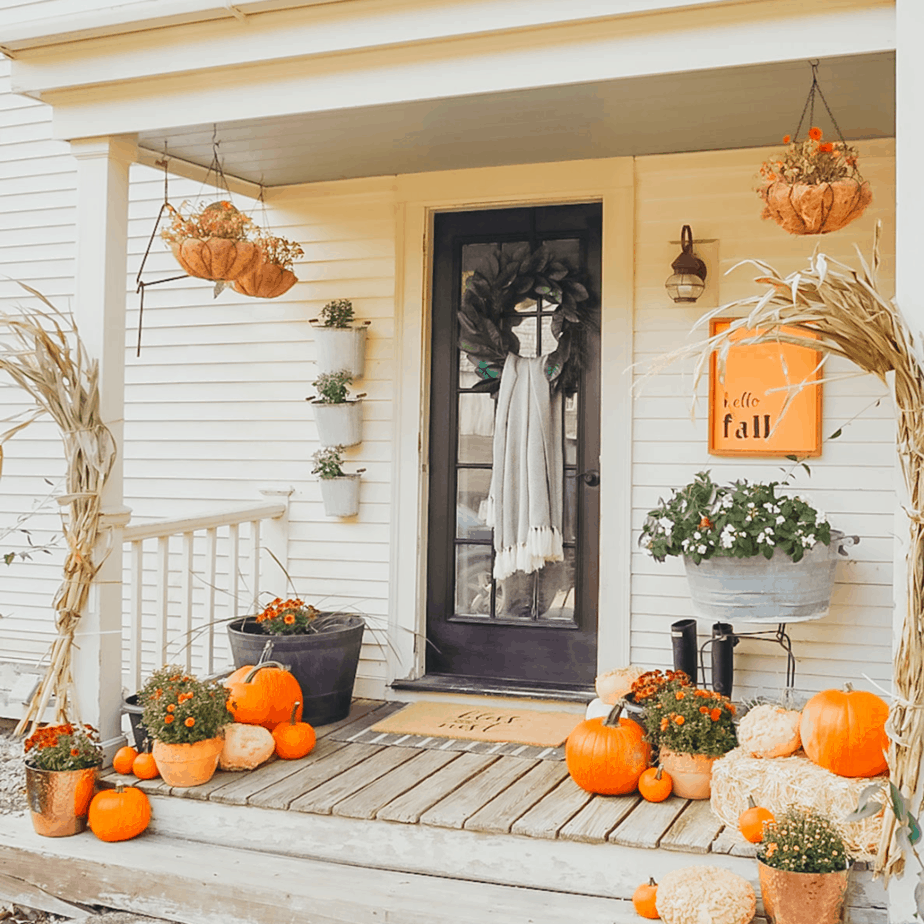
To start I Headed to my local grocery store and home improvement store to pick up as many pumpkins as I could. Seriously, my cart was loaded. I also grabbed some corn stalks to frame my pillars around my poch.
I also grabbed a bunch of mums too. Seriously, this stuff isn’t cheap, but the way I like to justify it is that all pumpkins are edible and I will eventually I’ll bake them all for dinners and desserts.
It’s true… all you have to do is toss the whole pumpkin in the oven at about 400 degrees for an hour. Then, you cut the pumpkin down the middle and scoop out the seeds.
Lastly, the pumpkin meat is ready to be scooped out and added to whatever dish you’re making. I explain it all here in my pumpkin bars recipe.
To start: Frame out the door with decor
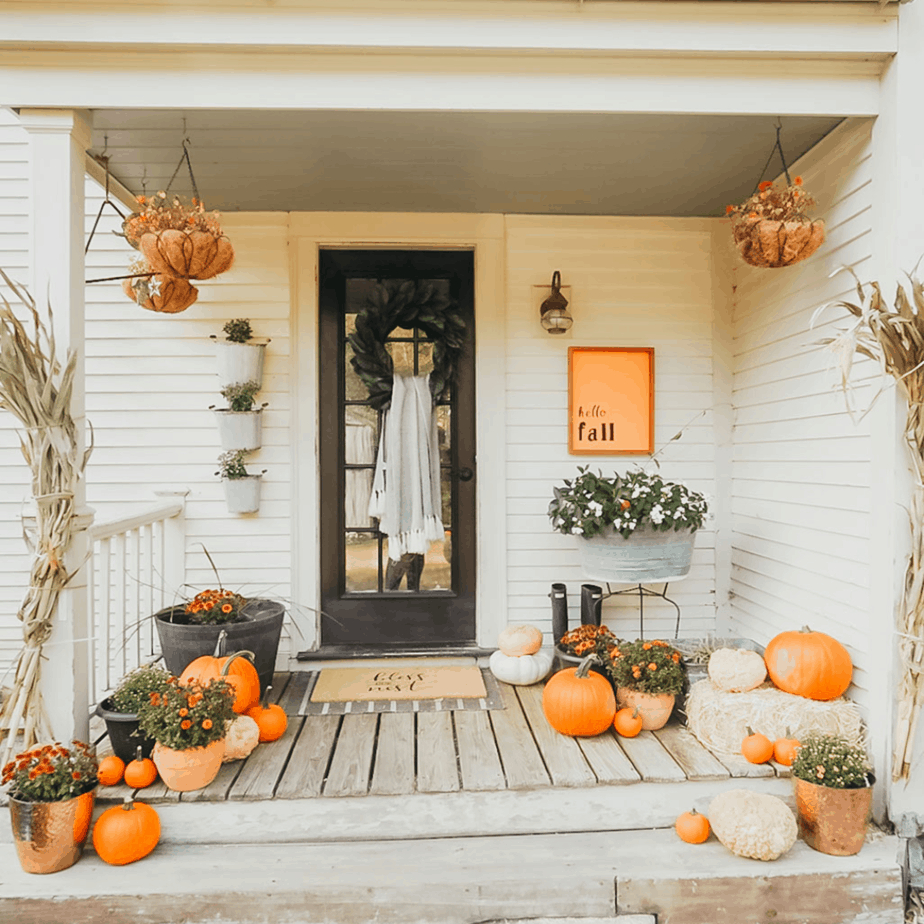
I always start by framing out my door. I have to start somewhere and this always helps me have a starting off point. Instead of putting garland all around my door I just went with a simple magnolia wreath and a festive blanket draping down.
Next, I put two planters on either side of the door. They are both varying heights but they work because on one side I’ve added smaller planters and the other artwork.
They both hit about the same place on either side and evens it out. The eye is going to catch the symmetry on either side of the door. It doesn’t have to match exactly, as long as each side balances each other out.
Add texture with mats
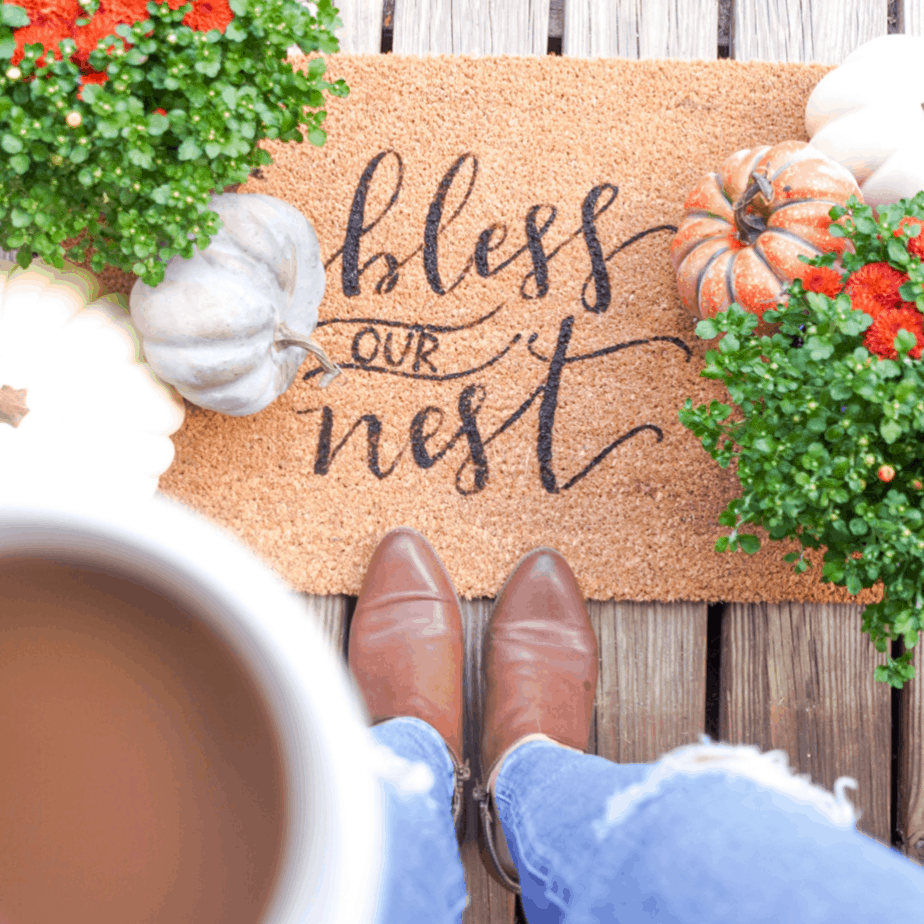
No Fall font porch would be complete without a welcome mat! It can be so fun this time of year! I went with a simple mat that I actually painted on using a stencil. Check it out here.
There are so many farmhouse style mats available all over the place. I’ve linked some of my favorites at the bottom of the post.
My favorite trick is to layer two different mats on top of one another in front of the door! I picked a farmhouses style check cotton mat that is larger than my welcome mat. This just adds a little more visual interest making is eye-catchy.
Add a focal point like a fall sign
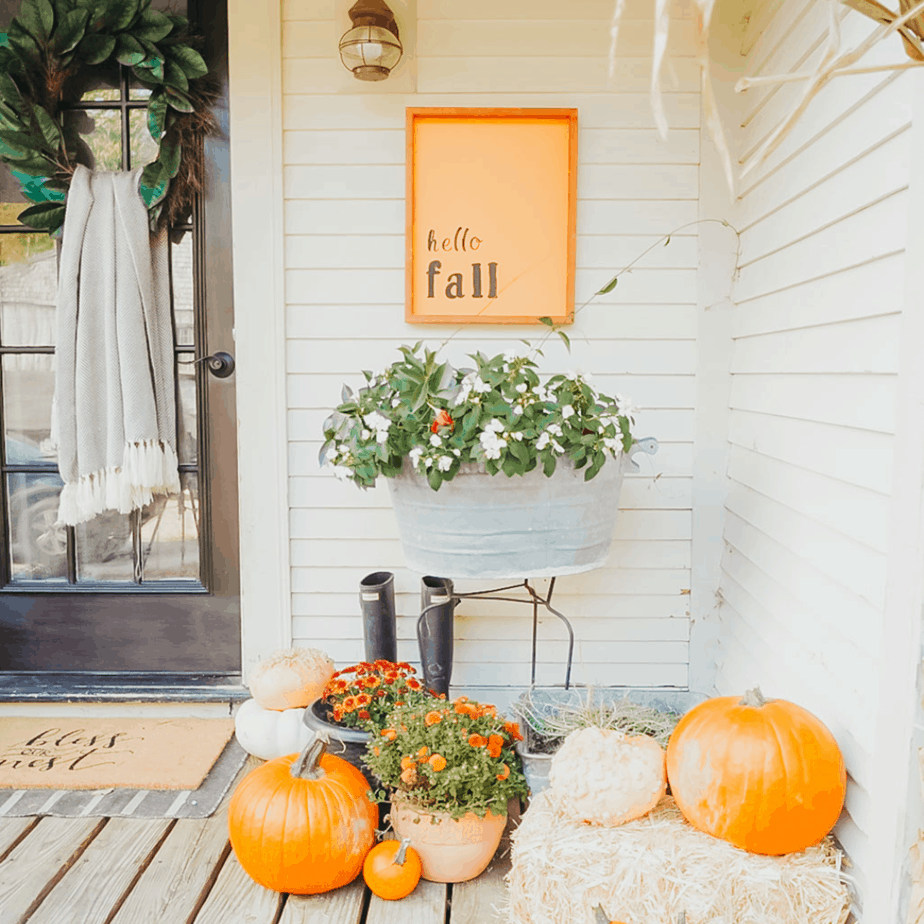
I knew I needed one thing that was going to catch people’s eye when looking at my front porch. Sometimes when there are too many decor items all about the same size and color it can feel overwhelming because there are so many things to look at and the eye doesn’t know where to land.
Adding one large eye-catching piece solves that issue. This time I knew I wanted a large Fall sign. I decided to make one, but I’ve linked my inspiration sign at the bottom.
Add Cascading pumpkins and mums
It’s time to fill in the porch steps with layers of pumpkins and mums. I’ve added a few large pots to try and give the mums a little varying height. This is the fun part.
There isn’t a wrong way to layer pumpkins and mums. Just have fun. To give you a little guidance I generally go from large, to medium, and then too small.
Start with your large mums and pumpkins. Next layer in the medium size by stacking or leaning them next to each other. Then lastly, I stack in the smallest pumpkins and mums as sort of a filler – filling in any wholes in my decor.
Want to shop this post? Click on an image below! These links are affiliates and when used I make a small commission at no cost to you. Thanks for supporting the brands that support this blog of mine!
Thanks so much for reading along!
Much love,
Kori ~ FromTthe Farmhouse Life

One Comment