How to Install a Pop-Up Drain in Your Bathroom Sink
Embarking on the installation of a new faucet and pop-up drain has been a journey filled with trial and error, but let me assure you, it’s not as daunting as it might seem.
Drawing from my own experiences, I’ll guide you through the steps, sharing the ups and downs of integrating a new faucet and pop-up drain into your bathroom sink.
Replacing your outdated or leaking faucet and drain with new, watertight hardware can prevent plumbing issues and improve the aesthetics of your bathroom.
Learning how to install a pop-up drain correctly is crucial for your new bathroom sink. By following my tutorial hopefully, you can learn from my missteps, like ordering the wrong size for my drain and needing to take apart the body and reattach a new gasket to fit properly.
Here I’ll cover the supplies needed, steps for removing the old faucet and drain, prepping the sink for the new hardware, installing the pop-up assembly, connecting the drain tailpiece and P-trap, and testing for leaks and proper drainage.
With the appropriate tools and materials, the ability to install a new pop-up drain is well within reach, even for those just starting out. Typically, this project can be successfully accomplished in just a single afternoon.
Stay tuned as I guide you through the entire process, from initiation to completion. By the end, you’ll possess the know-how to refresh your bathroom sink with a stylish faucet and a seamlessly functioning pop-up drain.
Are pop-up drains better than regular drains?
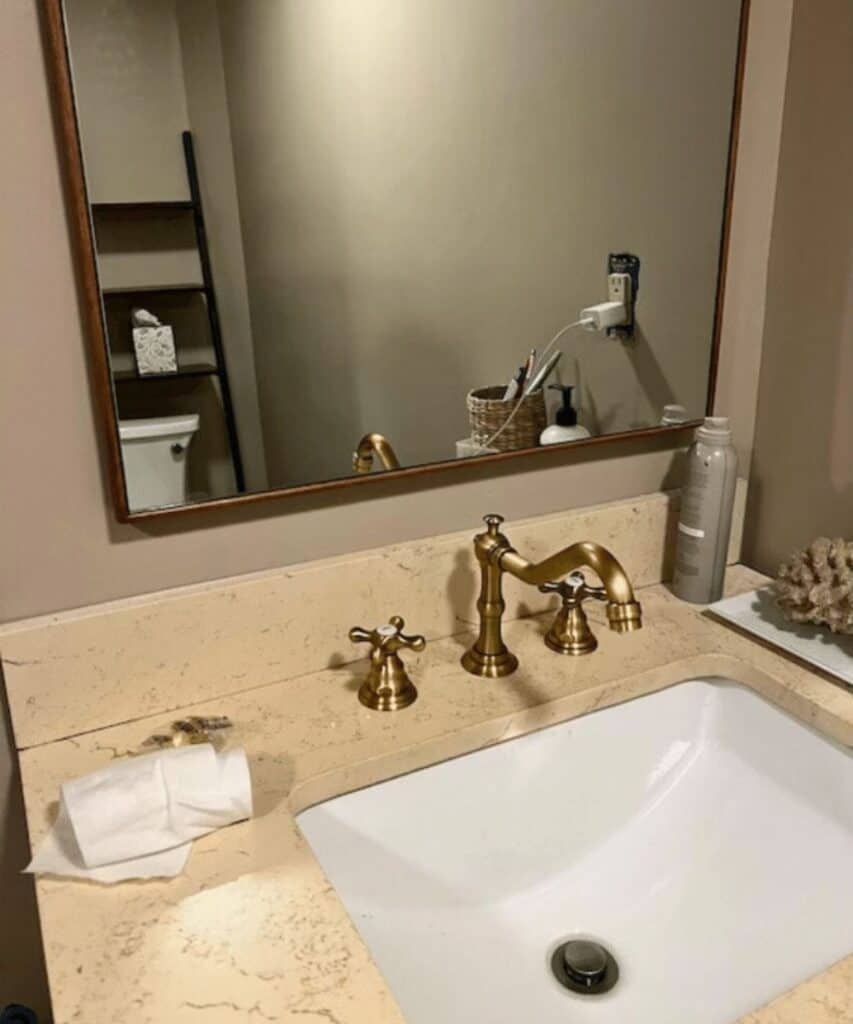
When choosing a drain type for your bathroom sink, pop-up and regular drains are two main options to consider. Pop-up drains have distinct advantages over standard regular drains, making them a popular choice for many bathroom sink installation and replacement projects.
One of the biggest benefits of pop-up drains is their concealed appearance. The drain assembly and lever are hidden below the sink, creating a cleaner, more streamlined look than regular drains with an exposed drain at the back.
Pop-up drains have a more minimal aesthetic. Pop-up drains also allow you to control water flow and drainage. The lever allows you to open and close the drain, allowing you to fill the sink for washing or close it to retain water. Regular drains don’t allow this type of control over water flow.
However, regular drains have fewer parts and a simpler design than pop-up drains. This can make them easier to install initially and less prone to problems.
Overall, pop-up drains are better for most bathroom sinks because of their concealed look and ability to control water flow. But regular drains can also be a good option, especially if you want straightforward installation and maintenance. Consider which benefits are most important for your bathroom project.
How do pop-up sink drains work?
The drain assembly is installed below the sink, with the tailpiece attached to the sink drain. The tailpiece connects to a pivot rod that enters a pop-up body. Inside this body is a plunger with a seal that can slide up and down. On the backside of the pop-up body is a connector for the drain pipe leading to the P-trap below. When open, the plunger is dropped down to allow water to flow through the tailpiece, pivot rod, and out of the drain pipe.
You pull up the popup lever next to the sink to close the drain. This causes the pivot rod to lift the plunger upwards inside the body, pressing the seal against the opening to stop drainage.
The up-and-down movement of the internal plunger controlled by the popup lever allows you to open and close the sink drain as needed. This allows you to actively control water flow, which is the key benefit of pop-up sink drains.
The last part of the pop-up drain assembly is the popup lever. The first thing next to the sink is the wall faucet.

What are the benefits of a pop-up drain?
Pop-up drains offer several benefits that make them a popular choice for bathroom sink drains:
- Improved appearance – Pop-up drains have a sleek, clean look since the drain assembly is concealed below the sink rather than exposed. This contributes to a more modern, minimalist aesthetic.
- Water flow control – The lever lets you actively control the water flow by opening and closing the drain. This allows you to fill the sink for washing or close the drain to retain water.
- Easy to use – Pop-up drains are simple to operate using the lift-rod lever. Flip the lever up to close the drain or open the flow.
- Durability – The plunger seal mechanism allows a tight closure to prevent leaks and drainage issues. These assemblies are designed for long-lasting use.
- Customizable – Pop-up drains come in various finishes like chrome, bronze, and brushed nickel to match your faucet and decor.
- Improved hygiene – Keeping the drain assembly hidden below the sink creates a more hygienic environment.
In summary, the biggest benefits of pop-up drains are the concealed appearance, control over water flow, ease of use, durability, and customizable finishes. Consider these advantages when choosing a drain type.

How does the overflow work on a pop-up drain?
The overflow feature on a pop-up drain assembly serves an important safety purpose – it prevents water from overflowing the sink. Here’s how it works:
The overflow is integrated into the drain tailpiece, which attaches to the sink drain opening. Inside the tailpiece is a vertical overflow tube. If the sink accidentally fills too high with water, the excess will spill into this overflow tube rather than overflowing the rim.
The overflow tube in the tailpiece connects to the main pop-up drain body. When water enters the overflow tube, it will flow through the body and out the main drain pipe along with water from the sink basin.
So if the sink ever overfills, the overflow provides an alternate path for the excess water to travel down through the pop-up mechanism rather than spilling out into the counter or floor. This helps prevent water damage.
Some pop-up drains may not have an integrated overflow tube in the tailpiece. In these cases, you may need to install a separate tubular overflow next to the drain. But most pop-up assemblies include it within the tailpiece for convenience.
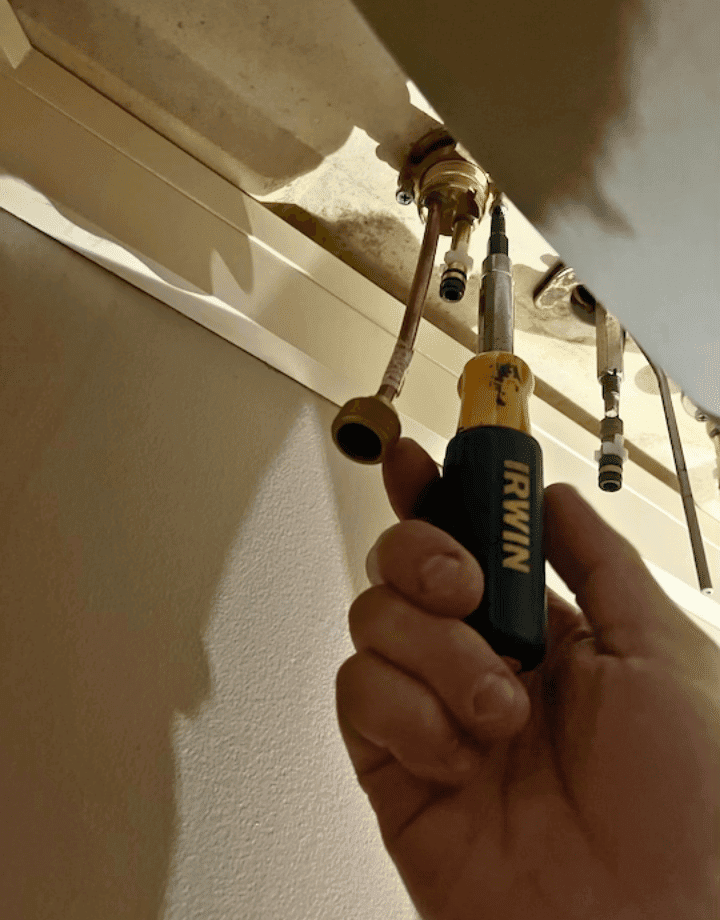
What’s the difference between a pop-up drain with overflow and without overflow?
The overflow safety feature is the main difference between a pop-up drain with overflow and one without.
A pop-up drain with an integrated overflow has an overflow tube built into the drain tailpiece assembly. If the sink overfills, excess water spills into the overflow tube and drains along with the water from the main sink basin. This prevents overflow.
On a pop-up drain without an overflow, there is no secondary path for water to drain if the sink overfills. The excess water could spill over the counter or floor, causing water damage.
Additionally, if the code requires one, you may have to install a separate mechanical overflow next to the drain on a pop-up drain without overflow. This involves more parts and a potentially messier look.
Pop-up drains with integrated overflow are very common and recommended for bathrooms. The ones without will require extra installation steps to add overflow protection. The integrated overflow tube in most pop-up drains provides added safety and convenience without requiring extra parts. This key difference makes the overflow option preferable for most bathroom sink drain installations.
Why is water coming out of the sink overflow?

If you notice water leaking from the sink overflow, there are a few potential causes:
- Clogged main drain – Food, hair, and other debris can get lodged in the main pop-up mechanism, obstructing drainage through the primary path. This backs up water into the overflow tube. Always check the main drain first and clear any clogs.
- Improperly installed or broken seals – The seals around the pop-up assembly plunger may be faulty, allowing water to leak through the sides and into the overflow or be installed upside down. Replacing seals may be required.
- Cracked or disconnected tubes – The overflow or tailpiece tubes may have cracks or come apart at joints, allowing water to leak before reaching the main drain. Inspect tubes and connections thoroughly.
- Improper sink pitch – The sink may need to be angled properly to facilitate easy drainage. Adjusting leveling legs or shims can improve the sink pitch.
- Excessive draining – Filling the sink too quickly or draining large quantities of water can overwhelm the main drain capacity and back up into the overflow.
Addressing clogs, seal/tube issues, pitch problems, or improper draining habits can help resolve an overflow leak. Take time to inspect each aspect carefully.
Can I use a pop-up drain without overflow?
Using a pop-up drain without overflow is possible but not always recommended. Here are some factors to consider:
- Local code requirements – Many building codes mandate that bathroom sinks have overflow protection. Ensure your setup meets regulations.
- Risk of water damage – Lack of overflow means water can spill over the counter and walls if the sink overfills, causing extensive damage. Weigh this risk.
- Need for secondary overflow – Most pop-up drains don’t have integrated overflows, so you’ll need to install a separate mechanical overflow nearby if the code requires one.
- Appearance and convenience – Separate overflows can make for a messier look under the sink. The integrated type is more streamlined.
For these reasons, a pop-up drain without overflow is generally not advised. An integrated overflow offers the most convenient setup. However, in some cases, it may be acceptable if proper precautions are taken.
What is the best material for a sink drain?
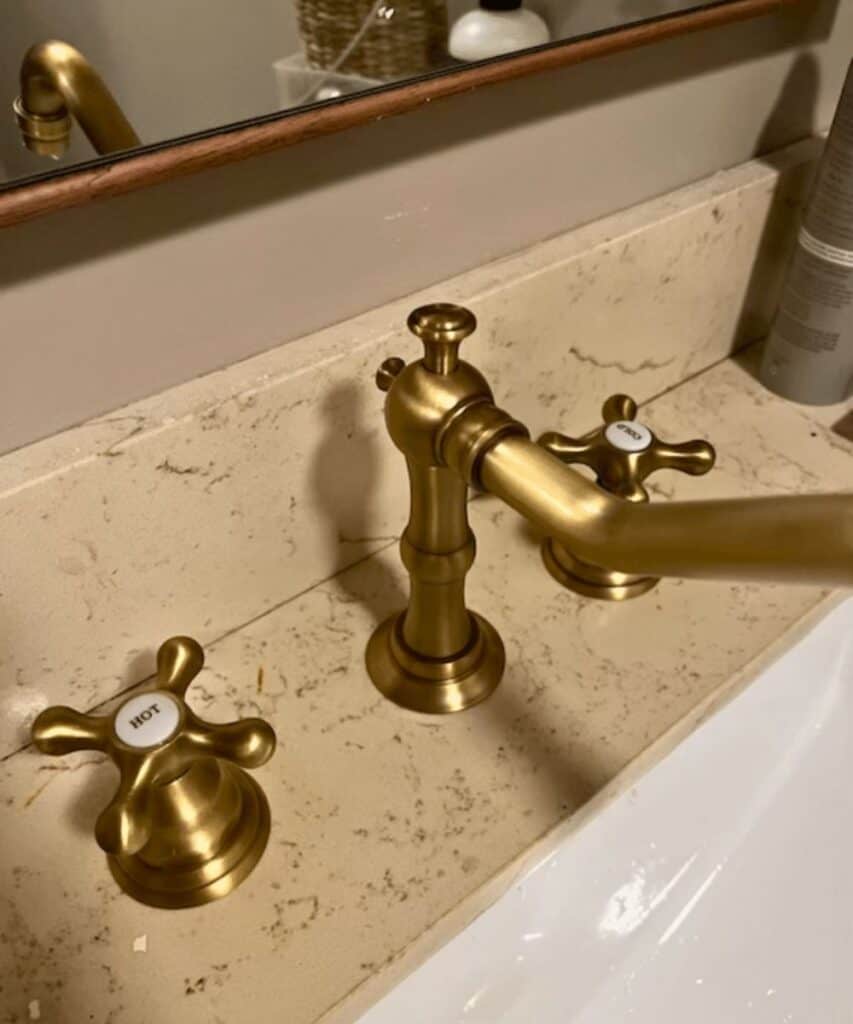
When selecting a sink drain, the material determines durability and appearance:
- Stainless steel – This is the most common and affordable option. Stainless steel drains are durable, stain-resistant, and match most sink styles.
- Brass – Brass drains provide a classic, upscale look. However, they are more expensive and prone to scratching compared to steel.
- Plastic pop-up assemblies are lightweight and inexpensive but more sturdy and stylish than metal.
- Glass/stone – Some high-end stone or glass vessel sinks use matching glass or stone drain parts for a seamless, integrated look.
- Chrome/nickel – Metal drain finish like chrome or nickel match faucet finishes nicely for a coordinated look.
For most purposes, stainless steel provides the best blend of affordability, durability, and style. Make sure to match the sink-hole size and finish for proper fitting. Your chosen material depends on cost, usage, and your desired visual look. The last step is to make sure you get the right size drain assembly and finish for your small hole or vessel sink.
Can you buy stoppers in different finishes?
Sink stoppers come in various finishes to match your faucet and decor. Some common options include:
- Chrome – The most popular finish, providing a mirror-like look. Matches chrome faucets.
- Brushed nickel – Has a softer, brushed metal appearance. Works well with nickel or oil-rubbed bronze faucets.
- Bronze – A classic, antique-looking finish for a traditional feel. It pairs nicely with bronze faucets.
- Black – A modern, matte black finish with black, stainless, or unique faucet styles.
- White – A clean, bright white finish often used in contemporary powder rooms. Works with white porcelain sinks.
- Vintage copper – Has an old-world, hammered copper style for farmhouse decors. Matches copper sinks or accents.
- Matte finish – Available in off-white, tan, or beige to match non-metallic sink materials discreetly.
So yes, you can find stoppers in all the popular finishes to coordinate with your bathroom style, faucet, and sink material. Check dimensions to ensure proper fitting.
Are sink stoppers all the same size?
While many are standard-sized, sink stoppers come in different dimensions, so it’s important to measure properly:
- Pop-up stoppers – Tend to measure 1 1⁄4 to 1 1⁄2 inches in diameter to fit most pop-up sink drains.
- Lift-and-turn stoppers – Range from 1 1⁄4 inches for smaller sinks up to 1 1⁄2 or 1 5⁄8 inches for larger basins.
- Sink flanges range from 1 1⁄4 inches up to 2 inches in diameter. Stoppers must fit flange size.
- Vessel sinks – Require wider 2 to 3-inch diameter vessel sink stoppers to cover the wider drain openings.
Always measure your drain flange or opening before buying replacement sink stoppers to ensure a proper watertight seal. While many standard sizes are available, dimensions can vary, so check first. Improperly sized stoppers result in leakage.
What is the difference between Traditional vs. Spring-Loaded Sink Stoppers?
Traditional sink stoppers rely on rubber or neoprene gaskets and metal retainer nuts to seal when closed position. Spring-loaded stoppers utilize an internal spring mechanism to close the spring clip when the horizontal pivot rod is pulled up. Traditional stoppers involve more parts like the plastic washer but provide a tight, durable seal and easier size adjustability. Spring-loaded options have fewer leak-prone parts like the open position first step and engage with a smoother motion but may weaken over time.
Traditional stoppers can seal larger sink openings, often with tailpieces connecting to pop-up assemblies. Spring-loaded versions only fit certain pop-up sizes and can detach more easily when pulled. Spring-loaded sink stoppers are a good minimal next step option for ease of use and fewer replacement parts. But traditional stoppers provide a more robust, watertight seal for the long haul.
What are the benefits of DIY faucet installation?
Taking on DIY faucet installation has several advantages over hiring a plumber:
- Cost savings – DIY installation can save you 50% or more than pro installation. Faucet kits themselves are relatively inexpensive.
- Convenience – You can choose your timing rather than waiting for a plumber’s availability.
- Customization – You can select the precise faucet and finish you want rather than relying on a plumber’s choice.
- Learning experience – Installing your faucet allows you to gain useful plumbing skills and knowledge for future home repairs.
- Quick fix – A DIY install may be faster than scheduling a pro for a simple swap-out.
Doing it yourself can be rewarding if you have the tools and time. Just be sure to turn off the water lines first! Faucet installation is one of the more manageable plumbing projects for DIYers.
What supplies will I need to install a bathroom faucet with a pop-up drain?

Typical supplies needed include:
I’ve linked the items I used below. *These links are affiliates and if used I make a small commission at no cost to you. Thanks for supporting the brands that support this brand of mine!
How to install a bathroom faucet with a pop-up drain?
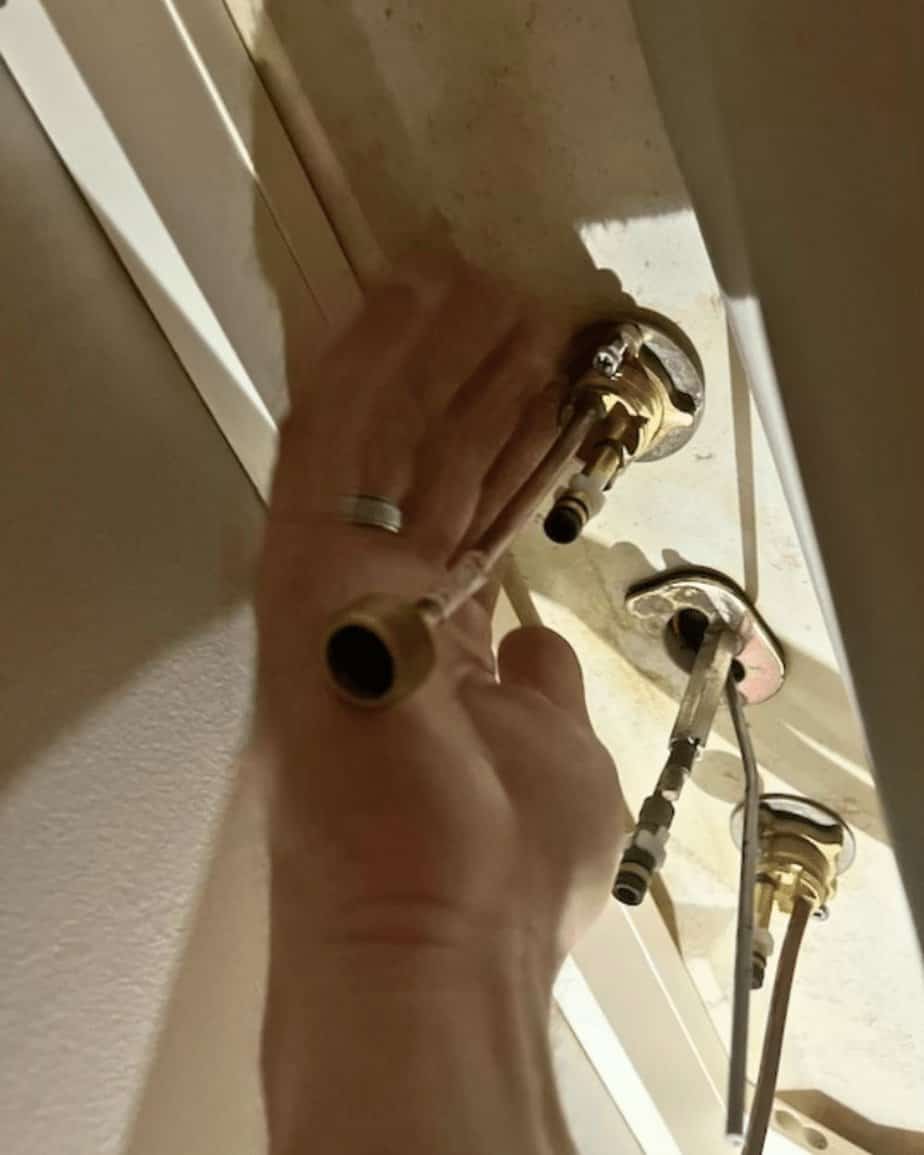

The basic and simple steps for installing a bathroom faucet with a pop-up drain are as follows:
Follow manufacturer instructions closely, taking care not to damage new parts. With patience and proper technique, you can successfully upgrade your sink with a DIY faucet and pop-up drain installation. Let me know if you need any clarification on these summarized steps.
What to do if there is water pooling around the new pop-up drain?
If you notice water pooling around a newly installed pop-up drain, there are a few steps to take:
- Inspect seals – The plunger seal may not be fully seated or is faulty, allowing water to leak around the pop-up assembly. Reseat or replace seals.
- Check sink pitch – The sink may not have a proper backward pitch to facilitate drainage. Adjust leveling legs to achieve a slight rear tilt.
- Clear drain lines – Clogs or obstructions further down the drain line can back up water. Try snaking the drain pipes.
- Tighten fittings – Joints or connections may have loosened during installation. Carefully tighten slip nut connections and tailpiece.
- Replace defective parts – Issues like cracks in the pop-up body or tailpiece can lead to leakage. Replace affected parts.
- Use plumber’s putty – Adding more putty around the drain flange may help seal any gaps.

Persisting standing water indicates an issue with the pop-up drain components or connections. Systematically inspect each possible cause until resolved.
When should I call a professional?
It’s smart to call a professional plumber for assistance when:
- Major leaks or flooding occur – Extensive water damage requires a timely, experienced response.
- The issue is complex or persistent – If DIY efforts can’t diagnose or resolve the problem after several attempts.
- Special tools are needed – Some repairs require specialized drain snakes, pressure machines, etc.
- The work is in a tricky location – Tight spaces behind walls or under sinks may need to be fixed to access.
- Re-piping is required – It’s best to have a pro handle large line replacement jobs.
- You need to figure out how to proceed – No shame in calling in an expert when DIY skills aren’t up to the task.
Even skilled DIYers may need to phone a trusted plumber or contractor when significant repairs or renovations are required. A professional can identify and remedy issues efficiently.
Conclusion
Installing a new sink drain and faucet can upgrade your bathroom’s functionality and appearance. Remember to apply a thin layer of pipe joint compound on all metal pieces before making connections.
This prevents leakage. Also, be sure the pop-up pivot lever moves freely without obstruction and slip nut connections are tight. A bit of pipe joint compound on the trap adapter’s inside also helps here.
With the right preparation and care, you can complete this DIY plumbing tutorial project successfully yourself first-hand and enjoy your new, smooth metal pipe drain and faucet setup for years to come. The old stopper is removed from the sink’s top and replaced with the horizontal pivot rod for the new pop-up drain.
Thanks for reading!
Be sure to pin for later!

Want to read more about updating your home on a budget? Read on below!


Nonsense. A basin with a ‘pop-up’ drain requires one to place their hand in the unclean water to open it. Yuck!