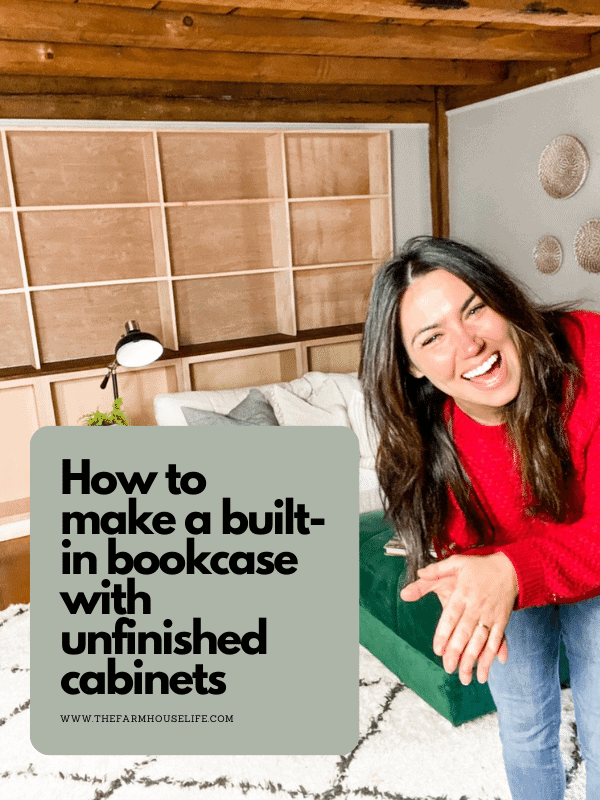
How to make a built-in bookcase with unfinished cabinets
Today I’d like to share another post in my series on building DIY built-in bookshelves using unfinished cabinets! In my last post, I painted the unfinished kitchen cabinets, and in this one I’ll show you how we built in bookshelf for the top part of out built in.
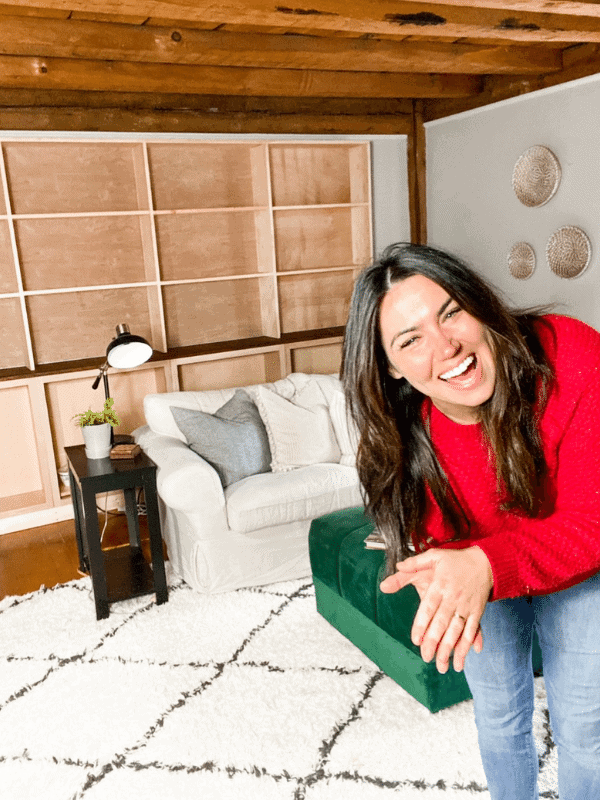
In the last few posts I walked you through the first seven steps of prepping the space and installing the base cabinets for this project. Half the work’s finished! To recap, here are the basics from that post:
- Step 1: Make a plan
- Step 2: Prep the space
- Step 3: Build the frame and install it on the wall
- Step 4: Install the base cabinets
- Step 5: Base trim and upper trim
- Step 6: Prep countertop
- Step 7: Install countertop
After I finished with the base, it was time to add the built-in bookcase on top! This will give me the look of custom built-in cabinets with a lot of extra storage! I’ll walk you through the steps, and also answer a few questions:
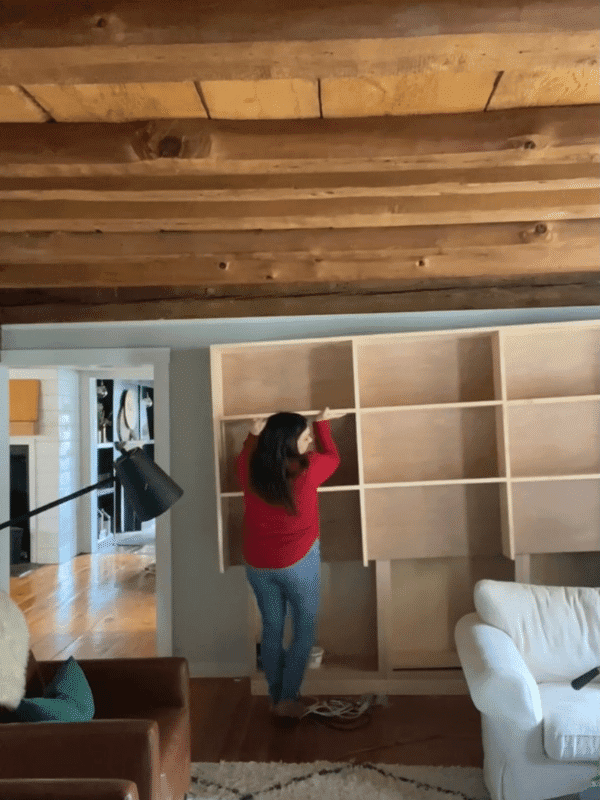
How do you make built-ins with stock cabinets?
In this built-in, I’m adding a bookcase on top of a base cabinet and countertop. The process is like the base cabinets, but we’ll also add on all the hardware at the end.
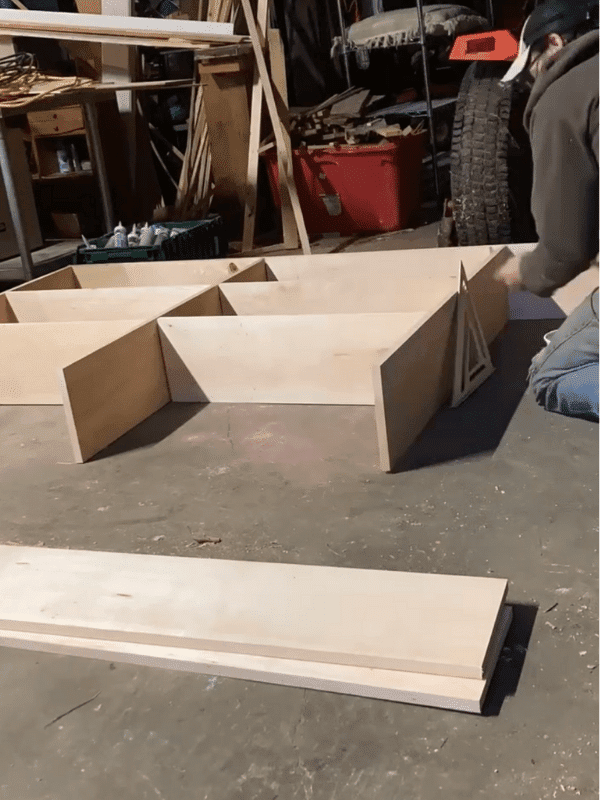
Step 8: Build the Upper Shelving Frame
Next, I want upper shelving that meets my storage needs and looks great! I planned for a center divider and 12 inch deep shelves, so it’s a bookcase-style hutch. You can choose to design yours a different way and make it your own. Be sure to add backing to make the bookshelf look more finished.
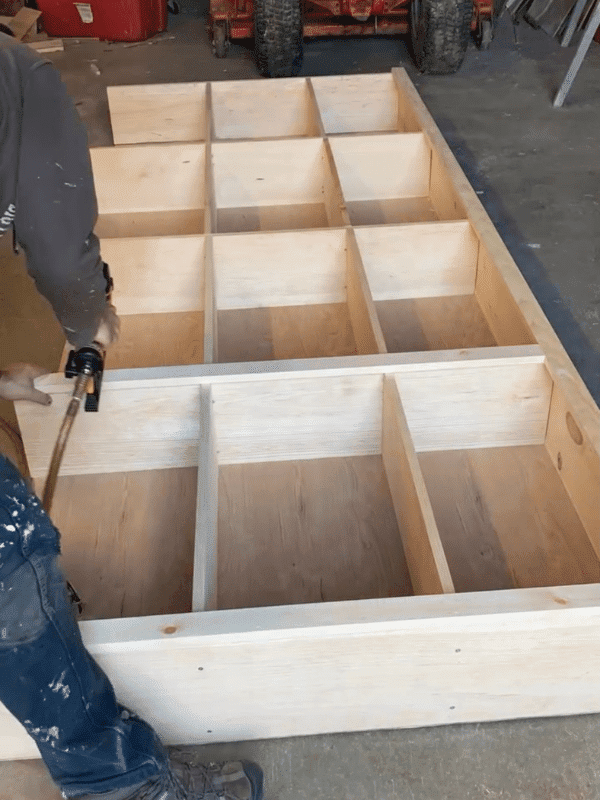
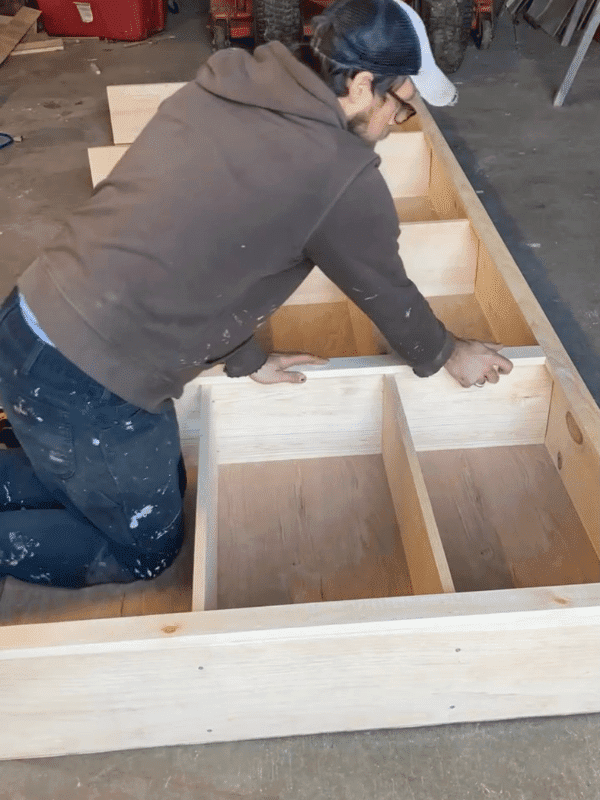
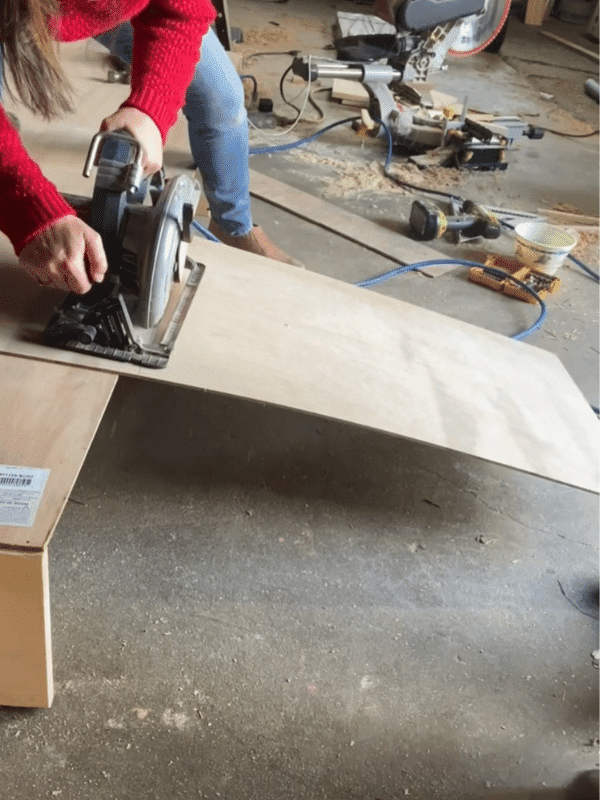
Step 9: Add plywood to the sides of cabinets and shelving
You’ll want three panels made of ¾ inch plywood that almost reach the ceiling. Their depth will be from 15 inches to 18 inches, depending on whether your wall is level.
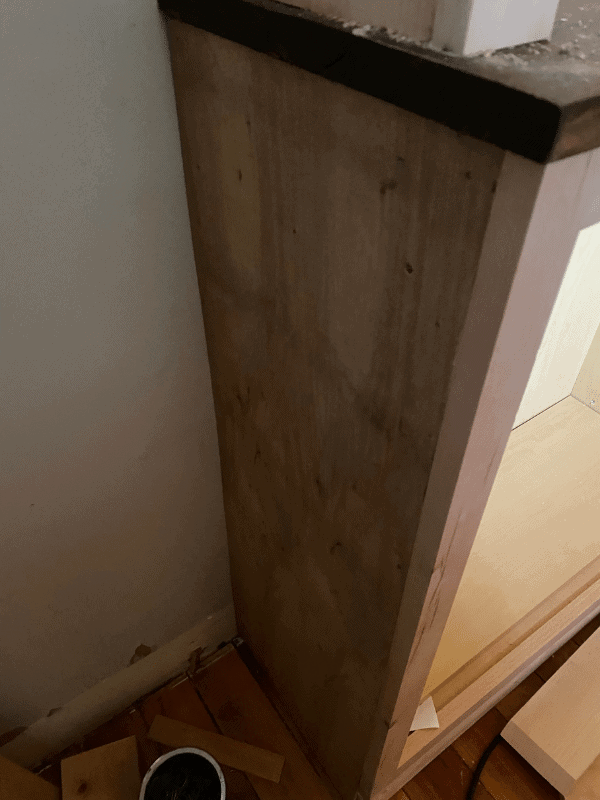
The right panel is installed against the wall and the left panel is flush with the cabinet, with a little countertop still peaking out. Add boards on top to add a ceiling to the shelving and finish your framing.
Step 10: Trim out the shelves and top
I used finishing nails (and wood glue!) to mount a strip of 1-inch by 2-inch wood on the exposed edge of each plywood panel. I ran it from the counter up to the top 1-inch by 3-inch trim piece.
If you took off the top trim, you can use it again here. You will probably need to buy an extra trim piece to go around the built-in. You can reuse crown molding or add in a simple 1-inch by 2-inch or 1-inch by 3-inch piece for a simple look.
Step 11: Caulk fill holes, and sand
To get that pro finish, you want to caulk every crack and crevice. I use a paintable silicone caulk, which flexes after drying, so you aren’t stuck with cracked caulk. It’s a cheap fix that gives you a perfect-looking built-in.
Step 12: Sand, Prime, and Paint
This step is the same as painting our base cabinet! Here is the rundown again:
Sand with 120 grit paper and run the vacuum across all the wood. Next, prime and let it dry completely. Sand next with 220 grit paper, so your primer coat is smooth and the topcoat adheres well.
Next, paint the first coat, then after drying, sand with 220 grit paper and paint the second coat. I use Advance topcoat or Kilz Latex 2 Primer, for great results every time.
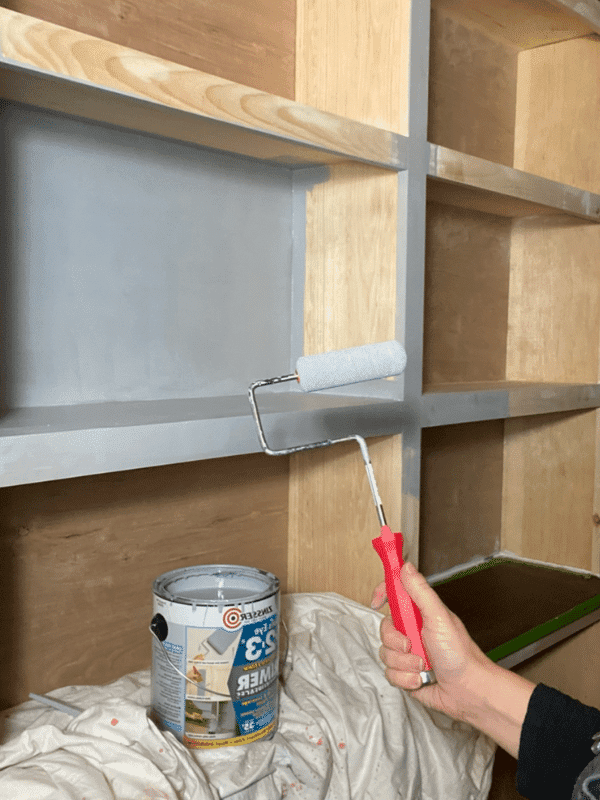
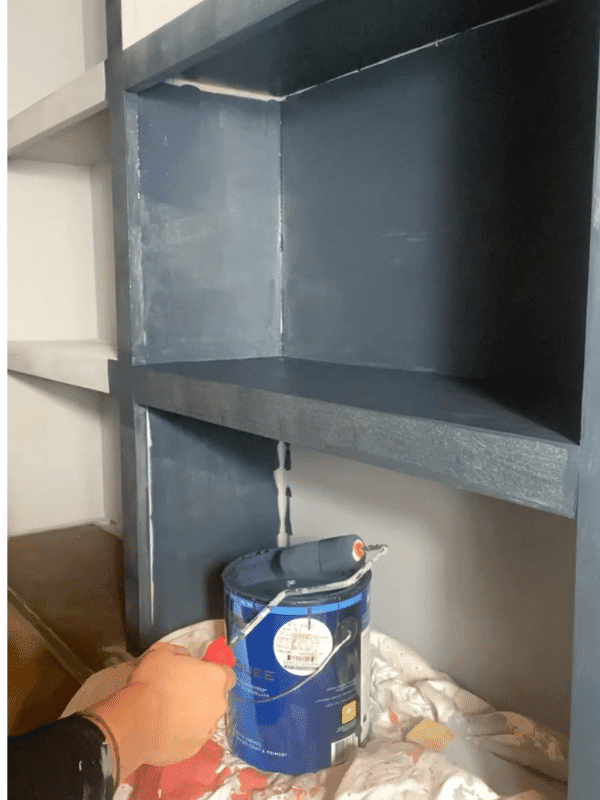
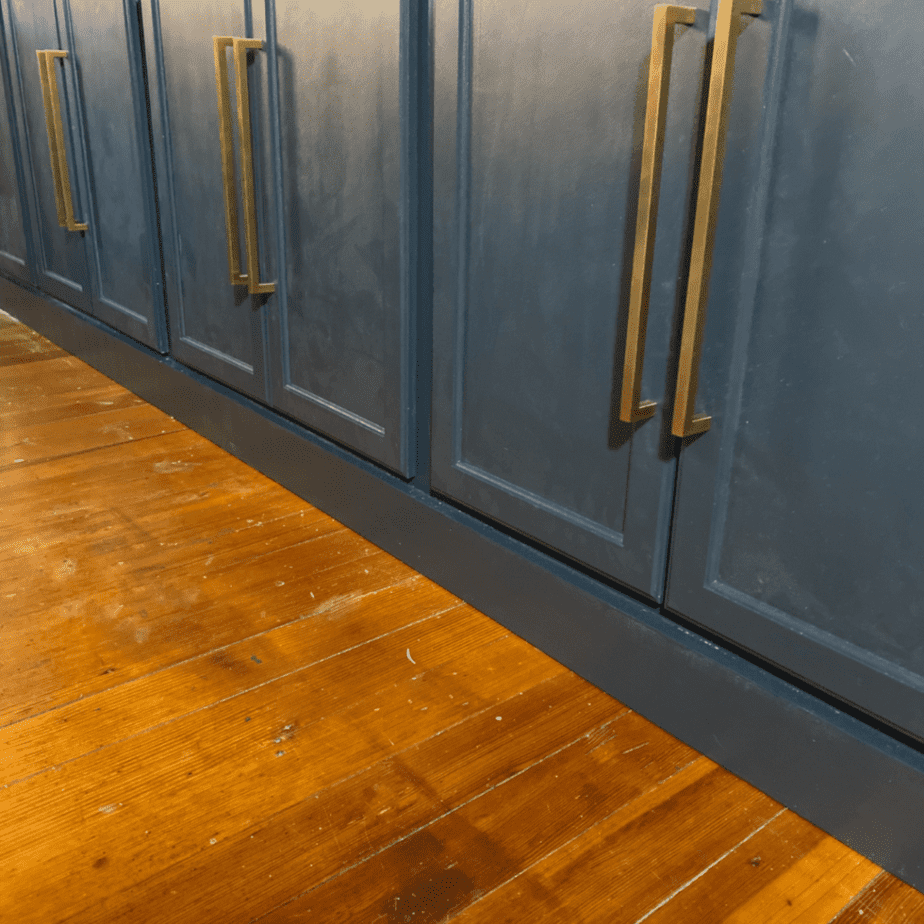
Step 13: Add hardware
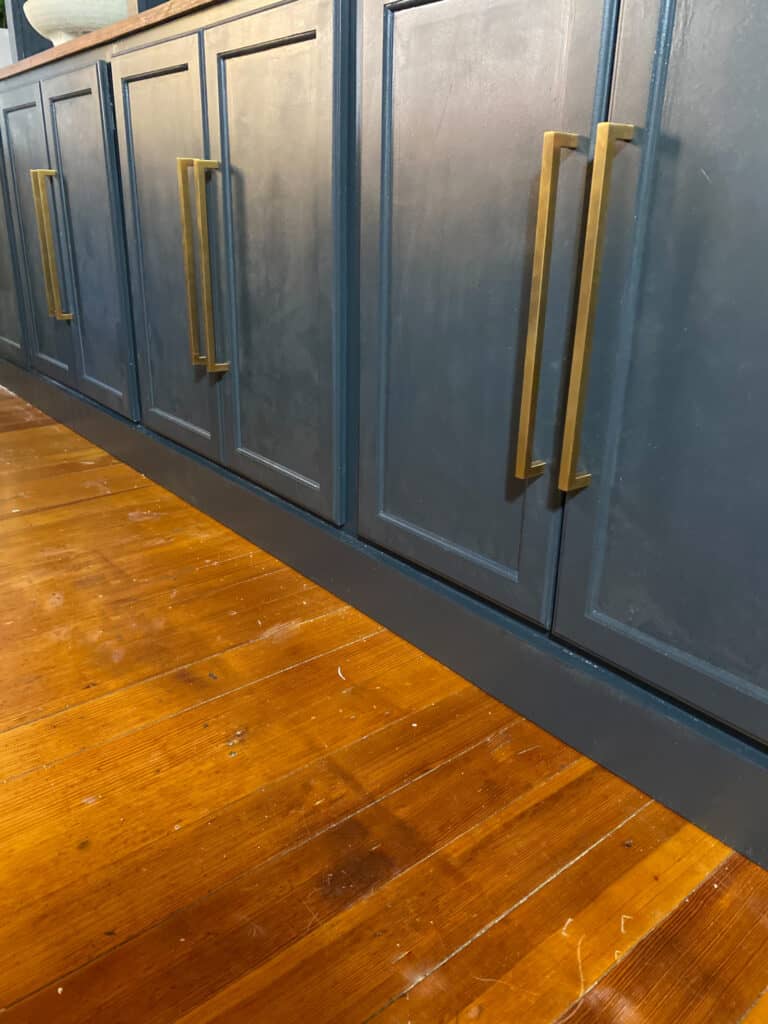
Now our gorgeous built-in is almost finished! Classic cup pulls work great here and knobs for the bottom cabinet, but that’s all up to your style.
How do you make a cabinet look like a built-in?
Creating a great plan at the start is how I succeeded in using prefab cabinets for built-ins! Taking the time to get your measurements right and for finishing work also paid off huge!
The post I shared last time on painting kitchen cabinets is the way to go for this project too.
How do I create a custom built-in?
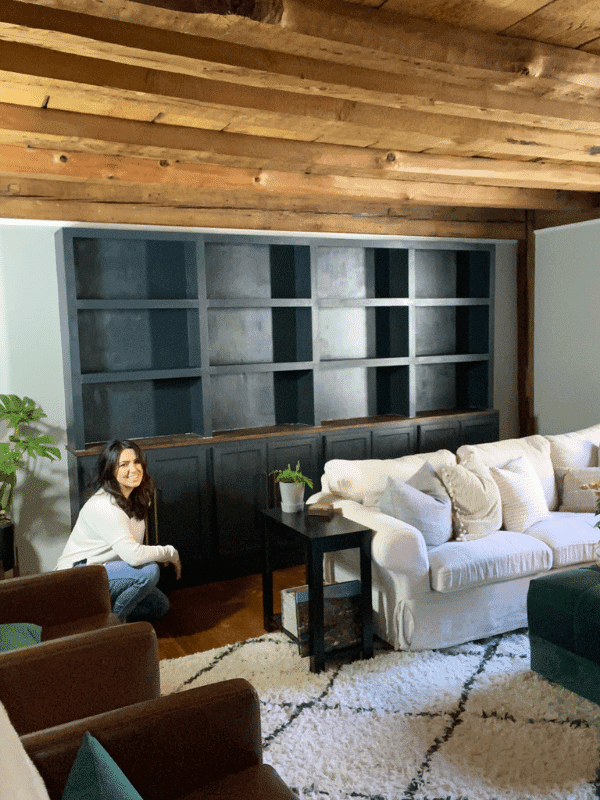
The beauty of building a built-in bookcase with base cabinets is that I was in control. I decided on its size and location, so it fits perfectly in my home.
I wasn’t stuck with a cookie-cutter bookcase, I could have the depth and number of shelves I wanted.
Plus when it’s all said and done I’ll have a beautiful built in cabinet that will last out life time in this home!
Here’s a recap on the posts in this series just in case you’ve missed them.
How to use unfinished stock cabinets to make a base for your build in
How to paint your unfinished cabinets like a pro for the best overall finish!
Be sure to pin for later!
Want to shop this post’s supplies? Just click on an image to be directed to that shops site. *These links are affiliates and if used to purchase then I make a small commission at no cost to you. Thanks for supporting the brands that help keep this blog going!
That’s it for now.
Talk soon,
Kori

I am IN LOVE with the dark blue you used throughout, on your built-ins and your fireplace!
Would you make nd sharing that color?
Little black dress by Behr – sorry this is so late!
Thank you for the article! I was able to make such a built in using unfinished Maple cabinets from highlandsdesigns.com. Stock sizes worked well, although I was also able to get a custom size to fit the space and avoid using too large of a filler between cabinet and wall.