How to use unfinished stock cabinets to make a base for your build in
I think we all have that one spot (or many spots) in our home that collects clutter on a daily. I think that is the perfect spot to have some pretty storage! With the use of unfinished stock cabinets as base cabinets, you can create a timeless look and cut out probably half of the construction steps.
If you are looking for a buffet-style look, you could source cheap DIY built-in bookshelves to sit atop the base cabinets so that most of your remaining work is installation and finishing.
The sky is the limit on all the styles that are possibilities for your project!
The length of this project will depend on both your schedule and the difficulty of your space. Take stock of any sloped floors or uneven walls, along with your family’s traffic patterns, before you dive in.
Your new DIY built in cabinets should not interfere with your regular walkways and your family’s needs. Even for the sake of beautifying your space!
Are unfinished cabinets cheaper?
When you’re creating a budget for your project, remember that you can save money by purchasing unfinished stock cabinets. Or creating your own from cabinet-grade plywood.
From there, you can paint or stain the cabinets. If you aren’t planning on using an enamel paint you’ll also have to use a protective coat.
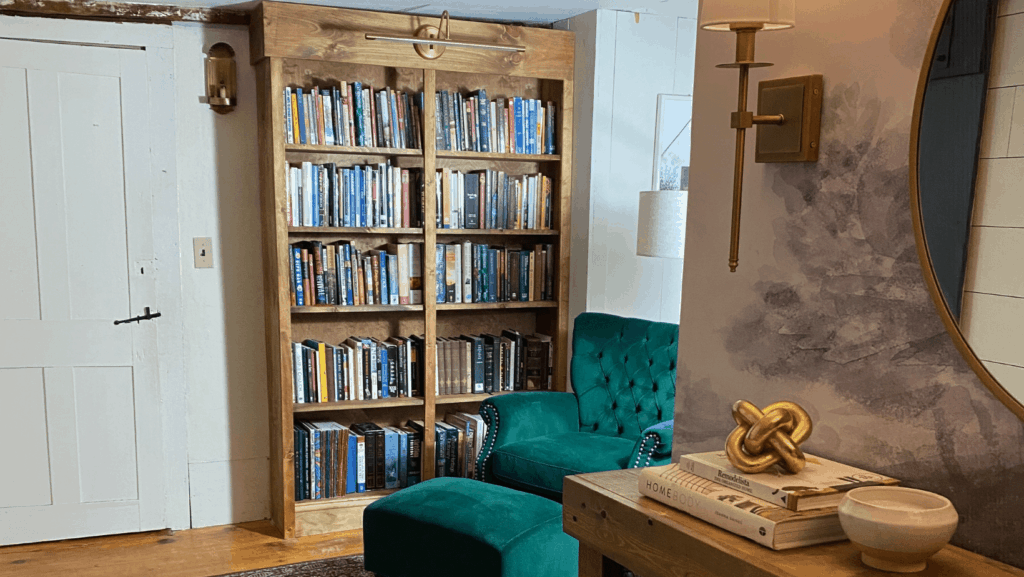
How much does it cost to build a custom pantry cabinet?
You can expect to pay from two to five times more for custom cabinets that you buy.
If you build your own custom pantry cabinet, you can instead expect to save money, thanks to the ability to manage costs for each step of your build.
One DIY-er spent about $245 creating a small custom pantry cabinet, compared with the $3,000 quote she received from a custom builder.
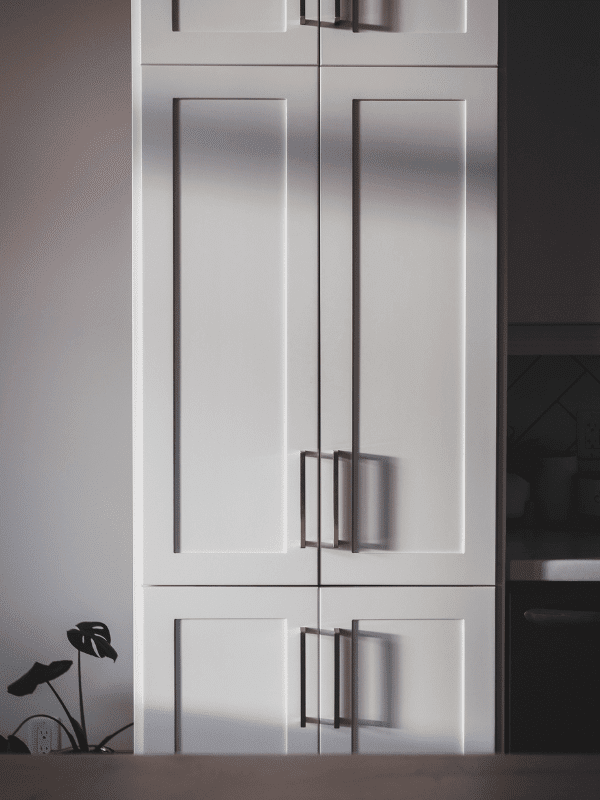
How do you make a cabinet look like a built-in?
Today, we’ll take a look at the first seven steps in creating a gorgeous built-in cabinet that adds storage and coziness to your home.
Traditional built-ins are cabinets set into the wall, so any off-the-shelve version can be transformed into a one-of-a-kind piece!
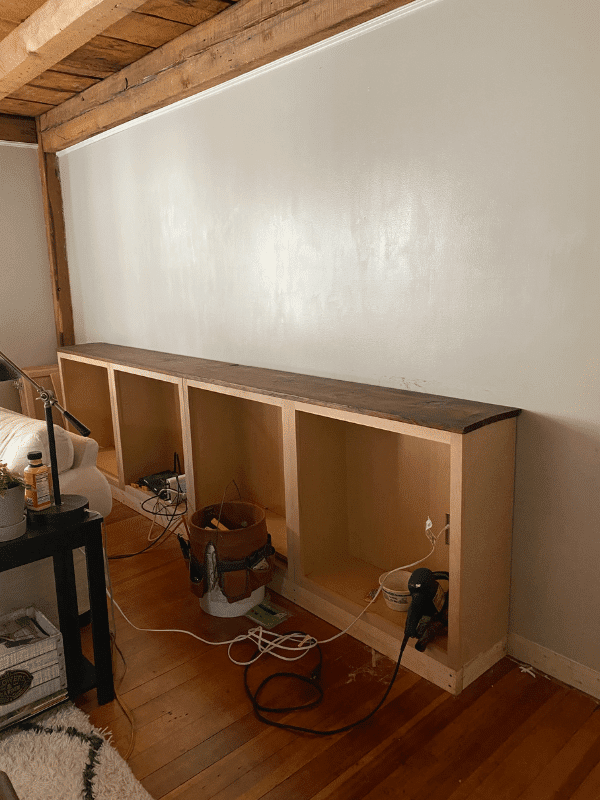
I’ll show you my steps to making base cabinets for built ins using unfinished stock cabinets, and show you what you’ll need to get started!
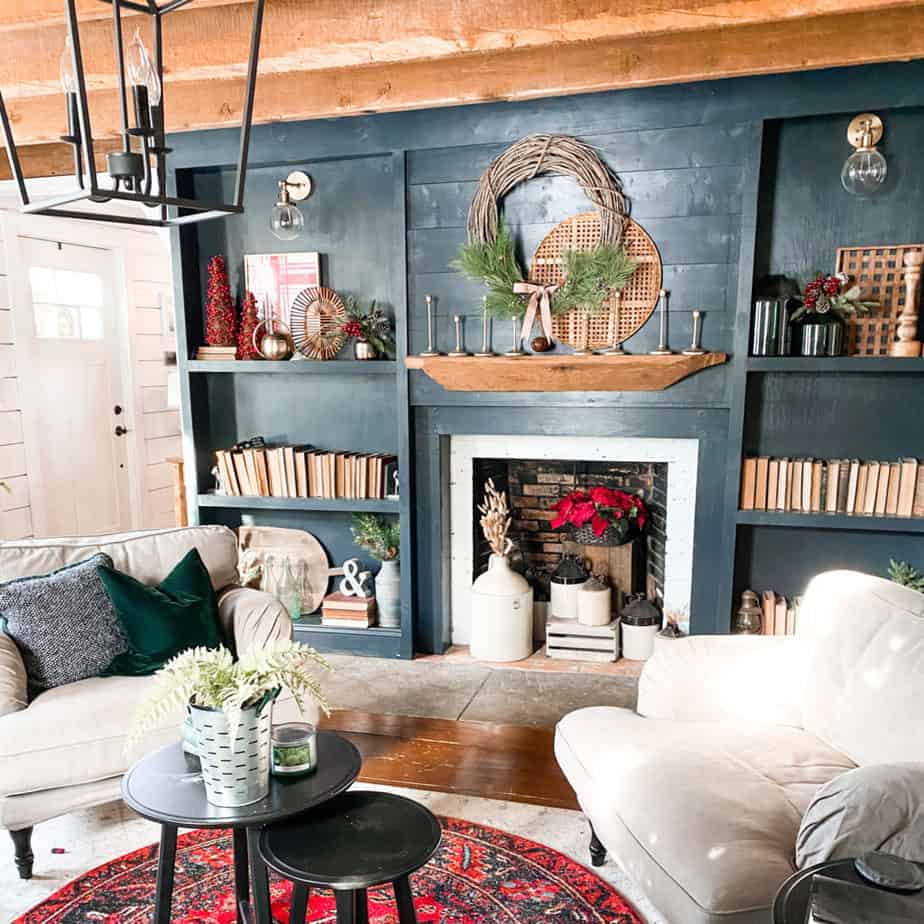
DIY Built ins: How to Install and What You’ll Need
Here’s a list of what you need for your own DIY built-ins, but it will vary depending on your space and what size your built-ins need to be:
- unfinished stock cabinets (we used two 30inch upper cabinets from Home Depot.)
- thin plywood to finish the cabinet ends
- countertop (we used 2×12 boards)
- 1/2 – 3/4″ thick plywood for the upper shelving (we used about two sheets)
- 1×2 boards for trimming out the shelving
- other trim – baseboard, crown molding, and quarter-round as needed
- wood filler
- paintable silicone caulk
- sandpaper
- paint and primer (and stain + polycrylic for the countertop)
- cabinet door/drawer hardware
- screws/nails/washers
- Kreg Jig + 2 1/2″ pocket hole screws + 1 1/4″ pocket hole screws
Step 1: Make a Plan
Every home has its little quirks that can make a simple project a little less simple.
Start with a list of everything you need to complete your DIY project, and also write out all the sizes and measurements for your cabinet.
Consider any extra shimming or wood you may need, at this stage, to avoid hidden costs.
Step 2: Prep the Space
Before you begin, remove the baseboard and any other trim that may jut into your workspace.
If there are electrical outlets or switches on the wall that you want to be relocated, be sure to contact a professional electrician to safely move them.
Step 3: Build a Frame
Preparation is everything when creating a built-in. If you are creating your own cabinets or used pre-fab, it will still need to be assembled.
If you are building a cabinet, many DIY-ers use ¾ inch thick plywood, available in many different hardwoods.
Before you install it on the wall, consider cutting holes in the cabinet where you want to keep any current electrical outlets or switches. This saves that call to the electrician.
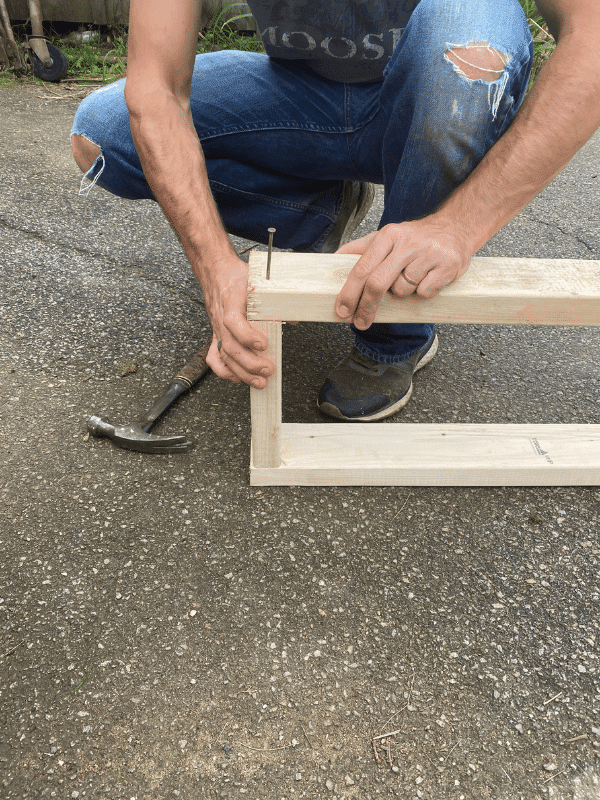
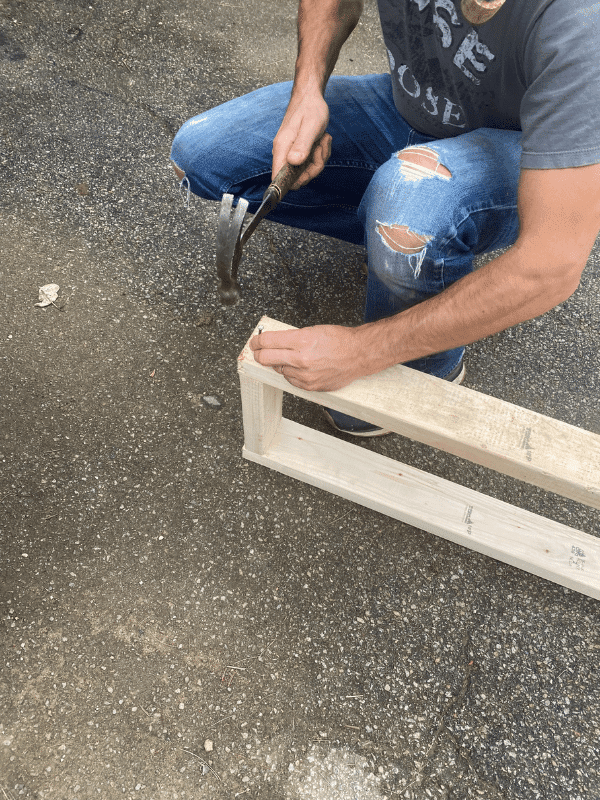
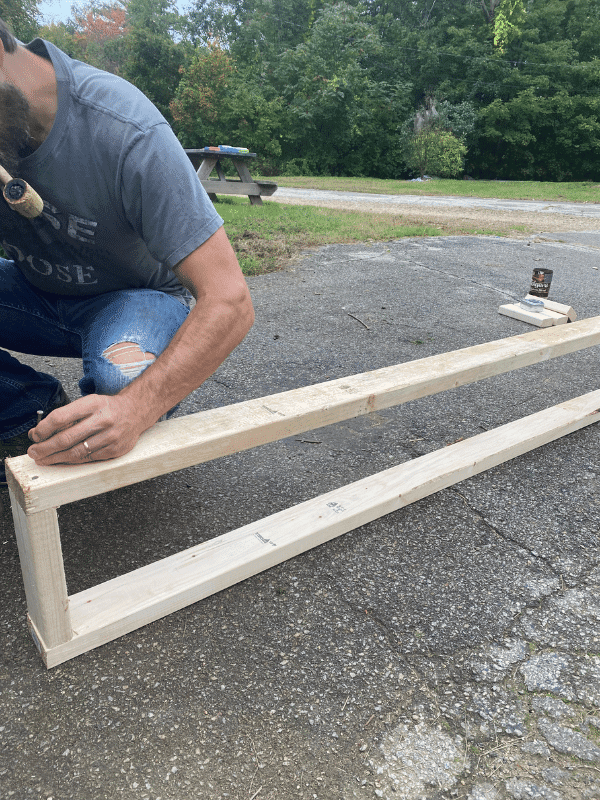
Step 4: Install the unfinished stock Cabinets
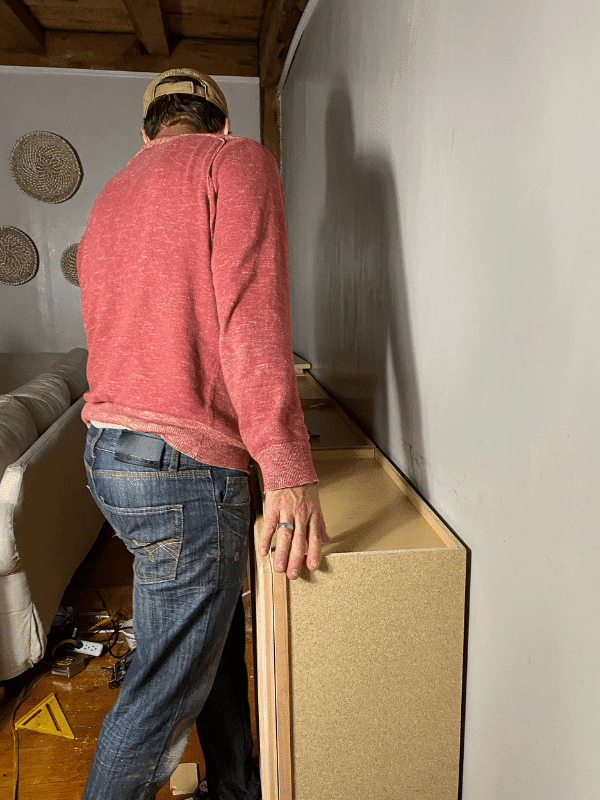
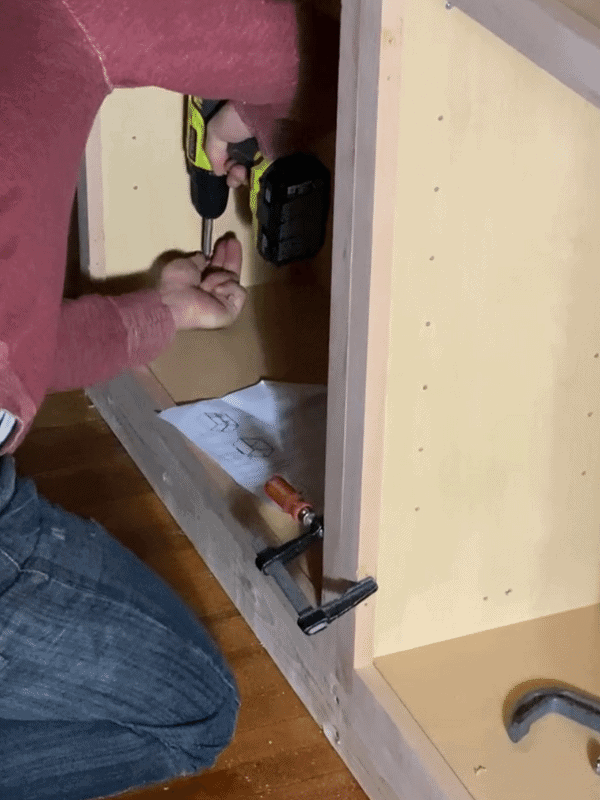
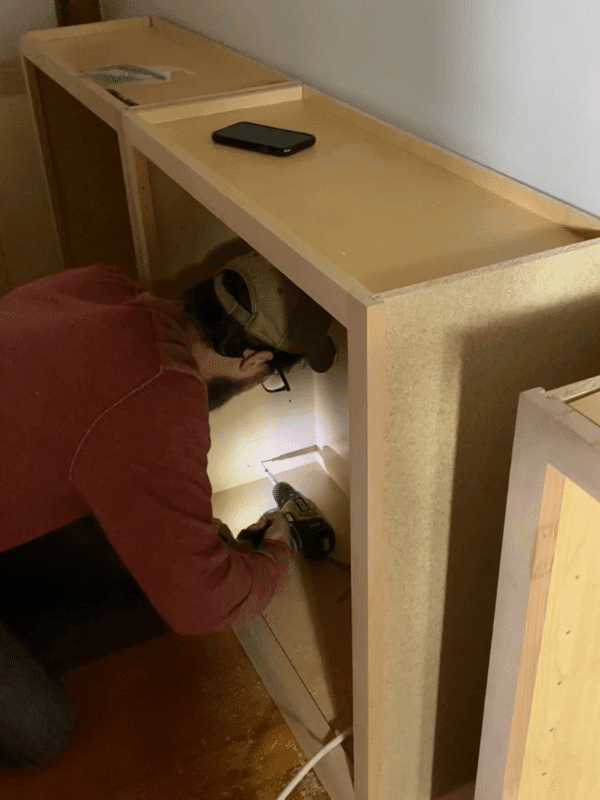
As you begin the installation, remember to level up your project. Place cabinets on top of frame and screw cabinets to frame on the bottom at base.
We also cut small pieces of plywood and placed them between each unfinished stock cabinet and then screwed each cabinet to one another making sure to hit the plywood to help secure it.
It’s important to take extra time on this step, checking for levelness from front to back and also side-to-side. Cabinets should be firmly secured to the wall using sturdy screws of the correct length into studs.
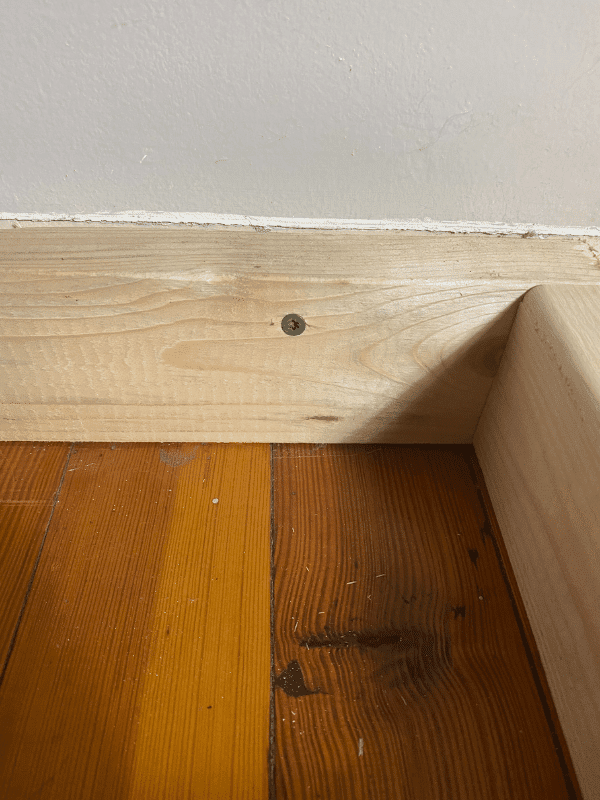
Step 5: Base Trim and upper trim
You can reuse the baseboard you took off in Step 2, reattaching it to the built-in as base trim, and using upper trim in the same way.
If your home lacked trim in either spot, pre-cut trim is available from your local home improvement store or you can create trim to match.
The unfinished cabinets don’t have finished sides on them, so we used plywood to finish the sides.
Step 6: Prep the Countertop
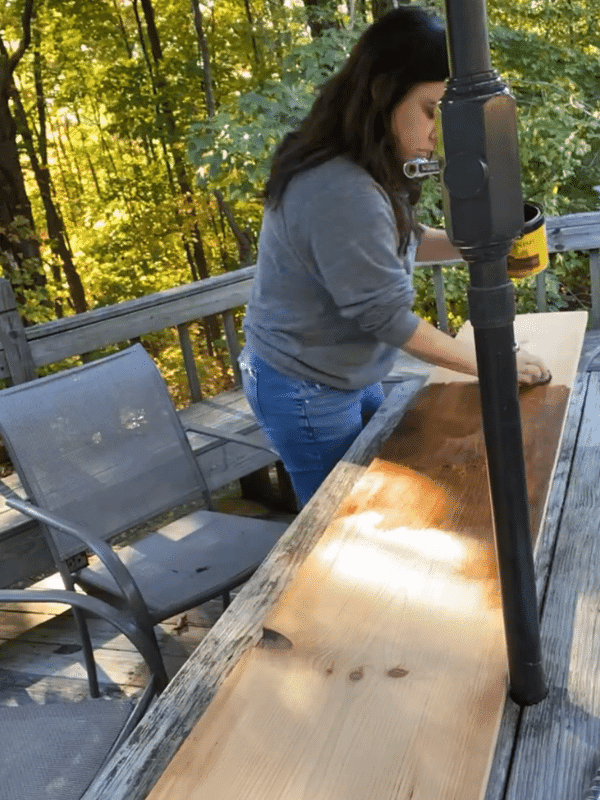
Preparing the countertop can be a time-consuming process, and one that is best completed outside or in your garage or workshop.
If you are using a butcher block countertop, for example, you will want to cut it to length and then plane the edges into your desired finish.
You can then stain and apply a protective coat of Polycrylic to your project, to keep it in good condition for years to come.
Step 7: Install the Countertop
Install the countertop, whether it’s pre-formed or a creation from your own boards, leaving ½ to 1 inch of overhang on each end of the cabinet.
If you are using three separate boards, like the builders in this detailed DIY, you want to sand off any rounded edges, so the boards fit together snugly.
In an upcoming blog post, I’ll review steps 8-13, where we put in the upper shelving frame and finish it out, to create a built-in bookcase with base cabinets! Click here for all the steps on how to paint stock cabinets like pro! ! Not to mention styling!!
Want to shop supplies for this post? Click here! *These links are affiliates and if purchased I make a small commission. Thanks for supporting the brands that support this blog of mine.
Be sure to pin for later!

Thanks for reading along!
Talk soon,
Kori
