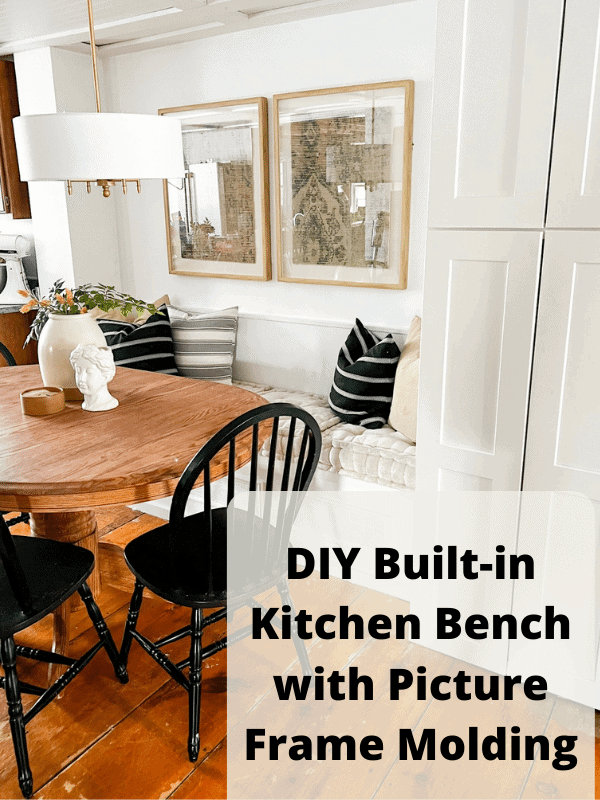
DIY Built-in Kitchen Bench with Picture Frame Molding
Kitchens are natural gathering spaces. Whether we’re with friends, family, or both, we are always gathering around the inviting warmth of the kitchen.
But, if you’re like me, this can also mean the kitchen gets cluttered quickly. That’s where kitchen benches are my best friend!
Kitchen benches combine space efficiency and rustic charm to bring a great place for my friends and family to sit down, talk and enjoy food and each other’s company.
And picture frame molding looks so good! It adds nice corners that adorn the vertical and horizontal lines of a kitchen bench and underscores how perfectly flush with the walls the bench is. Perfection.
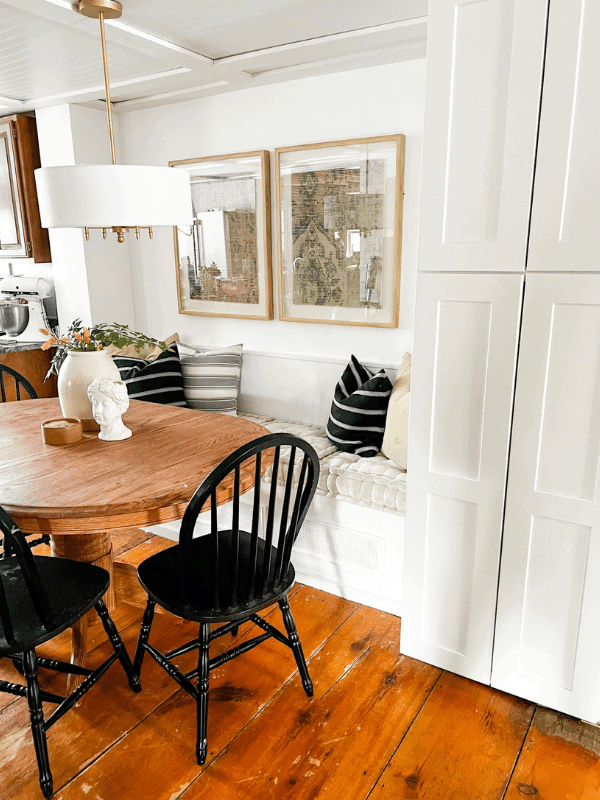
Picture Frame Molding Ideas
There are a ton of great ways to apply picture frame molding in your space! It’s not only decorative and ornamental, it can also be quite practical!
- Wall Molding:
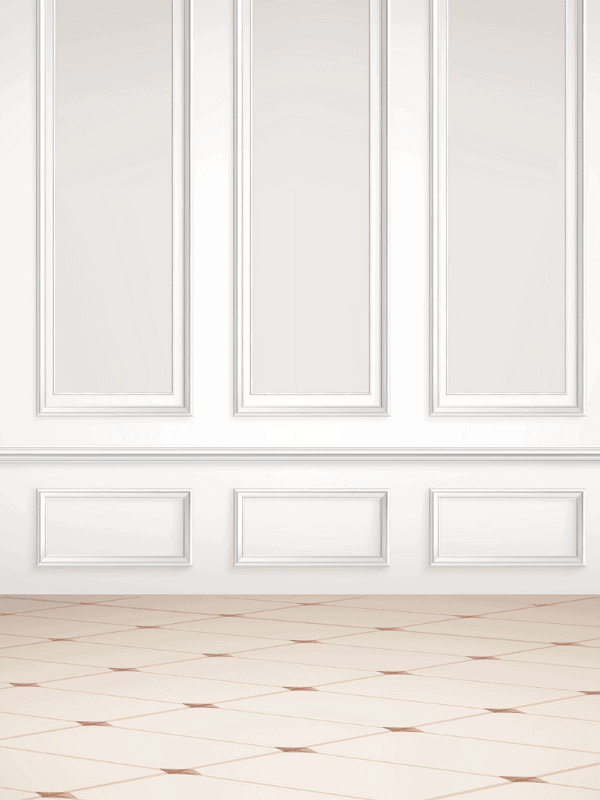
Picture Frame Molding is a great way to add a little bit of flair to a wall! You can paint the molding an accent color, or paint the wall behind it an accent color. Either way, it brings lovely contrast into your space!
- Wainscotting
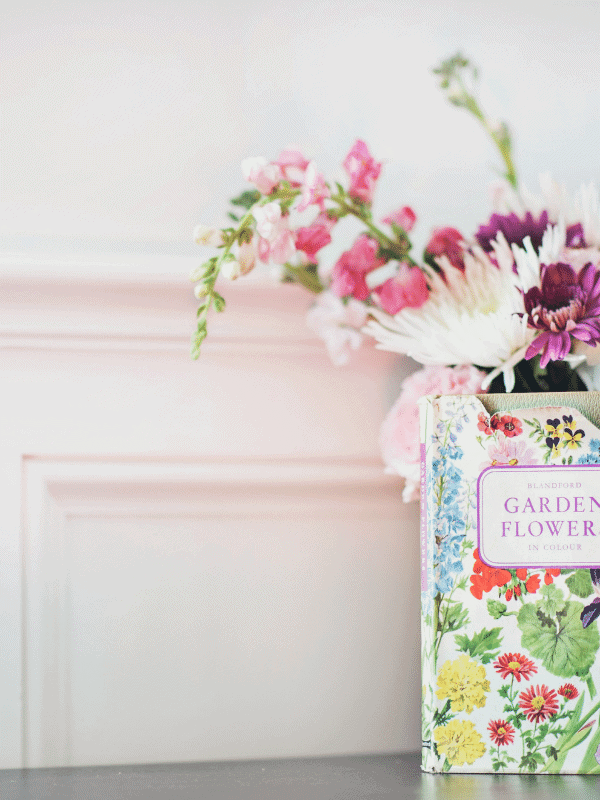
Wainscotting is a highly practical form of picture frame molding. Wainscotting is essentially when you apply extra material to the lower part of the wall.
It’s perfect for offices and dining rooms, or anywhere else where furniture is likely to get rubbed up against walls.
- Wall Texture

Picture frame molding can add some much-needed texture to your walls! You can apply it along with textured panels to bring a wall to life.
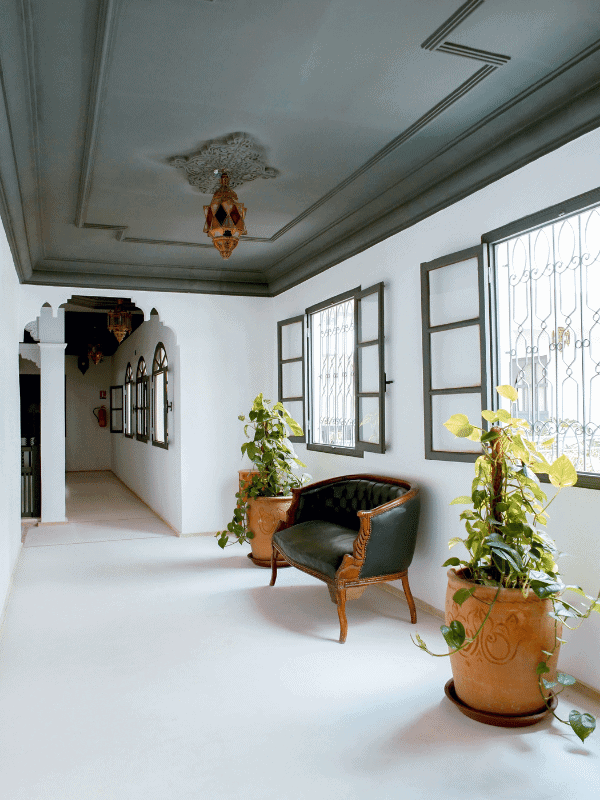
Can you use molding for the picture frame?
Can you use moldings for picture frames? Short answer—yes! moldings are naturally a great fit for picture frames, and they add a dash of elegance to a frame.
It doesn’t really matter too much which type of molding you’re talking about; moldings on walls and picture frames already serve a similar purpose—they frame the area we’re looking at and adorn it with geometric and aesthetically pleasing lines.
While you can use molding to make DIY picture frames, picture frame molding actually refers to molding that doesn’t accent the corners of walls or where walls meet ceilings in an interior space.
Instead, they form rectangular outlines inside the wall. Like a picture frame! When we’re talking about our DIY kitchen bench with picture frame molding, that’s what we mean.
Is picture frame molding outdated? Absolutely not! Picture frame molding used to be quite popular and you can commonly see it in historical buildings, but it has never lost its charm!
Now it adds a rustic and old-time vibe to interior spaces and personally I can’t get enough of it.
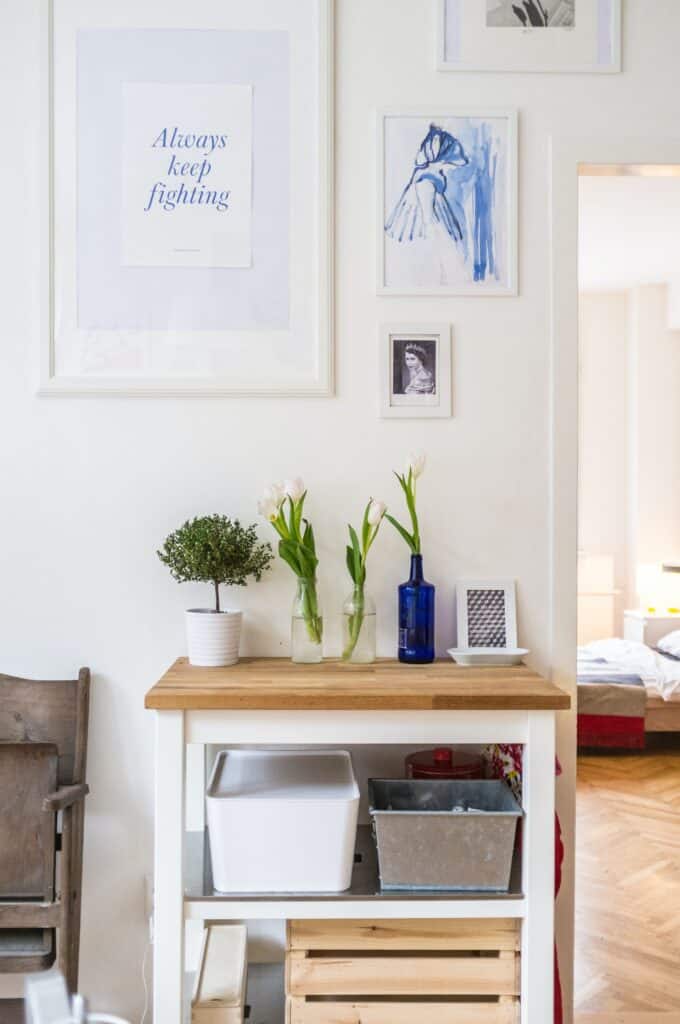
How do you trim a picture frame?
Making a picture frame with trim is a great DIY project. A DIY picture frame is not a huge undertaking, like some DIY projects, but it will require a little bit of thinking!
It’s super helpful if you own or have access to a miter for cutting the corners, but not required.
What is molding on a picture frame?
On walls in a home, molding is the carved trim that sits at the edges of walls where they meet other walls, the ceiling, or the floor.
But on a picture frame, molding is the frame of a picture frame! It’s the outside edges—often intricately carved. It adds a little bit of extra flair to a picture frame.
The other great thing about a DIY picture frame is you can bust out the paints and add some of your own personal touches!
There are a ton of great picture-frame molding paint ideas out there, so you won’t find a shortage of inspiration when it comes to adding a personal colorful touch.
How far apart should picture frame molding be?
There’s no one answer to this question, but when it comes to making the perfect picture frame molding accent wall, think about how you want to present your space.
There aren’t necessarily any hard picture frame molding rules, but think about how you want it to look. You don’t want it to be cluttered, but you do want to add a little bit of depth and action to the wall!
Since you’re working with a lot of vertical and horizontal lines, instead think about how the spacing will match up with other line elements nearby.
How do you install wall frame molding?
There are different ways people can opt to install wall frame molding but there are a few things you’ll want to consider. First and foremost, measure twice, cut once!
You’ll need to measure your walls and your trim or molding pieces before you even start deciding where everything will go. Then you’ll want to measure them both again. Just to be sure!
Once you’ve made a cut, there’s no going back, so always lean on the side of cutting too little and not too much. Make sure you’ve measured your walls twice before you start measuring and cutting your trim.
Another tip: Make sure you know how wide the trim is. This will be important when you’re doing the math on where everything will go!
How wide should picture frame molding be?
Like how far apart it should be, there’s no one answer to this question, but don’t forget to consider how many sections you’ll want to include.
Think about whether you’re doing odd or even numbers when you’re designing your frame, and don’t be afraid to spend a little extra time considering where you’ll want your moldings.
This will help you figure out how wide to make them as well.
How do you attach the decorative molding to a wall?
There are two primary ways to attach the decorative molding to walls. The first and most common method is using finishing nails.
Finishing nails are a lot like regular nails, but they have a much smaller head. This makes them easier to cover up afterward and less noticeable even if you don’t!
The second method is using adhesive. Either way, be mindful of the weight of your moldings! A good rule is to always locate your studs before you start designing the layout! The last thing you want to do is rip out any sheetrock!
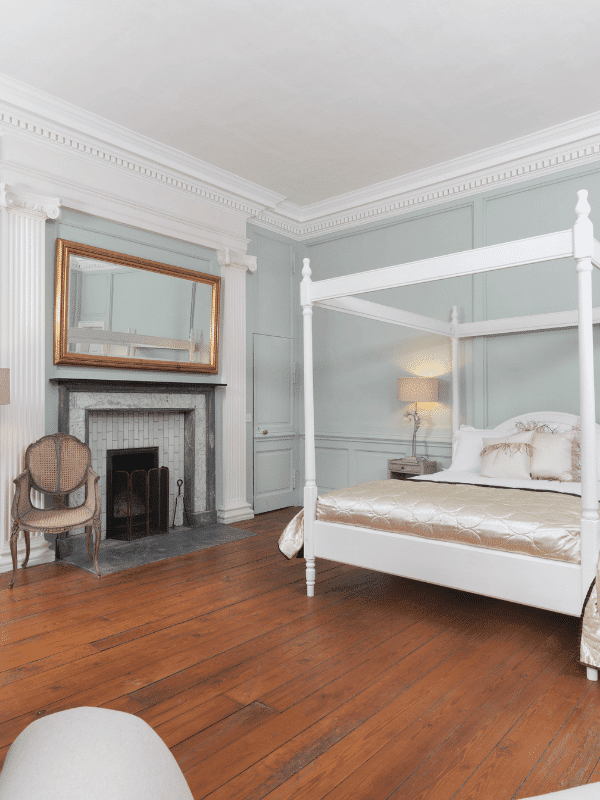
How do you attach molding without nails?
If you don’t want to or can’t use nails for some reason, don’t worry; there are construction adhesives that you can use instead.
Always check the rating of an adhesive before starting to make sure that it’s rated for the type of surface you’re going to be using it on!
How do you attach wood trim to a wall?
Just like attaching many moldings, attaching a wood trim, you’ll want to use finishing nails and measure twice! Since wood trim, especially large pieces of hardwood can be quite heavy, always be sure to locate your studs first!

What is wall molding?
Wall molding is a type of wall trim. Usually, when people talk about molding, they’re specifically referring to a type of trim that is for decorative purposes.
There are a lot of different styles of molding, but they’re often very ornamental and will be carved to look nice and adorn walls!
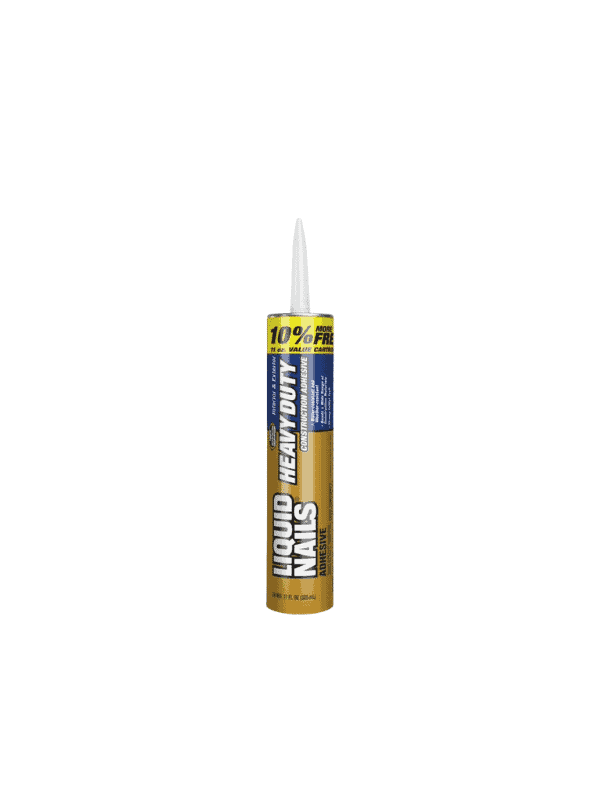
Can you use Liquid Nails on the trim?
Can you use Liquid Nails on the trim? Short answer—yes! Liquid Nails is a highly popular brand of construction adhesive, and it can be used on trim!
Liquid Nails even has a section on their website explaining how it can be done!
How To
Now to get started!
Tools needed
You’ll need a few tools for this DIY project, such as:
- Miter saw
- Hammer or nail gun
- wood filler
- caulk
- Primer
- Paint
- Sandpaper
- Polyurethane finish
- Screwdriver or driver bit and drill
Step one:
The first step will be building the frame of the bench. This will be the bones of your bench, so it’s important to make sure your 2x4s are properly measured and flush with the wall.
Step two:
Next, you’ll want to attach the bottom boards with the frame of the bench. Again, measure twice, cut once!
Step three:
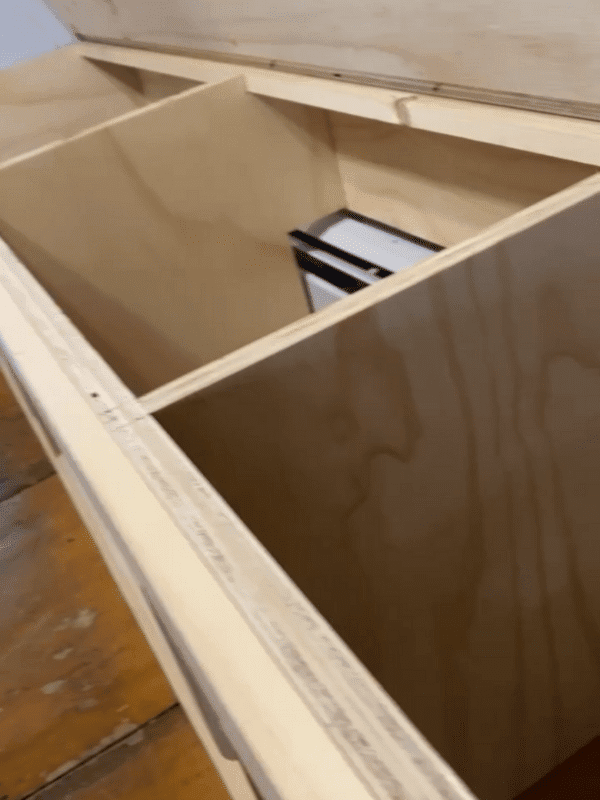
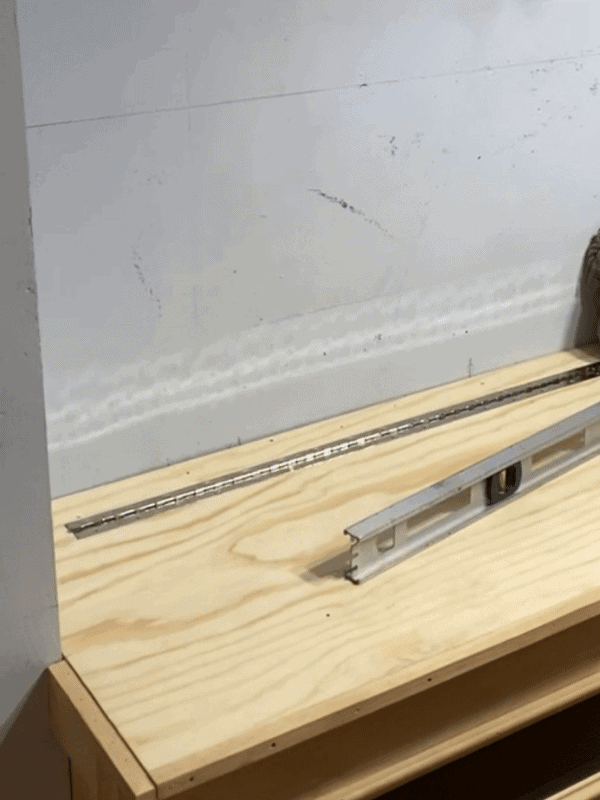
Now, it’s time to attach the top of your bench. This is where your screwdriver will come in. By using hinges, you’ll make the most of your space and have extra storage!
Step four:
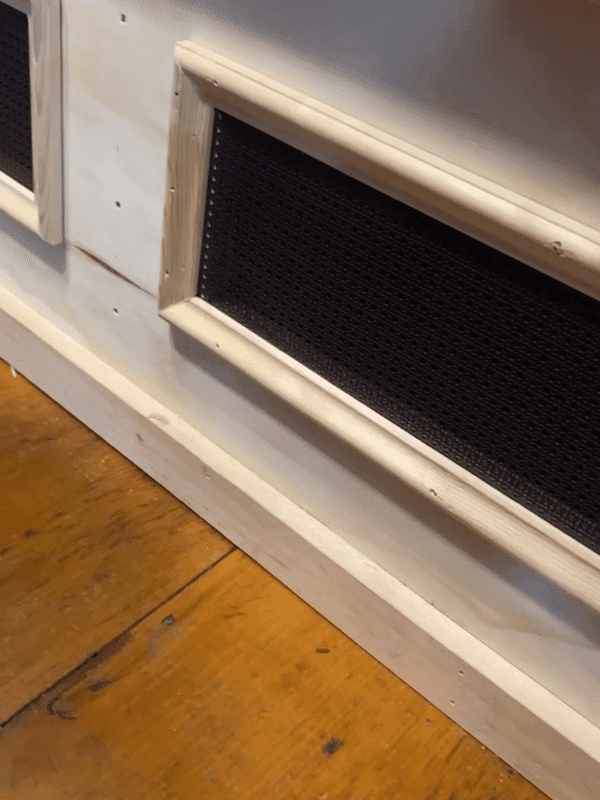
Now that you’ve built the bulk of the bench, it’s time to add the beautiful picture frame molding! This will really pull together the look of your bench and accent your corners and lines!
This is where it’ll really come in handy if you have a miter saw, so you can get the perfect corners on your moldings.
Step five:
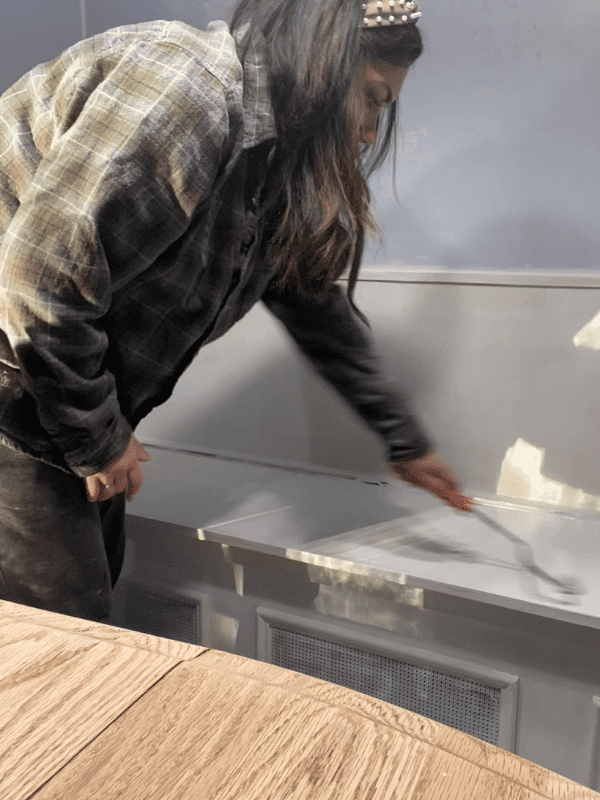
Now it’s time for the finishing touches. Start by sanding to make sure that the wood is smooth to the touch. Use some wood filler in each corner of the molding so it looks seamless and then caul around the edges of the molding. Next, apply your primer coat.
This will help the paint stick and ensure you don’t end up with translucent patches. Then, once it’s fully dried, sand again! Make sure that it’s smooth to the touch and add your paint!
Sand with fine sandpaper as needed between coats, and once you’ve got it the right color, and it’s properly set or dried, it’s time to add a polyurethane finish! This finishing layer will ensure your coat stays beautiful for a long lifespan.
Wrapping Up
Kitchens are a great spot for spending time with loved ones. Having space for storage and, well, cooking, is also important for a kitchen.
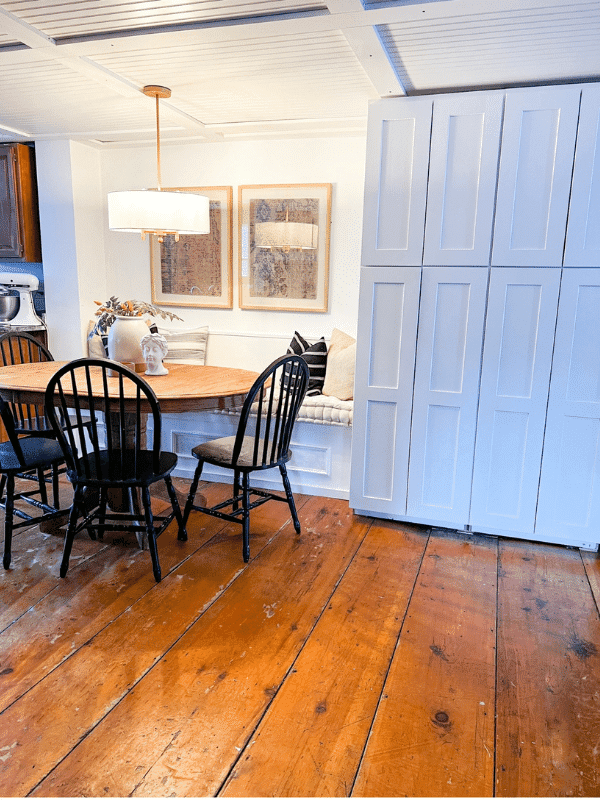
With a DIY built-in kitchen bench, you can have the best of both worlds! Extra storage space, a place for everyone to sit down and gather, and more space for the cook!
And with a little bit of picture-frame molding, you can have a beautiful and functional addition to your kitchen that will really pull the whole thing together.
Be sure to pin for later!
Want to shop the supplies for this post? *The links in this post are affiliate links and if used I receive a small commission at no cost to you. Thanks for supporting the brands that support this blog of mine!
Chat soon,
Kori
