Entryway reno series: DIY Board and batten and hanging a Vinyl mural
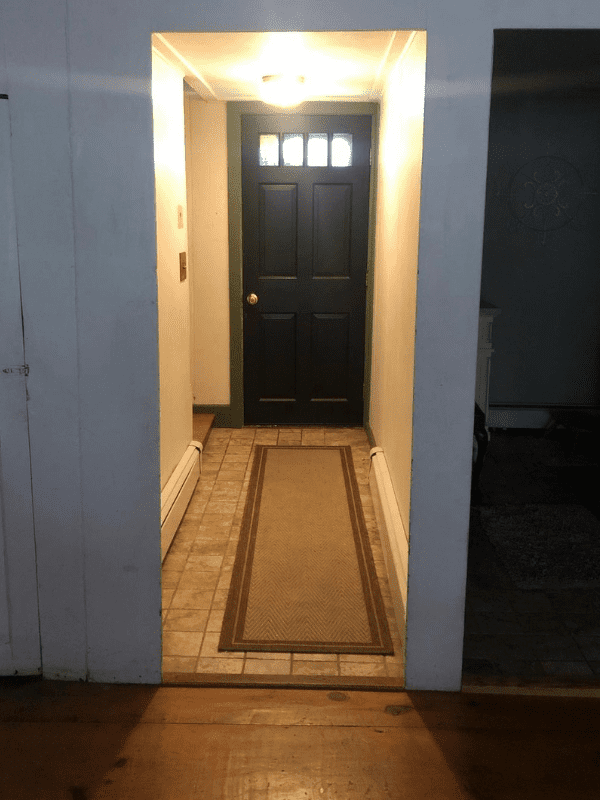
We’ve recently taken on a board and batten project in our very old house. We really wanted to add an accent wall to our main entryway because it felt dark and cold.
When people walk into my house I want it to feel warm and inviting, but unfortunately that wasn’t the case in my home.
So, to make my entryway feel more welcoming, we’ve added an accent wall with vertical boards for texture and wallpaper above it.
Here, I’ll be sharing a board and batten tutorial and the simple steps we took to create this easy diy project.
So, if you’ve been looking for different home design ideas to add some visual interest to your home… look no further! Board and batten is a great way to give you that unique look you’ve been searching for!
Before:
After:
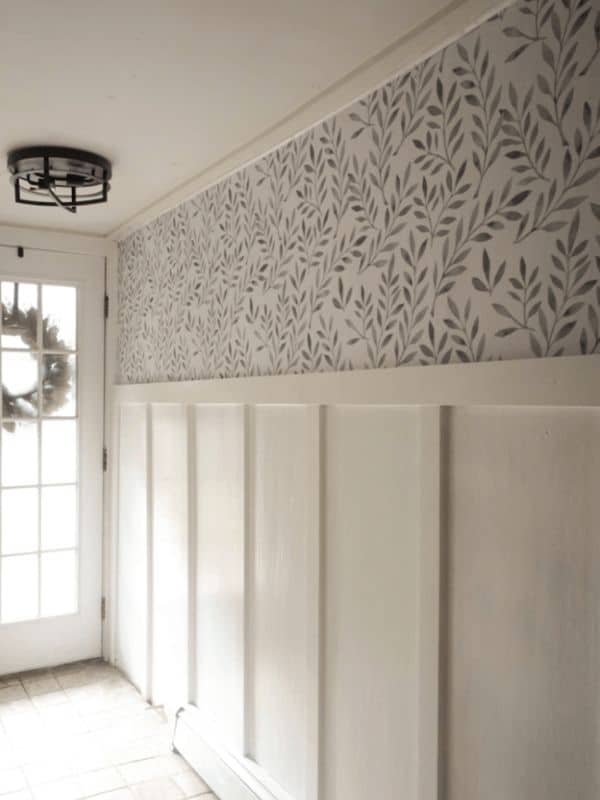
Big difference, right?! Let’s get talk a but about board and batten before I dive into the tutorial.
What is board and batten?
Board and batten is a type of siding or wood paneling that uses wide boards that get installed side by side.
Then, to cover up the seams, narrow wooden strips are installed over them. This is called the “batten”. Not only does it create a uniform look, but it’s 3-dimensional. This style of wood siding is seen in a lot of country-style homes. It’s also growing in popularity as a design feature on an interior wall.
What style is board and batten considered?
I would say board and batten generally falls under the modern farmhouse style. This style has grown really popular over the last few years. Some people say farmhouse style is out, but I disagree. Old homes never go out of style, especially farmhouses.
Board and batten wainscoting has a certain rustic charm that fits in well with the modern farmhouse design style. On the other hand, as exterior siding, board and batten is used in almost every design style, from victorian to modern and contemporary.
Is board and batten trendy or timeless?
Board and batten is timeless. It was a popular wooden siding for homes in American back in 1850 or so. Today, modern home construction doesn’t seem to be using board and batten for exterior siding, but more for interior design.
What is another name for board and batten?
Another name for board and batten is wainscoting. The two terms are sometimes used interchangeable.
Really, they are both decretive paneling intended to add visual interest to a wall. But also to help hide scuffs and damage from chairs, tables etc. Even though they are two different design, both can add a dramatic effect to your home.
What’s the difference between board and batten and beadboard?
Board and batten is made from wide vertical panels with strips of narrow boards, the “batten”, covering the seems. While beadboard consists of narrow panels of raised “beads” and grooves.
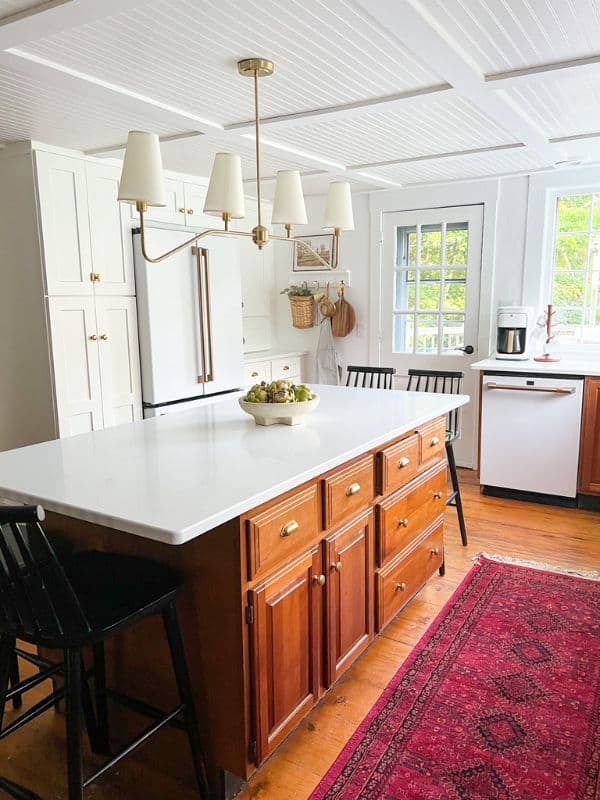
Beadboard is actually truly paneling because you buy it in sheets, while board and batten is created as you install it. Beadboard is also sometimes installed as a ceiling accent. We did this on our kitchen ceiling.
Is board and batten easy to install?
Board and batten is actually very easy to install. There are a few things to consider. For instance, the type of lumber you use, the spacing of the boards, how to attach the vertical boards, how tall should your boards be, etc.
If you are comfortable using a brad gun and a circular saw, I’d say this will be a simple one for you. But before you run to the home depot to grab supplies, It’s a good idea to assess what you already have. You may be suprised.
We had everything we needed in our barn for this project. There may be additional costs, like caulk, if you don’t have that on hand. But all in all it’s a pretty easy and affordable project.
What materials do you need for a diy board and batten accent wall?
To make a board and batten accent wall you will need the following supplies:
- wooden or mdf boards at the width you want for the batten.
- backer board if your walls have texture
- brad nailer
- brad nails.
- liquid nails.
- wood filler
- sandpaper.
- paintable caulk.
- circular saw
- Paint, brush/roller, and tray
Step one: Prep work and Smoothing out the surface
The first thing we did was mud the wall to smooth out any uneven surfaces. Our entryway wall is made up of pine boards (that’s what they used for walls back in the day) and the previous owners painted it matte white -yuck! It showed every bit of dirt and becuase there was no sheen, it was so hard to clean!
We decided that instead of tearing down the wall we would just mud over the creases. We also mudded over any hole or imperfection in the wood.
You can also install backer board using liquid nails if your walls are in rough shape and want to avoid all the prep work. This way you are starting with smooth walls.
Next, you’ll want to sand out every imperfection to get your wall as smooth as possible. Be sure to wash the wall when you’re finished.
Step 2: Cut your material down to size
We decided to use 3 1/2 inch and 2 1/2 inch boards for the board and batten. The 3 1/2 inch board was used as the top horizontal board. The 2 1/2 inch boards were used as the vertical battens. We measured our wall and decided to put our horizontal board at about 4 1/2 feet tall. This may seem a little high, but we really wanted to make a statement.
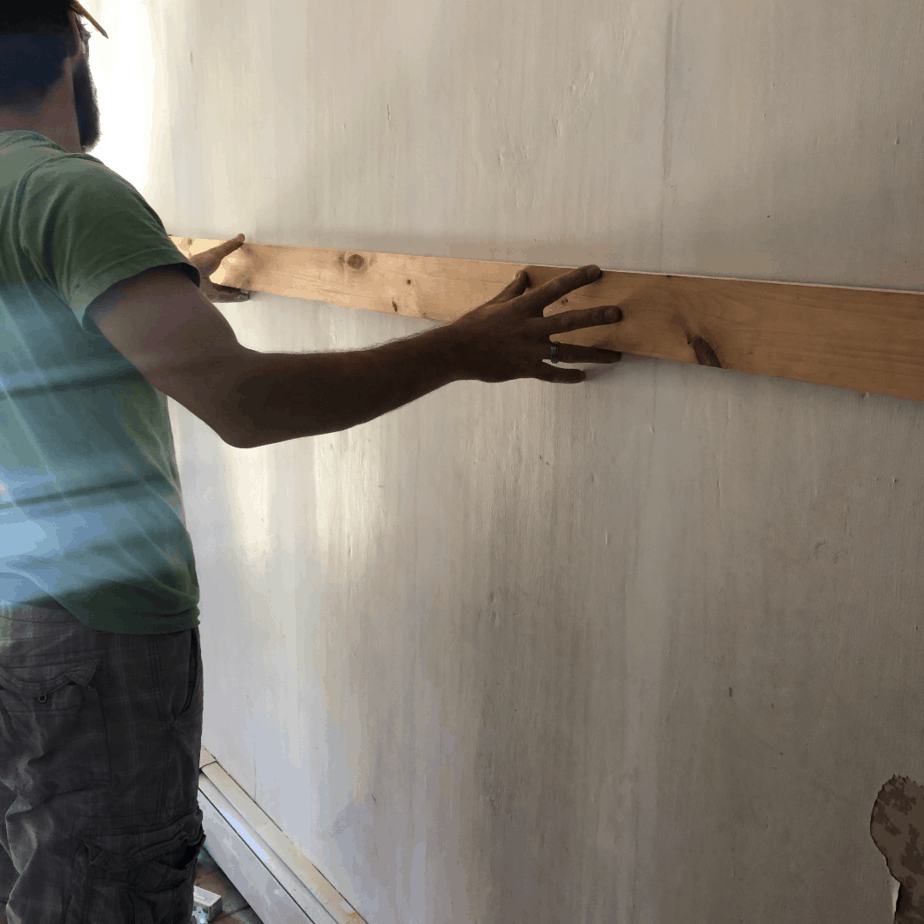
Step 3: Install the horizontal board along the length of your wall
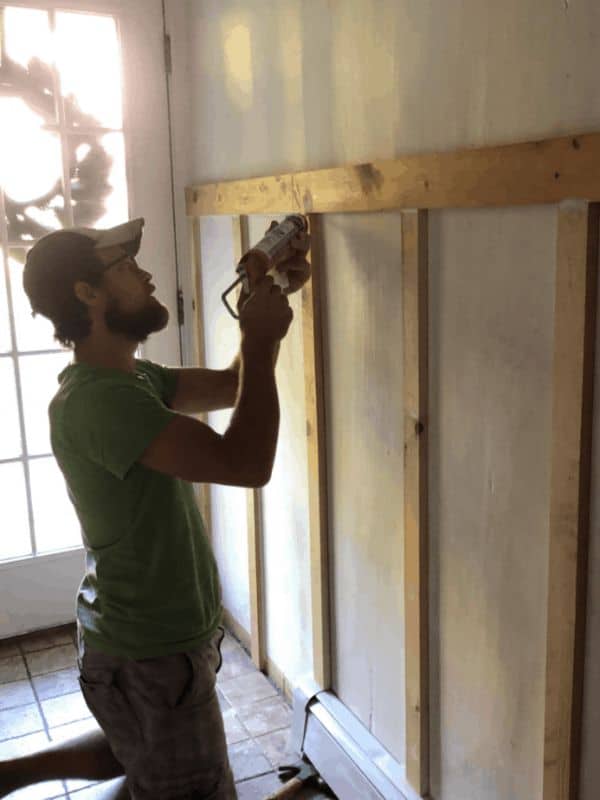
Using the brad nailer, we secured the horizontal board. Be sure to take your time and find the studs first. You can use a stud finder or do the knocking trick.
Step 4: Install the narrow battens
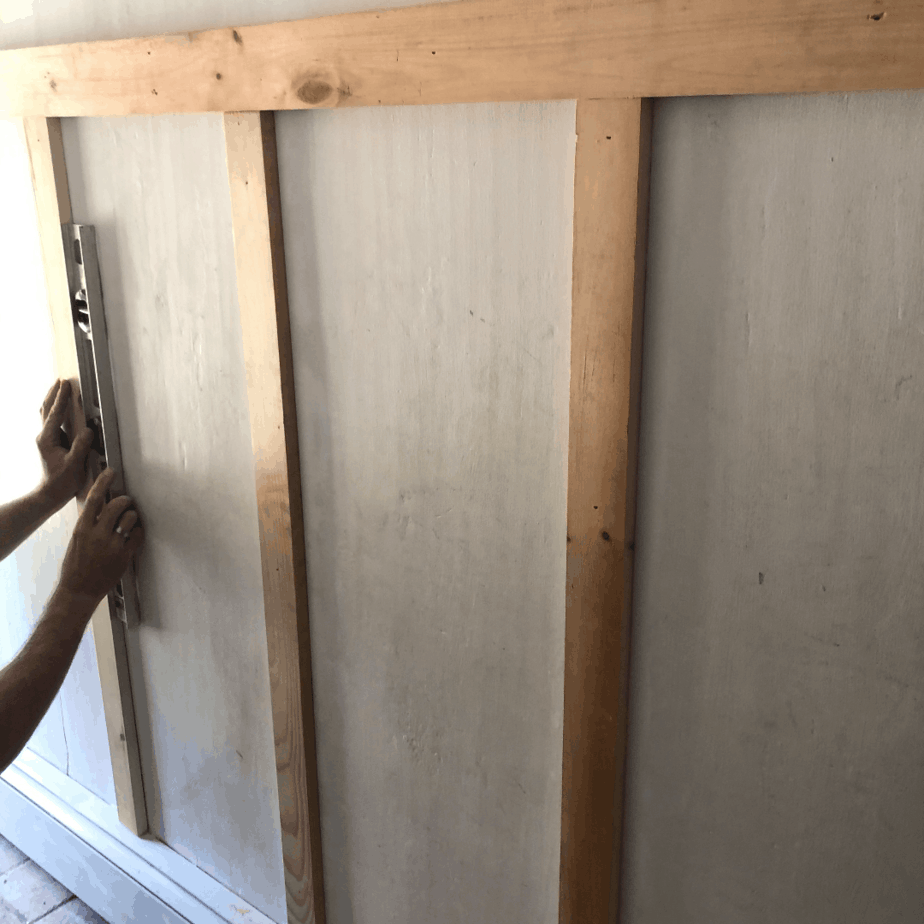
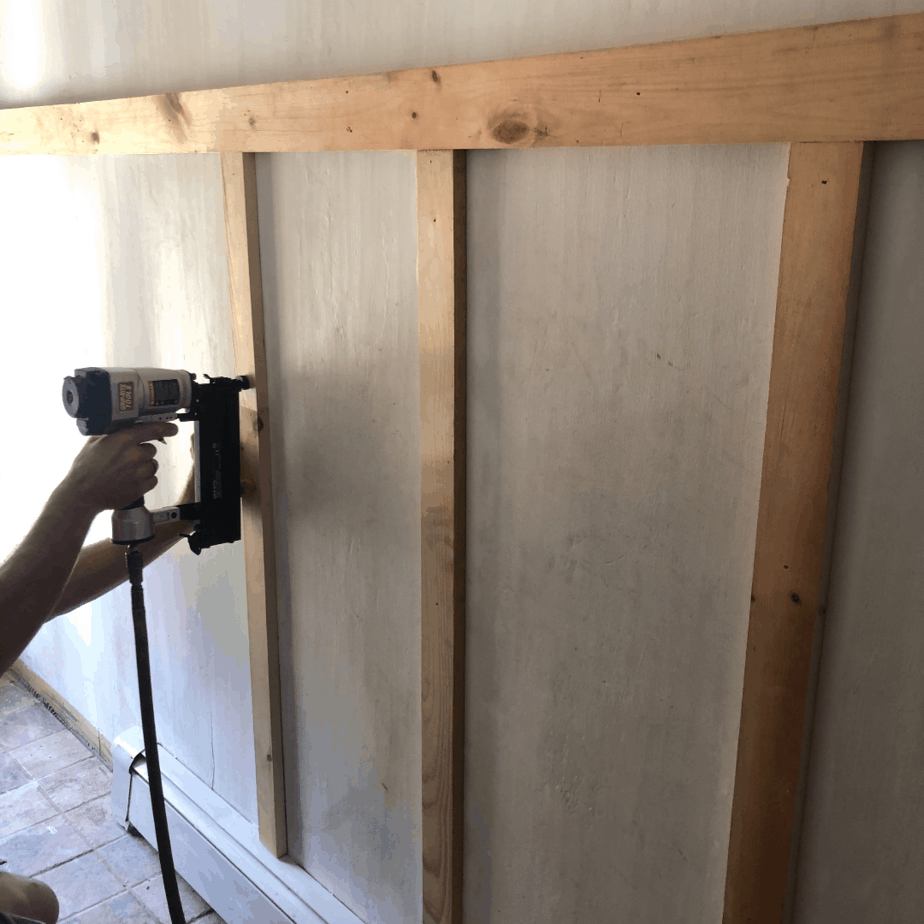
It’s always wise to start in the exact middle of the wall and work your way out. After installing the first vertical batten board, determine the spacing for the following boards.
We spaced ours 16 inches apart. It’s best to use a spacer or make a jig that you can put between each vertical board each time to measure for accuracy. We were sure to measure twice, cut, hang the board with a spacer, and nail it down. We repeated this process until we were done.
Step 5: Add baseboard
Since we have a heater running along the bottom of the accent wall we only had a small section to add baseboard too. We ended up just using the leftover horizontal top board as the baseboard.
This extra step makes the project feel more finished. Believe me, at first we let the batten go all the way to the floor. But afterwards, it felt off. We ended up cutting the bottom of the board to make space for the baseboard. I’m so glad we did.
Step 6: Wood filler, caulk, and paint
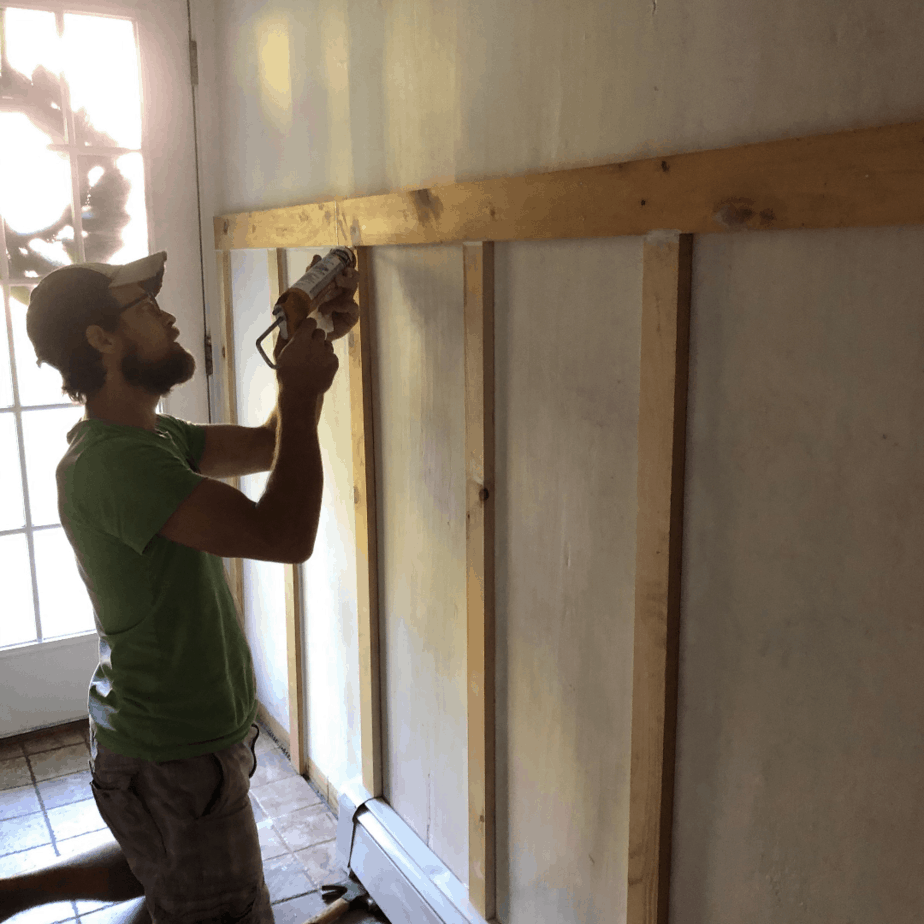
After the boards were hung, we used wood filler to cover up all of the nail holes and to fill in any gaps were the wood joins came together. Don’t forget the top of the baseboard too. After those spots were dry, we sanded them.
Next, we caulked every spot on the wall where the wood touched the wall. This just gives it more of a seamless look. As the final step, we painted everything. First, we used primer and 24 hours later we did our first coat of paint.
The next day we did our second coat. After the second coat of paint, it really just looked like one solid unit hanging on the wall instead of individual boards.
Peel and stick wall Mural
With the first part of this project done, it was time to move onto the second part; hanging the peel and stick wallpaper. I went with a wall mural from Wunderwall. I like Wunderwalls murals because they’re so beginner friendly.
In each box contains the wallpaper, an edge and smoothing tool, and a diagram of the mural. Traditional wallpaper comes in a roll which you have to cut to the correct size. Not Wunderwall. They do the cutting for you. Your wallpaper comes pre-cut in strips to whatever dimensions you gave them initially. AND each sheet is numbered taking the guess work out of figuring out the order of each sheet.
How to line up your mural so it’s seamless
Wunderwall has a pretty unique way to help you get a seamless mural. They actually put masking tape at the top of two adjoining corns for you to match up. So there’s no guessing. Each sheet lines up perfectly. This made hanging the mural so easy because all I had to do was match the masking tape at the top. It was the fastest wallpaper I’ve ever installed. Also, p.s. sorry the images are so bad! I had to take screen shots from a time-lapse because the image I originally took got lost.
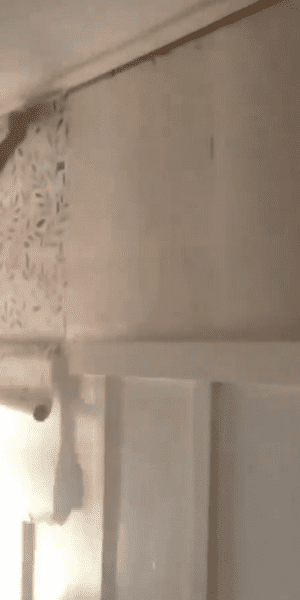
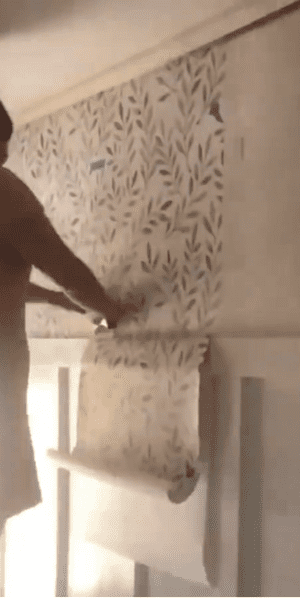

Peel and stick backing
Traditional peel and stick wallpaper has one sheet that you peel back a little at a time to apply to a wall. But Wunderwall features a user-friendly peel and stick backing. Instead of peeling back the top of the wallpaper, you start by peeling back the middle. There are three separate sections to the backing.
This allows you to easily line up the wallpaper and then secure it to the wall before having to take the rest of the backing off. Seriously, a genius idea! It makes it so much easier only dealing with one section at a time.
Cut off the excess mural
Once the paper was hung I used a box cutter to trim off the excess paper. I also used the yellow edge tool and ran it along the edges while I was cutting. This was to make sure I got clean line.
Check out the final project!
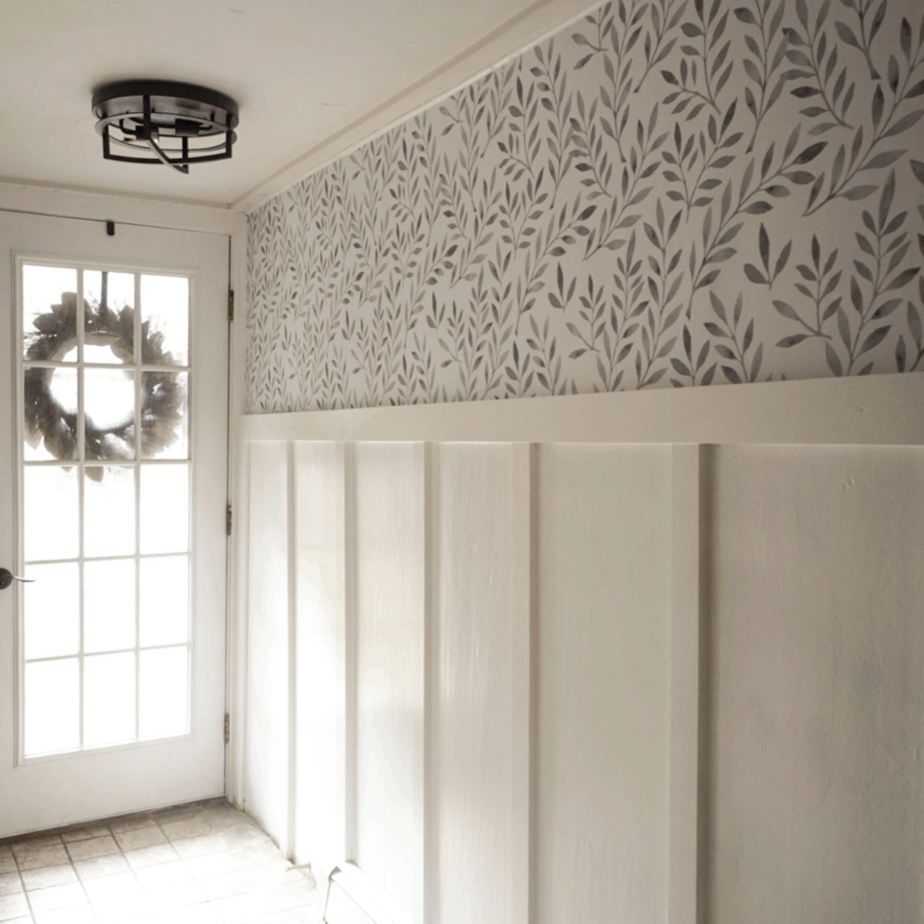
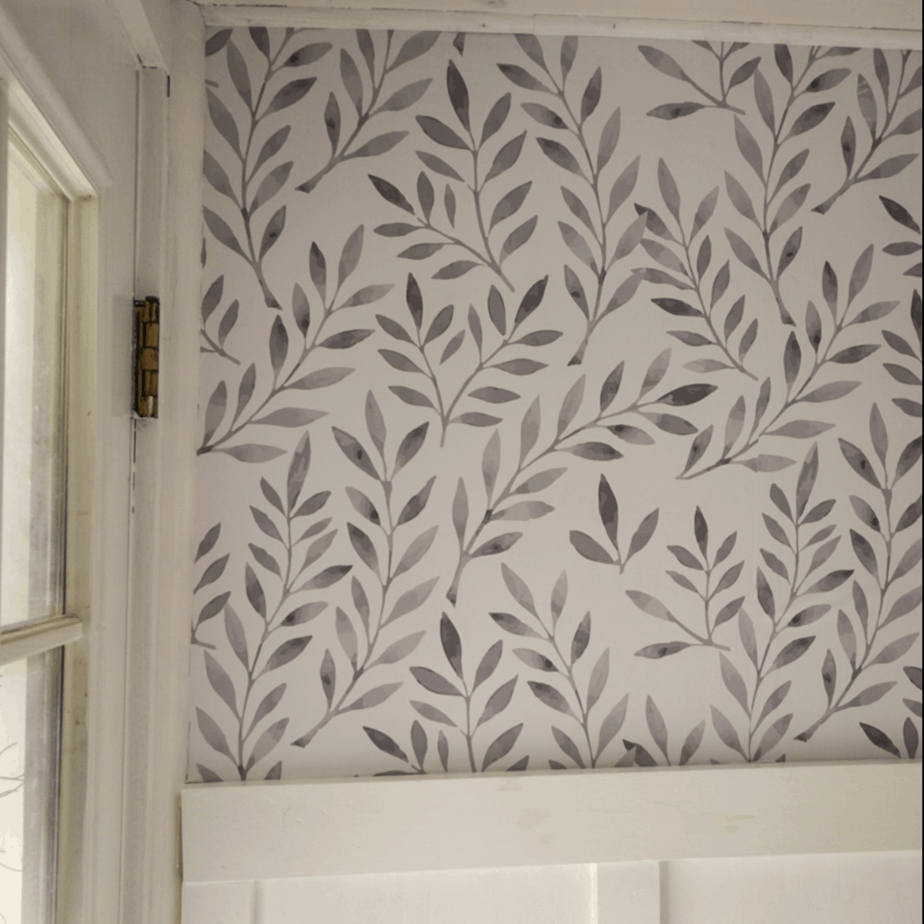
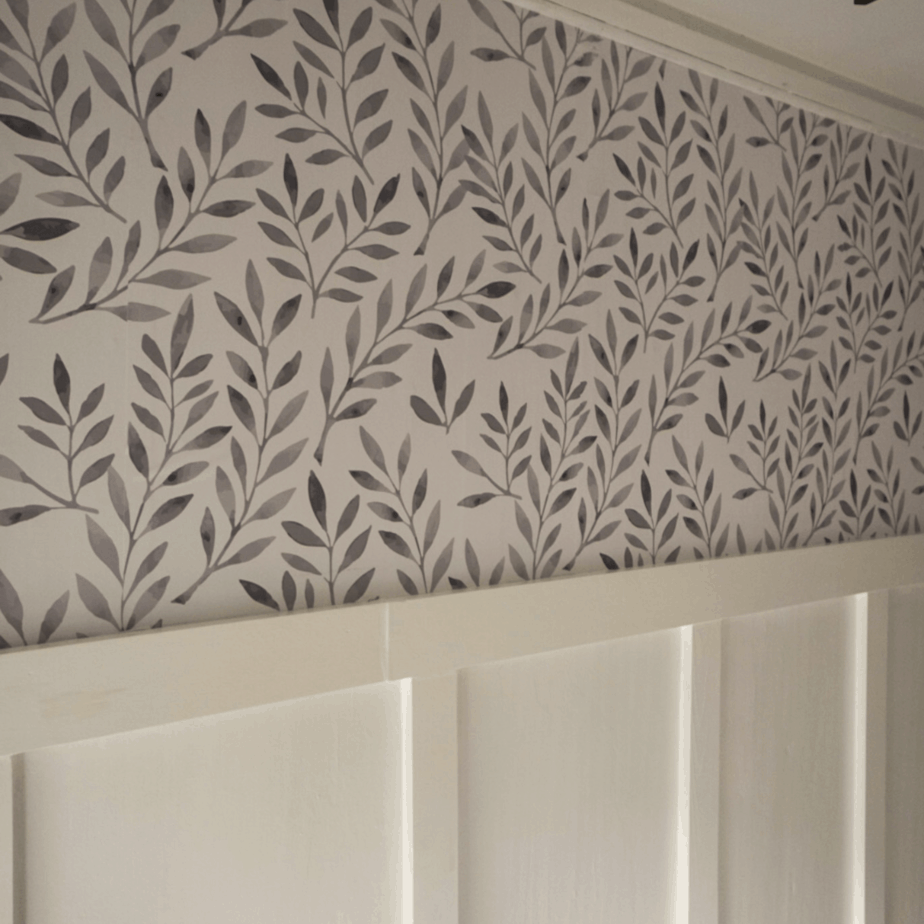
Want more choices in wallpaper?! I’ve found some similar ones! Just click on an image to be taken to the source. *These are affiliate links, and if used, I make a small commission at no cost to you. Thanks for supporting the brands that support this blog of mine!
This entryway has changed! Come and see how I updated the floor tile with paint!
Want to read more about updating your home on a budget? Check out my post below!
How to paint your ceramic floor tiles – what to do and not to do!
Painting ceramic floor tiles can be the perfect way to update old tile on a budget! It can take some research and a few substantial hours of work, but the results can be so worth it! The first step is to…
Chat soon,
Kori

Beautiful! I’m wondering if you painted the board and batten with eggshell or a higher gloss paint?
a semi so it’s easier to clean.
It looks unfinished. Why wouldn’t you install baseboards? And why didn’t you fix the trim around the door so that your boards but up flat with the door trim?
I was wondering the same thing…
Hello. I’m going to order the same peel and stick wallpaper amd their site allows you tl select a scale size of the actual leaves. Do you recall what size you bought? Also did you do the smooth or textured paper? Thanks so much.
Hi! I think I ordered 50% scale on this wallpaper and canvas for the finish. You’re welcome and good luck!
~Kori
Hi there! Do you happen to have the name of the specific wall mural print from Wunderwall? I love it but can’t seem to find it on their website.
My exact one isn’t available anymore they’ve tweaked a tiny bit – it’s now called the Leaves and Berry mural.
Beautiful! May I ask your paint color on the board and batten?
Sure! It’Pure White by Sherwin Williams.
Oh, thank you! It is such a warm, inviting color!
Susanne Braaten ⬆️
I love it thanks for sharing .