How to make a DIY built-in bookshelf – old house edition
Finding the right storage and display in your home can be a tricky task! Adding a DIY built-in bookshelf seems to be perfect solution, especially for older homes where storage is limited.
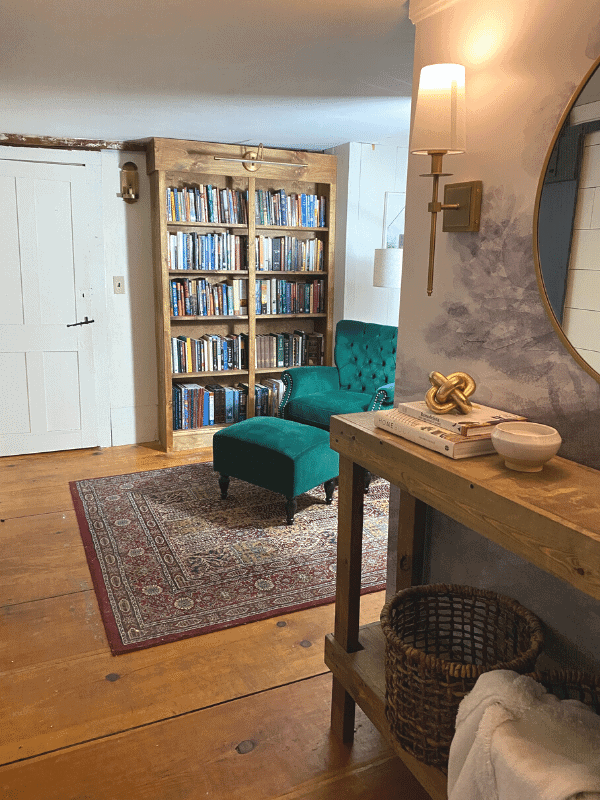
Here I’m sharing how to build your own bookcase in your home and sharing tips and tricks to building one in an older home.
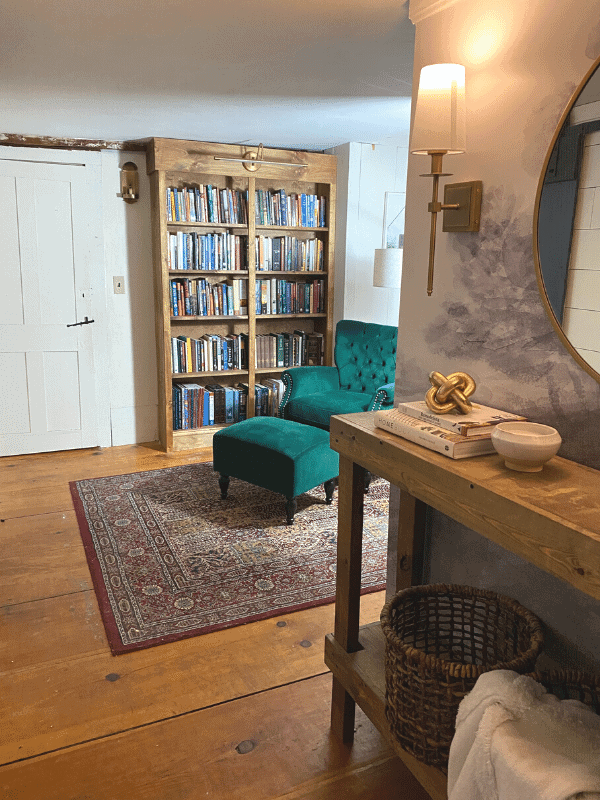
I DIY’d my built-in bookshelf so I had more control over how it looked and the style of the shelves. Doing it myself also made it cheaper!
My built-in bookshelves were the perfect way to improve my space and bonus – it increases home value! I’ll walk you through how to do built-in bookshelves yourself, but first, I’ll answer a few questions!
How much does it cost to make a DIY built-in bookshelf?
I did it in a way that was a bit cheaper. We already had the tools to start so we didn’t have to spend anything on that. I also chose to buy the raw materials.
The boards we bought were $17 a piece, but that was before the lumber spike. We used 6 boards and the backing was another $15. The trim was $10 too, which made the total land around $150.
Can you build your own built-ins?
That’s what we did! It may look complicated, but once you have the pieces and the measurements ready, it’s only a few steps!
It is pretty easy to make your built-ins look like they’ve been there all along by adding crown molding and making them stretch to the ceiling.
How do you turn a bookshelf into a built-in?
I bought the raw materials and made them from scratch, but it is also easy to convert a plain old bookshelf into a built-in shelf.
If you have a bookshelf ready to convert, first remove the existing molding and measure what you need to make the shelf reach the ceiling.
You can use wooden boards to build another shelf that extends to the ceiling, and paint it all to make it cohesive!
Then mount the shelf to the wall, reattach the crown molding, and use the rest of the molding to hide the gap between the shelf and the wall. Thistlewood Farms has a detailed how-to if you would like to take this route!
Is it cheaper to make your own DIY built-ins bookshelf?
Overall, yes it is cheaper to build your own built in bookshelves. The raw materials themselves are cheaper than the already built shelves.
The only catch is to make sure you don’t make mistakes that cause you to buy more supplies and rack up the price. Building your own also lets you build shelves that work perfectly in your space and measurements. You can also
cherry-pick the types of materials you want to use, and make it more durable than any bookshelf you can buy.
Are built-in bookshelves outdated?
No, DIY built in bookshelves are still popular! They add a unique feature to any living space and lets you individualize the space by adding your own style to the shelves.
Not only is it stylish, but it’s practical if you have a book collection you want to show off! The biggest thing to consider is the overall style in your home, and making sure that the type of bookshelf you choose works best with it!
Are built-in bookshelves worth it?
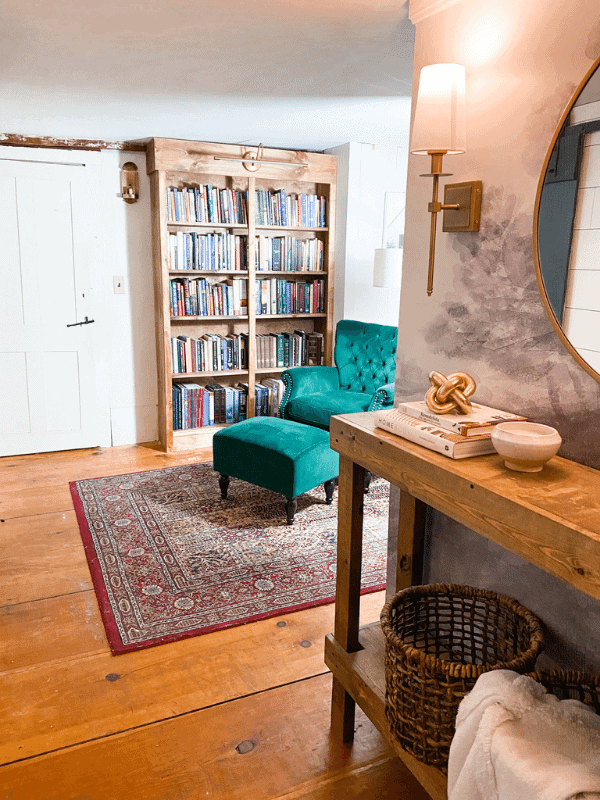
Even though you can’t take your DIY built-in bookshelf with you if you move, I think they are still worth it! Built-in bookshelves can increase your home value and bring a new way to enjoy your home!
Built-in bookshelves can increase your home value more depending on the placement, high-quality construction, and if the shelves are adjustable.
How do you make a cheap bookshelf?
To make a cheap bookshelf, one option is to make my route! You can find cheap materials to make it from scratch and build it yourself!
You could also take another route I discussed which is converting an already existing bookshelf.
This route takes a few fewer steps and you can find a bookshelf at a place like goodwill to convert! Either way, you’ll save money by not paying anyone to build it for you!
How do you make a homemade shelf?
You have come to the right place if you’re asking that question! I am just about to show you, so let’s get started!
You’ll first need to gather your materials and tools before anything else.
Material needed:
- 1×10 pieces of wood
- Underlayment for backing 4x 8
- 2 1/2 inch wood screws
- Drill
- Table saw
- Miter saw
- Wood filler
- Sandpaper
- Stain or paint
- Polyurethane
- Level
Step one: Measure and cut
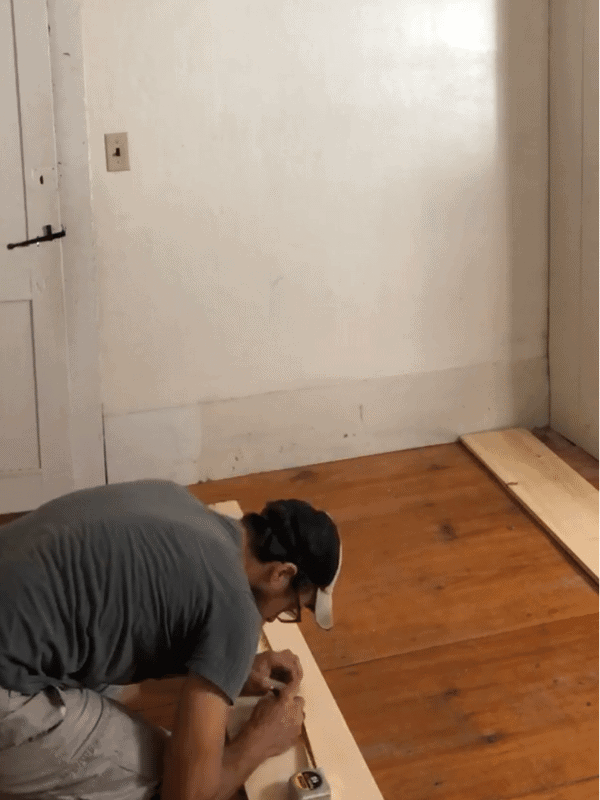
You’ll have to start by picking out exactly where you want your bookshelf. Find a blank wall that you can see a DIY built-in bookshelf working well.
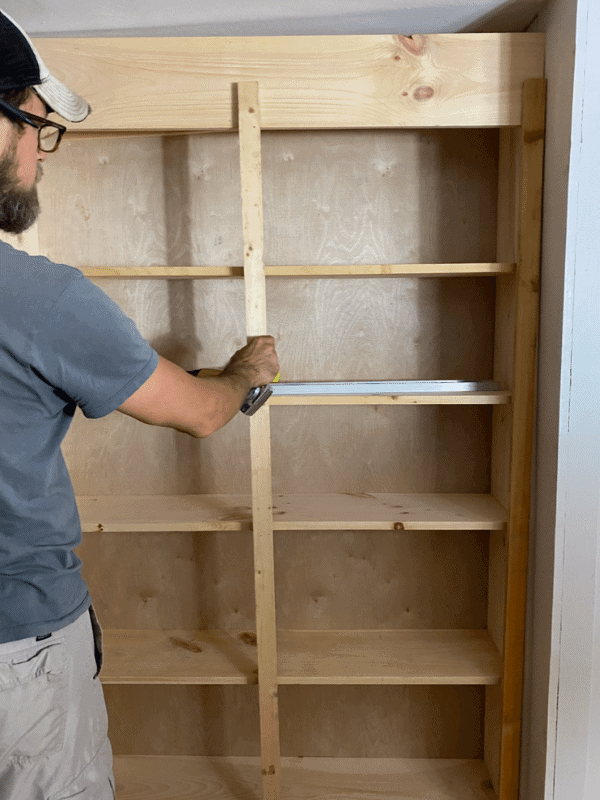
Measure your space to figure out the dimensions you need. Floor-to-ceiling shelves really give the look of built-in shelves, so we went with the height of our ceiling.
Measure the sides of the unit too, and then you can start cutting. Double-check your measurements, and cut your shelves.
Step Two: Assemble
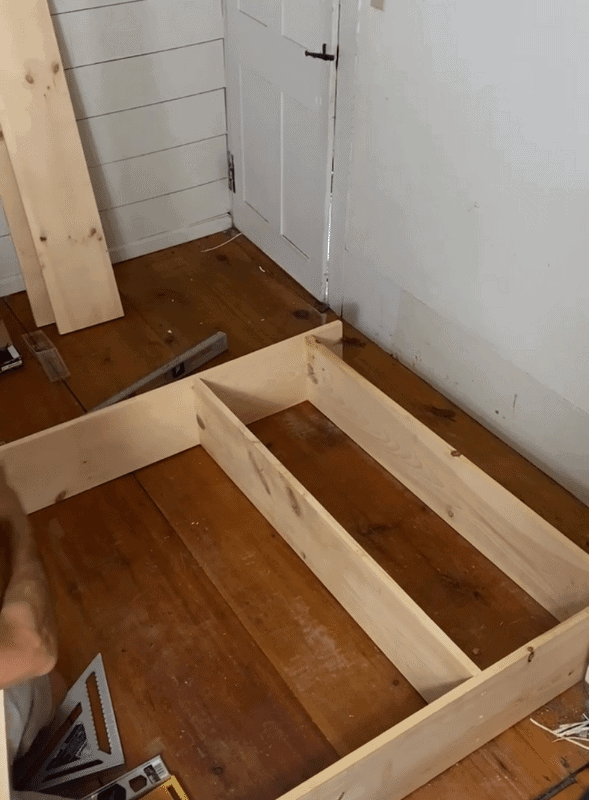
Once you’ve got your pieces cut out, find the right height that lines up with the width of your bottom trim (or kickplate). Attach the bottom shelf at that height, and stand it up.
Then, hold the sides of the bookshelf upright and fasten the bottom shelf into position. Make sure that the bottom shelf is perfectly level.
Step Three: Attach Shelves
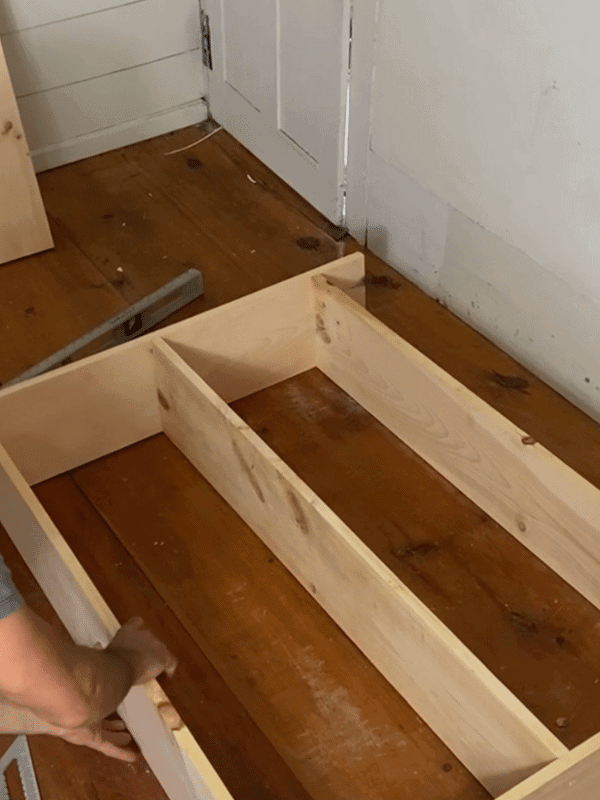
Now it’s time to attach your built shelves. Space out your shelves vertically and attach them using 2-inch wood screws.
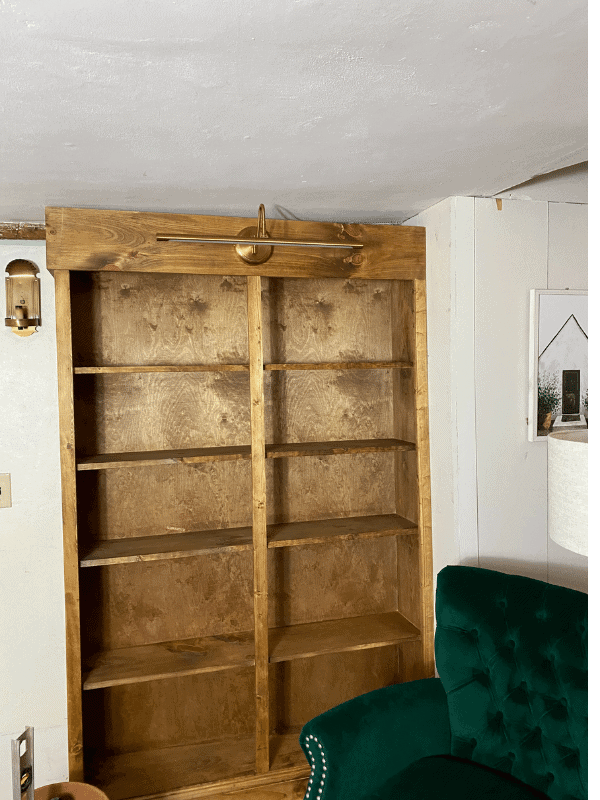
I’m planning to attach sconces to my bookshelf, so if you want to do the same, position your top rail so that you have room for them!
Balance the angle of the top rail with the angle of your ceiling. If you have an older home like mine, you’ll find that the ceilings have most likely settled with time.
This will make things look a little crooked so you might have to adjust.
Step Four: Attach Backing
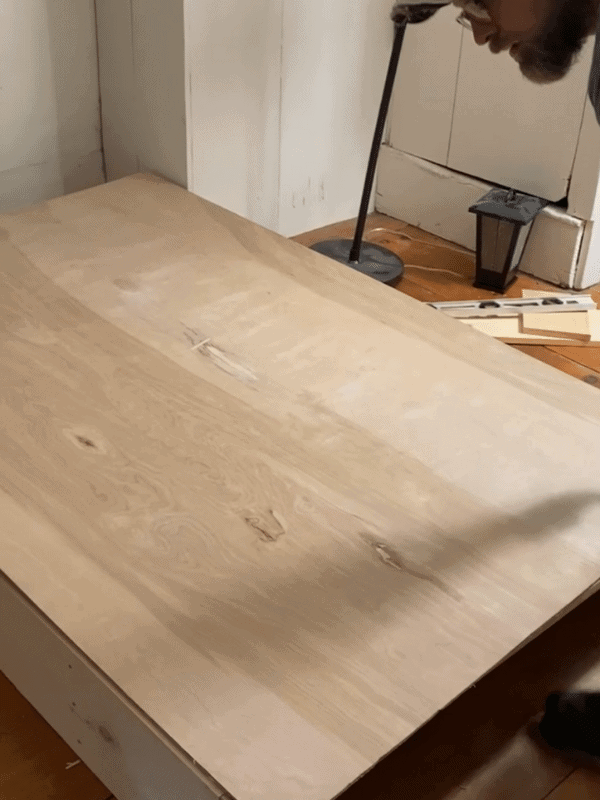
The shelves are set, so you can add the backing. Before you fully attach the backing, cut notches into the back sides of the bookcase sp that the board is flush with the back of the sides.
This makes it easier to put screws through this board to fasten it to the wall in later steps. Now, you’re ready to lay the bookshelf down and attach the backing with 1-inch screws.
We had to trace the shape of the backing to get it right. Our bookshelf isn’t square because of how our home settled, so double check your measurements before cutting.
Step Five: Attach it to the wall.
You’ve made it! You can attach it to the wall! Stand the bookshelf up, and run your screws through the mounting boards to secure it to the wall. Before this step is solidified, make sure the shelves are level and it looks the way you want!
Step Six: Attach top rail and bottom rail
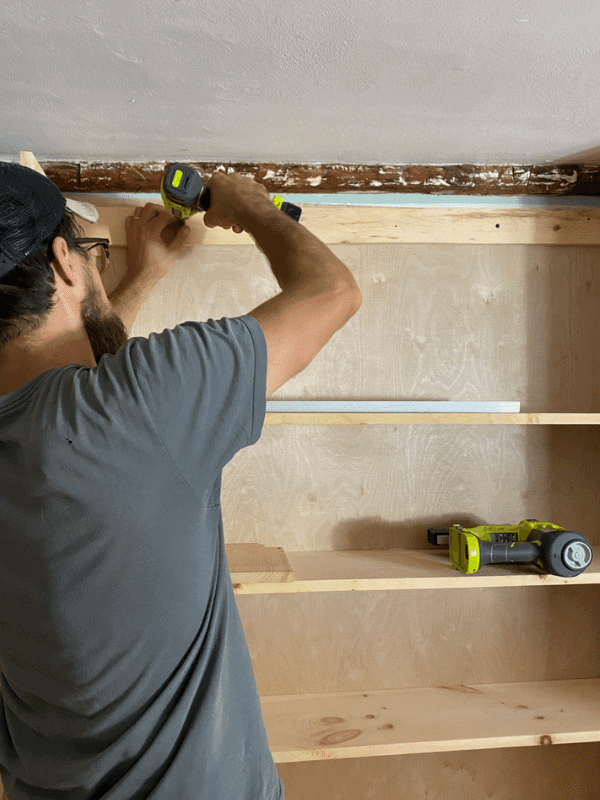
Attatch the top rail, but make sure to adjust to the slope of your ceiling. You can eye it to make sure it looks square. Take a strip of wood from the floorboard under the shelf, and nail your bottom rail to it.
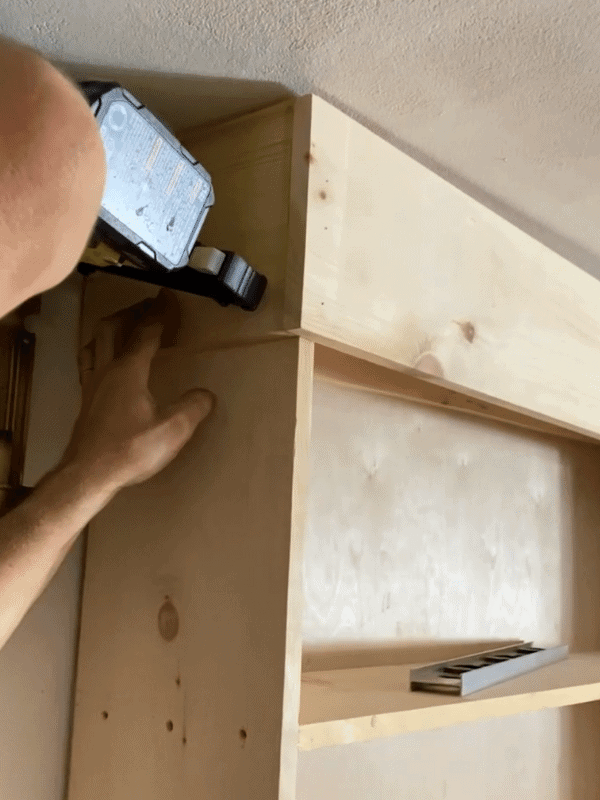
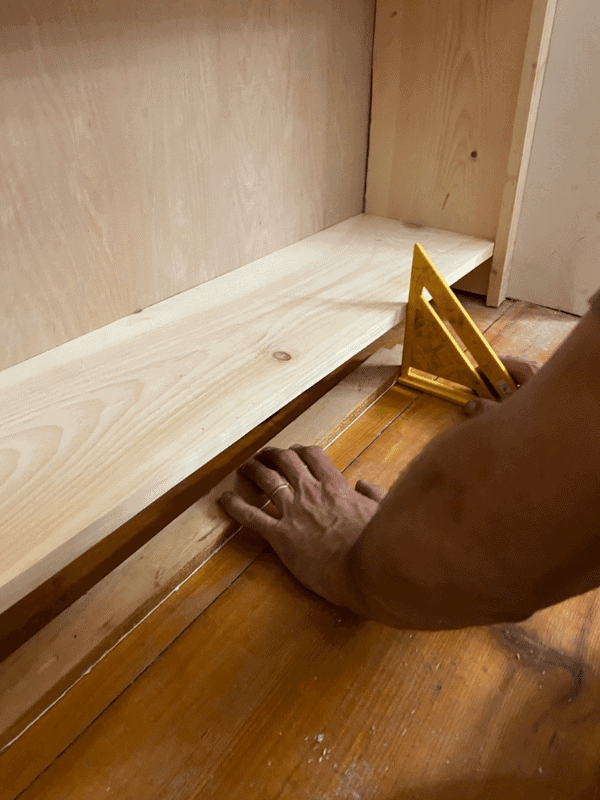

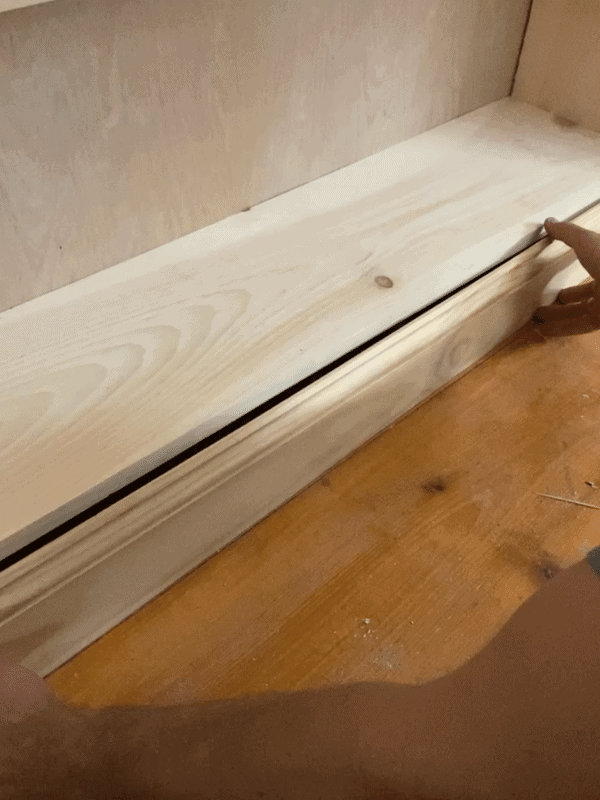
Step Seven: Attach the strips of the face board
Grab strips 2 inches wide so that you can attach them using a bran nailer.

Step Eight: Finishing Phase
You’re almost there! The last few steps are making sure the wood is filled in and finished to make it look just right!
Use some wood filler wherever needed, sand it down and stain it however you would like, and you can use some polyurethane if that works best for your materials!
I used Early American 220 stain.
Want to shop the supplies for this post? Click the images below. *These links are affiliates and I make a small commission when used. Thanks for supporting the brands that support this blog of mine!
Be sure to pin for later!
Thanks so much for reading along!
Talk soon,
Kori
