Turn Your Landing Into a Cozy Library Nook in Seven Simple Steps
Every home needs a space where you can just take a breath before moving on to your busy day. A reading nook doesn’t have to be extravagant or have a whole room dedicated – though it definitely could if you want! You can make a reading nook in a small bedroom, and many references show reading nook ideas for small spaces. Today, I’ll be sharing how I made a cozy library nook in my upstairs landing.
This is where I got the idea to make use of my small landing space. This small space stumped me for a bit because I didn’t know how to make the most of it.
I looked up ideas for my small landing at the top of the stairs and I thought a reading nook would be perfect! It’s the perfect hideaway to take a reading break or even to just be on my phone for a bit.
Reading nooks don’t have to just be for kids, reading nooks for adults can include your favorite books, blankets, and a relaxing them. I’ll show you my reading nook DIY that only took me seven steps!
Step One: Add Storage
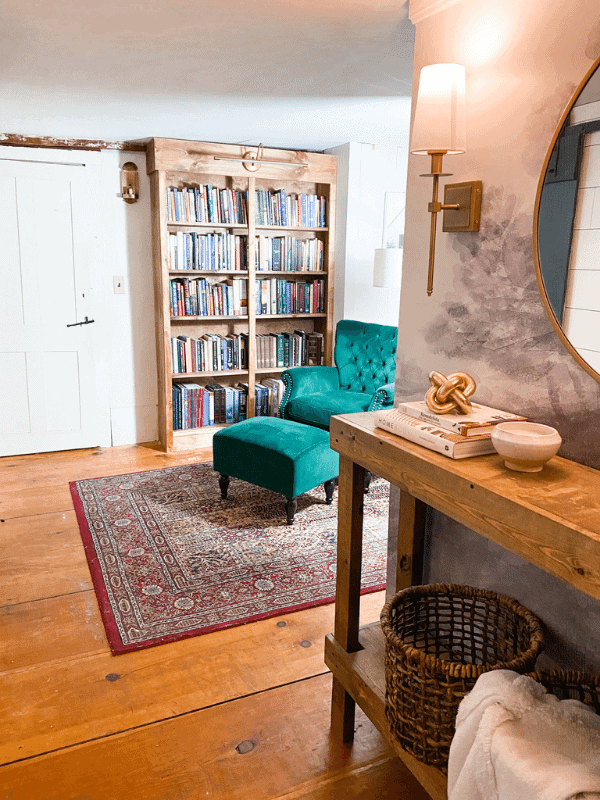
I wanted to figure out how to make the best out of my small space. The first thing I had to figure out is what kind of storage could fit in the space.
I didn’t want a chair to take up the whole space and there wouldn’t be anywhere to tuck some things away So, I found the perfect piece that would leave room for some coziness.
Step Two: Add Cozy Textiles
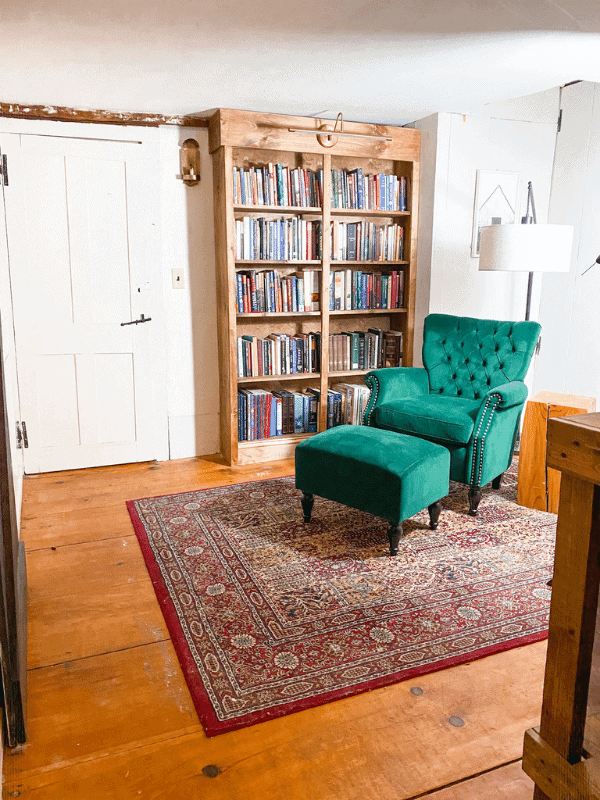
One way I thought to dress up my landing library nook was to add a rug and some other textiles. Different textiles can make it feel warmer and welcoming!
I didn’t want to make the reading nook just for looks, I wanted to make it inviting so I am reminded to take a break once in a while. I love how The Spruce added cozy thrown in their library nook.
Step Three: Add Lighting
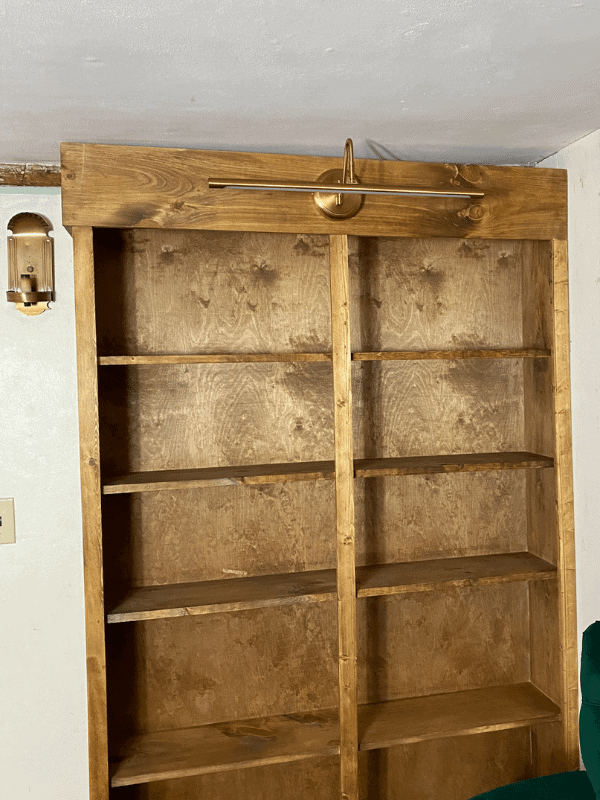
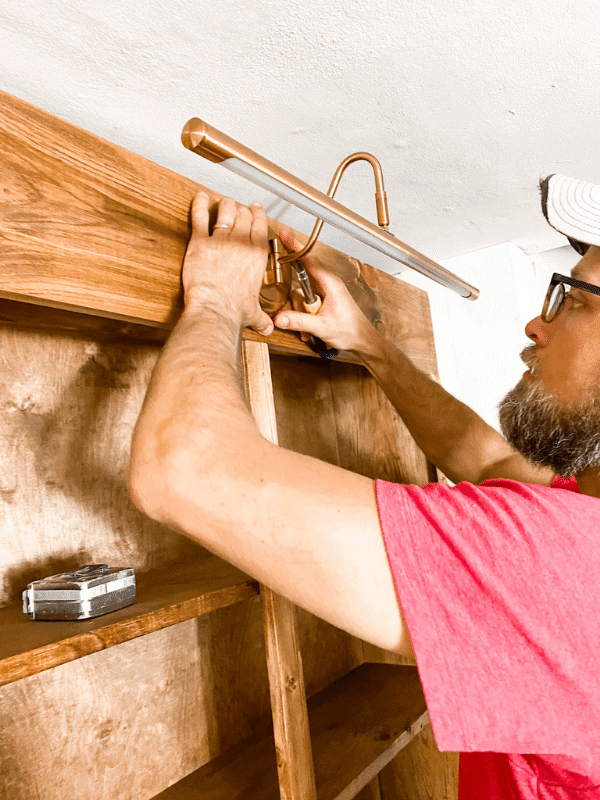
What is a reading nook without a reading light? This is the perfect opportunity to go thrifting and find a reading nook lamp that fits with the theme!
Warm light can make the space even cozier and can make it easier to read your favorite book.
Step Four: Add a Reading Chair
I might be ahead of myself, but this might be the most crucial step in creating your landing library nook. You want the chair to be comfy, and a place where you can read for a few minutes or few hours.
This could also be your chance to add a pop of color to your reading nook or to add some style depending on the type of chair you want to use!

Step Five: Add a Place to Put Up Your Feet
Okay, this might be the second most crucial step to creating your reading nook. This is the other half of your reading chair.
This could be a small ottoman that fits just right by your chair or a poof that is a bit smaller. Whatever you choose, it should help you put your feet up to relax and take a break!
Step Six: Add Interesting Art Work
Adding some artwork can add some more personality to your reading nook. This doesn’t just have to be something you look at all the time while you are in the reading nook, but it can be something eye-catching to make the nook look cozy as you pass it.
It could be a painting or artwork you made yourself, or it could be something will inspirational quotes. It could even be quotes from some of your favorite books to fit the theme!
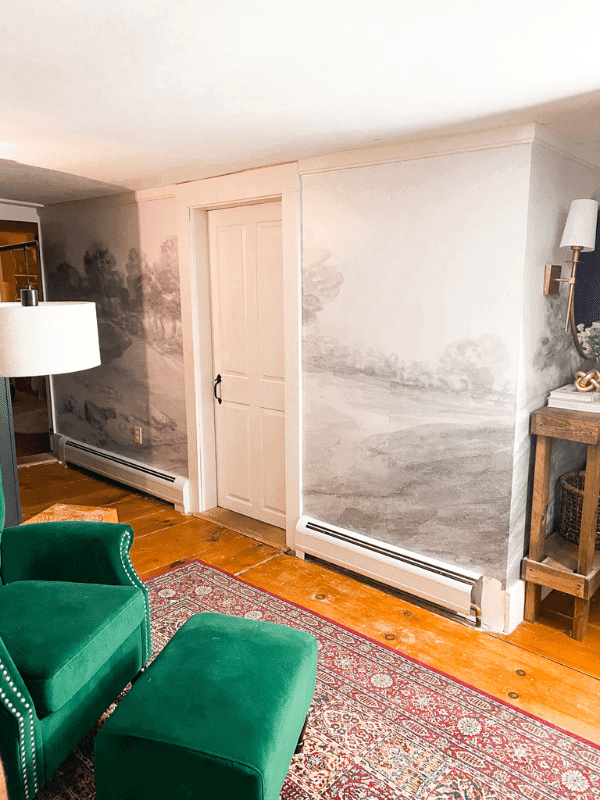
Step Seven: Add Bookshelf with Books
We are at the final step! Now, it’s time to add a bookshelf and some books! The bookshelf will be really nice right next to your reading chair so that you can easily pick up what you were reading and continue!
If you wanted to add more aesthetics, arrange the books by color! You can also add some knick-knacks to the bookshelf for fun!
And there you have it! This is how I made my reading nook, and I hope it gave you some small landing ideas! You can adjust this to what works best for you in your own style.
I absolutely love my in-home oasis, and I hope you enjoy yours too!
Be sure to pin for later!
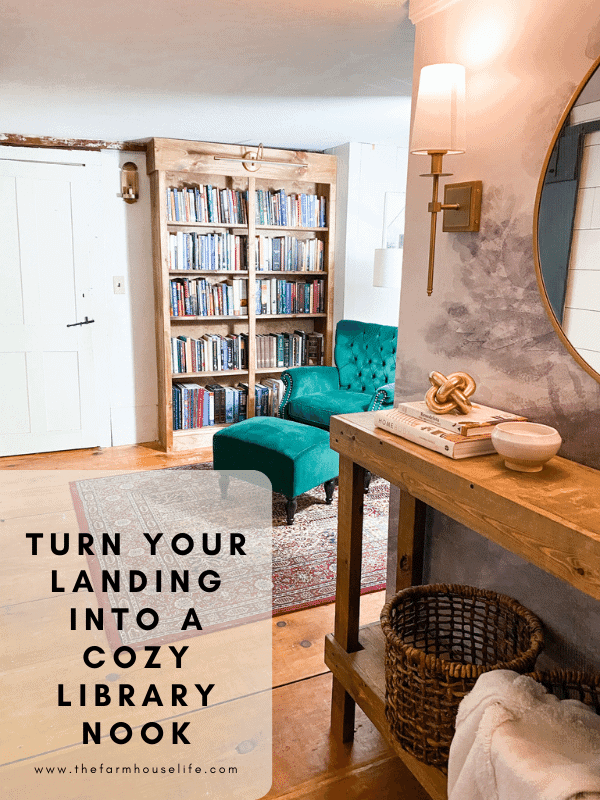
Want to shop this post?! Just click on an image to be taken to the source! *These links are affiliate links and if purchased I do make a small commission. Thanks for supporting the brands that support this blog of mine.
Thanks so much for reading along!
Much love,
Kori ~ From The Farmhouse Life

Looks great! Did you paint the mural or is it wallpaper? Source?
Thanks! It’s a wall mural from anewall.
Love it! What color stain did you use on your bookcase?
Thanks! I used Early American 230 from MinWax.