I love making wreaths. Real or faux, it doesn’t matter. They look so pretty around the house and can help decorate for really any season. If you’ve been wondering how to make your own wreath, but aren’t sure how or what it would entail, you’ve come to the right place! Here I’ll be showing you how to make a wreath that is simple and basic so that you can use it for every season!
Should I spend $100 on a wreath?
Trying to figure out if you should make or buy your wreath can be tricky. Making wreaths came be very easy and very affordable! Convincing yourself to spend $100 on a faux wreath can be tough, so why not make DIY a wreath yourself?
Sometimes we associate wreaths with the holidays, but wreaths can be used for any season! The green that you choose to use is really going to give the impression for the time of year.
For instance, for warmer months I like to use eucalyptus, magnolia, redwood, boxwood etc. For the colder months I like to use the more traditional earthy greens like pine, blue spruce, cedar, or juniper.
There’s also the option of using fresh material or faux. For the colder months I like to use fresh material because I think it adds to the fun holiday spirit, but in the warmer months I like to use faux for the longevity. The preference is really yours.
Today I’m going to show you how to make a faux eucalyptus wreath. To follow along you can choose any green stems, the choice is yours. The project shouldn’t take more then 20-25 minutes total.
List of supplies
Floral Sheers
Floral wire
Wreath frame
Greens of your choice.
I went to Michaels and brought three bundles of faux eucalyptus branches for about $12.00 on sale. That was just enough to cover my frame.. But If you want a more full look you may want to buy more bundles of eucalyptus.
First ~ Cut your greens to size.
To start make sure to cut off all the stems to make your greens about the same length. This makes for a more cohesive wreath.
Next, Weave your greens through the frame and then wrap.
Simply, grab a stem and insert the end through the frame to start building your wreath. Cut your floral wire a good 4 inches and began to wrap and secure the stems to the frame.
Then repeat this process until the wreath frame is completely covered! Make sure to layer your greens on top of the stems of the previous layer. This ensures that you won’t have gaps in your arrangement.
And Voila! Done! Now you have a beautiful DIY wreath to display on a door. mirror, or mantel!
Be sure to pin for later!
Want to shop the supplied for this project? Just click on an image below!
Every home needs a space where you can just take a breath before moving on to your busy day. A reading nook doesn’t have to be extravagant or have a whole room dedicated – though it definitely could if you want! You can make a reading nook in a small bedroom, and many references show…
There are so many options (maybe too many!) for painting your home. It is hard to commit to just one, and you don’t want to make a bad choice and make trip after trip for another paint test. Repose Gray has been a popular color by Sherwin Williams for years now. But is still popular…
This is the easiest guacamole recipe you will find, so easy that you wont even have to chop anything! Avocados are a staple in our house. I’m always picking them up at the store – but sometimes I will end up with too many and they get too soft for my kiddos. When they start…
Making wreaths to add to your dining room chairs is so easy this Christmas season! I’ll show you how to use faux garland to make them and how to hang them! Turn wired garland into wreaths I love adding as much greenery in my home around the holidays as I can. I try and make…
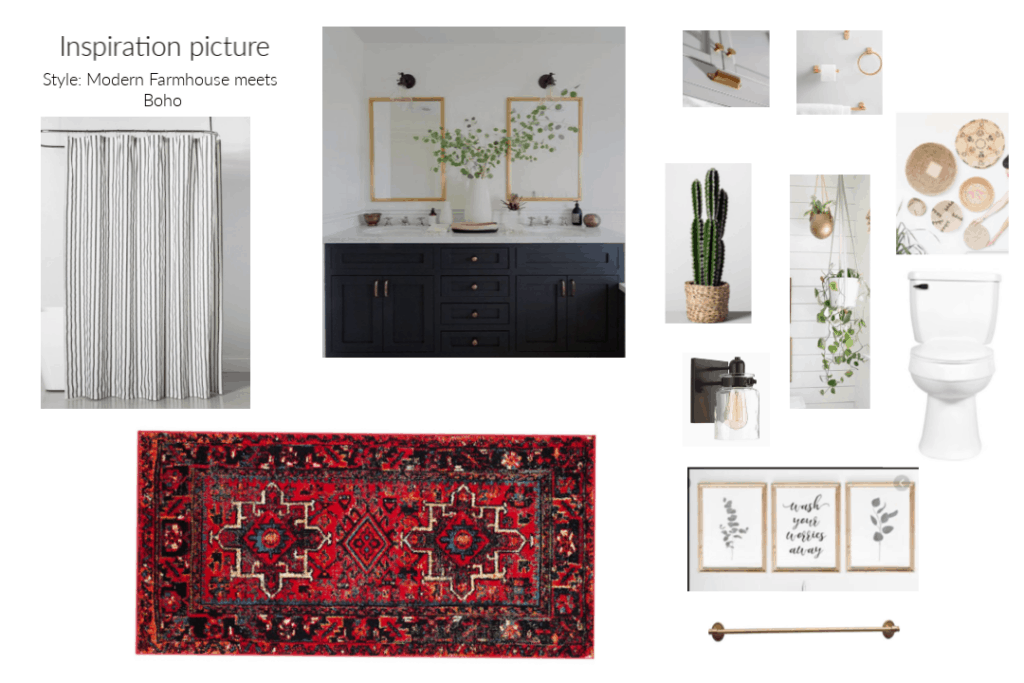
I am excited to share my bathroom refresh plus my painting hack that will save you time! To start my bathroom refresh I started with a vision board. I went with farmhouse meets boho…If you know me – surprise surprise! Those are my two favorite decor styles. My bathroom currently is very brown. So to…
With a few tips and professional tools, I learned how to spray paint kitchen cabinets like a pro! Here I want to share not just the best paint for cabinets, but all the techniques that will give a professional look for a lot less. My kitchen cabinets were ready for a makeover, and doing it…