Can You Stain Over Stain? Staining Rules 101
Have you found the perfect piece of furniture, but the color is just a little off? If you’re like me, your first thought may be re-staining… but can you stain over stain?!
I’ve had a few staining endeavors, and i’ve learned a few tricks along the way that get the best results.
Here, I’ll be answering different questions you might have about stained wood, including things like “is it possible to stain over old stains”, “what’s better to use – water-based stains or oil-based stain”, and “what tools will I need to get the best finish!”
Hopefully by the end, you will have all of your questions answered and be ready to begin your next staining project!

Can I stain on top of old stain?
Yes! In fact, applying stain over stain is a fairly simple process. It works especially well if you’re applying a dark stain over a lighter stain.
You can even mix 2 or more stains together and make your own custom stain!
Before starting your staining project, you should decide whether you want to refresh the existing stain or use a different color.
Different stain projects will require different amounts of work and products.
How do you stain over existing stain?
Before committing to an extensive staining project, it is important that you test your plans on a small area first. This is because different pieces of wood will react with colors differently.
Don’t approach your staining project thinking that it will turn out the same as a previous one. Choose a hidden spot on the piece and applying some stain there as a test run is your best bet. Allow to dry for 24 hours.
Also, make sure you firmly establish your goal before your project. How you approach darkening a stain will be different than how you approach lightening one.
You have a couple of options for staining over existing stains. The type of stain does matter. One involves traditional liquid stains and requires a bit more effort.
This may be necessary for projects involving lightning stains. The other involves gel stains and will only require light sanding at most. The second option is more reasonable for stain darkening projects, and color tone changes.
Using gel stain to cover the existing stain will involve a slight amount of sanding, and then applying the coat of gel stain on top of the existing stain.
It’s always a good idea to test your potential stain on a small area to make sure you know how the end result will look.
It is also useful to spend some time experimenting with stain mixing and visualizing how dark you want the stain to be, as it is easier to darken a stain or change color tone than it is to lighten a stain.
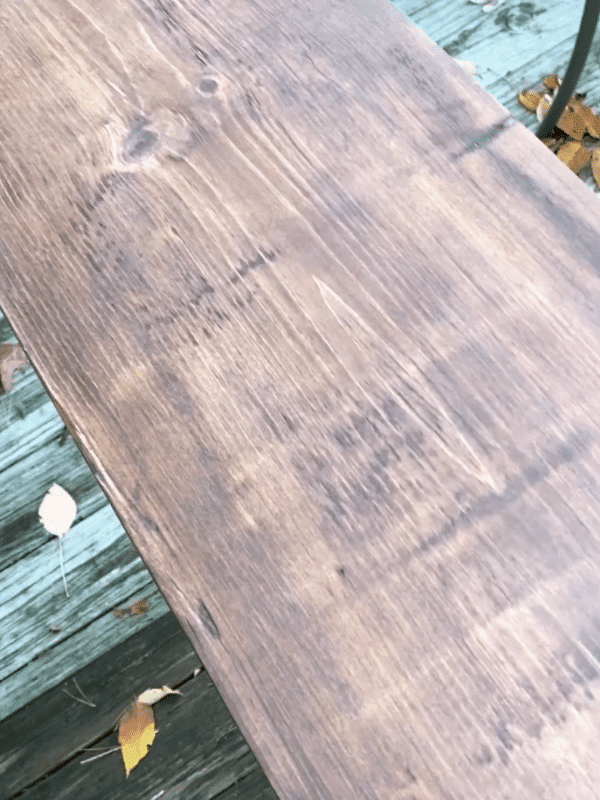
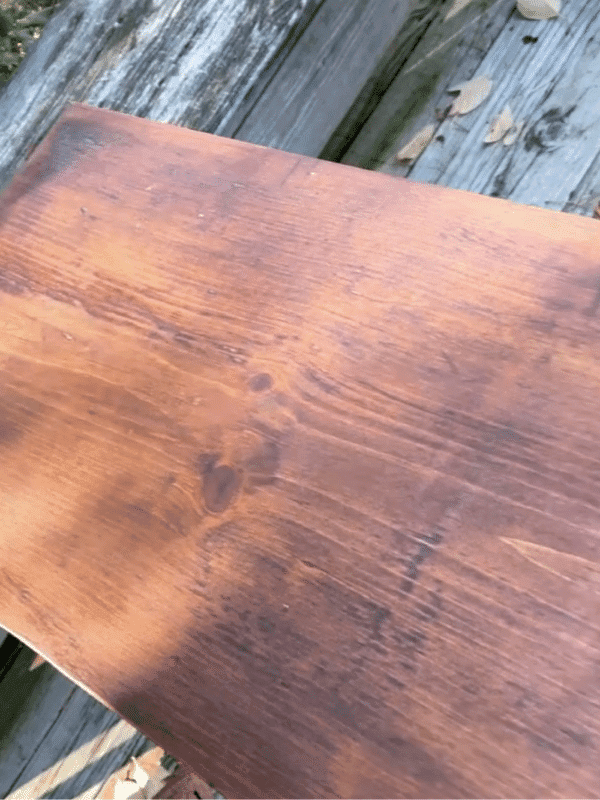
Do you have to remove old stain before restaining?
Depending on your project, you will not need to remove old stain before restaining. If you want to darken the stain on your wood project, then removing the existing stain is not necessary!
However, if you want to lighten the stain, then you may need to use chemical strippers to remove the existing stain on your project… depending on what material you are starting with.
However, if you are working with a solid wood surface, you may be able to just use an orbital sander to take off the old finish. If you try to use a lighter shade over a previous stain that is darker, it wont make a difference. Or, it may even appear darker after it’s dried.
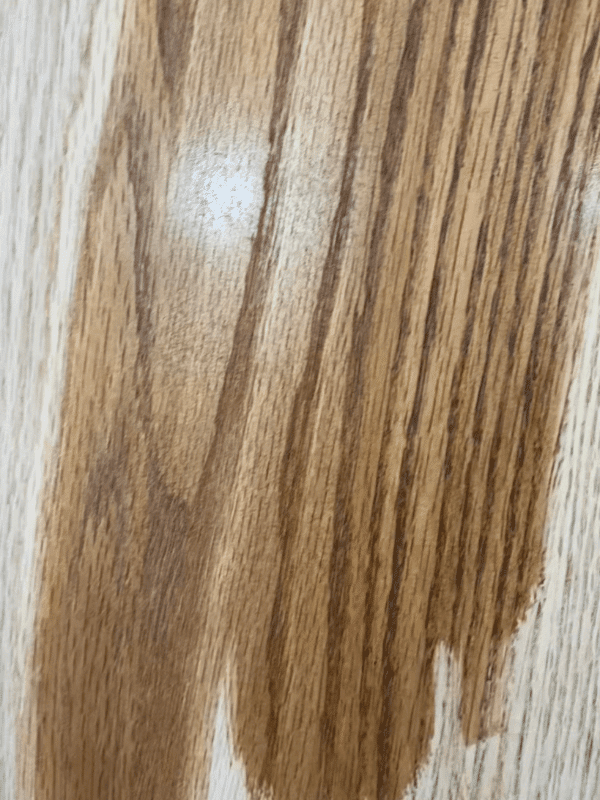
Can you stain over existing finish?
There are cases where you can stain over existing finish, but it will depend on your project and the types of stain you use.
Traditional stains are intended to penetrate the surface of wood, and therefore can be messed up by existing finishes on top of the wood.
Gel stains are more intended to sit on top of wood and therefore can be treated more like paint. This means that any existing finish should not heavily disrupt the goal of the gel stain.
So, if your project has a very nice existing stain and finish, and you are interested in changing the tone or darkening the stain, a gel stain might be your best bet!
If your project has a rougher finish, you can expect to do some sanding, especially if you want to lighten the stain. In this case, a traditional stain might be better suited for you.

Can you restain wood without sanding?
The reason it’s best to sand before staining or even painting is because the wood grain raises up during the process making the product adhere better to the wood.
While it’s always best to do some light sanding for all stain projects, you can probably avoid heavy sanding and stripping.
Using a gel stain means that you can avoid the heavy sanding and stripping usually required by traditional staining projects.
Using fine sandpaper, like 120-grit sandpaper will make the stain adhere better.
Can you change stain color on wood?
Yes! In addition to trying to darken or lighten a stain, you can also just change the tone of an existing stain.
Much like the process of deciding on a lighter or darker stain, you can look at your existing stain and experiment to find the new tone that is right for you.
If you cannot find the perfect tone ready-made, then mixing different stains might be your best choice. It may take a bit of extra time, but I find that it’s time well spent.


How do you darken already stained wood?
It is entirely possible to darken already stained wood, and you have a variety of options to do so. Darkening stained wood is not as involved as lightening stained wood, and so this project is much less intensive.
To darken stained wood, you can clean and lightly sand the surface of your wood project (this is mainly to remove the finish), and then apply the new darker stain to the surface.
The new stain will need to dry for several hours before applying a second coat. Although, second coats aren’t always necessary.
Sometimes additional coats just makes for excess stain, resulting in your project taking longer to dry. On top of not making it any darker. Be sure to wait 24 hours before applying a finish coat. I like to use a matte finish like polycrylic.
Can you stain light over dark?
Unfortunately, no, you cannot stain a darker stain lighter.
Salvaged Inspirations compares trying to use a light stain over a dark stain to dying your dark hair lighter without stripping it of it’s color first.
If your idea calls for a lighter stain than you currently have, you will need to remove the darker stain first and then apply the lighter stain. Fortunately, depending on the size of your project, it can mean a quick standing of the entire surface to remove the old stain.
Can I stain on top of old stain?
Yes! Staining on top of older stain is perfectly fine. For instance, are you using deck stain to freshen up your deck?
You can definitely apply a new coat of stain each year to give it a fresh look. I like to finish with (affiliate) Thopmson’s water seal. This product will protect your deck from rain all season long!
Will vinegar lighten wood?
Vinegar is often used to clean wood, but if your goal is lightening a stain, then vinegar is probably not your best bet.
Vinegar may be associated with stain lightening as bleaching wood is a popular method for lightening stain.
How do you lighten a stain before applying?
To lighten a stain, before applying a new one, you will need to strip down the existing stain.
This will be a bit of an involved project, so make sure you research to understand the tools required.
Intense sanding will be involved, so having a power sander and respirator would be useful. Always sand in a well ventilated area and in one that you don’t mind dust particles going everywhere.
It is always advised to sand with the grain as opposed to against it, in order to avoid possible damage.
Once the wood has been sanded and wiped clean, you can lighten the darkened stain by using a stripping solvent.
By rubbing the darkened stain with a petroleum-based solvent and then letting it evaporate, you can lighten the wood.
Then, use a gel or liquid stain to achieve your desired color. It is best to start with thin coats of a lighter solid stain, as it will be simpler to darken the stain than lighten it again.
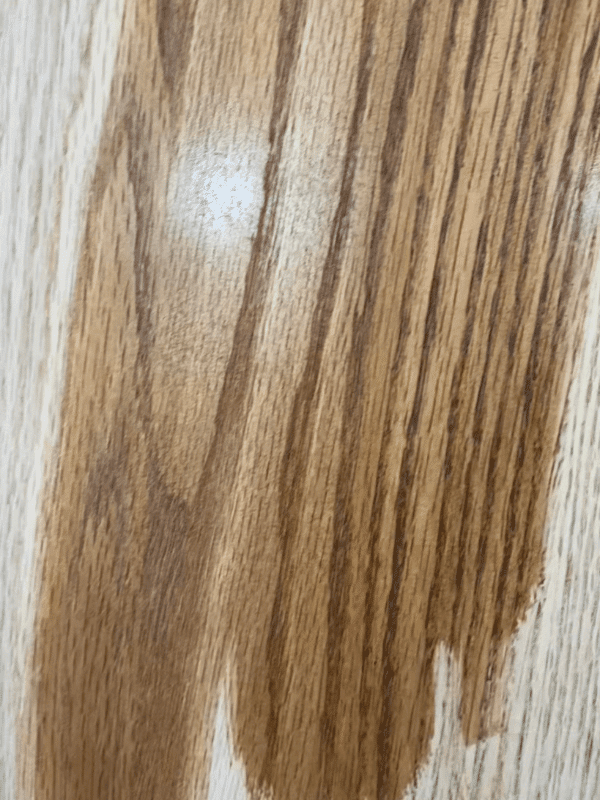

Want to shop this post? Just click on an image below! *These are affiliate links and when used, I make a small commission at no cost to you. Thanks for supporting the brands that support this blog of mine!
Can you remove wood stain with bleach?
Yes, it is possible to use bleach to remove wood stain. In fact, bleach is one of the most effective ways to lighten wood for staining.
Bleaching your wood project accomplishes the same results as bleaching your hair might. Stripping that existing color away and offering you a new blank base to work with.
This can be a great idea for taking older furniture and revamping them for your space.
How do you remove wood stain with bleach?
As we mentioned with prepping for lightening wood stain before, sanding any finishes and top layers of stain away is a good start for the wood lightening process.
You could also purchase a wood stripper meant for stain. This is a great idea for larger projects.
Bleaching the wood is then pretty straightforward. There are options for furniture-specific bleach, but common household bleach is more than fine as well.
Brushing your bleach onto the prepped furniture is the next step. Let it dry and check how light it is. You can apply more bleach once it has fully dried to achieve your desired results.
It is important to neutralize the wood when your bleaching session is coming to an end though.
You can do this with a 50/50 white vinegar and water mixture and apply this wherever the bleach was applied. Then wipe down with water.
The bleaching process may have left the wood feeling rough due to the strength of the chemicals. You can sand it down again and wipe it with a cloth and you should have a freshly lightened piece ready for staining!
How do you recolor wood?
Staining wood is perhaps the best way to change its existing color. Traditional water-based wood stain penetrates the surface of the wood.
This allows the natural grain and patterns of the wood to show through,while still changing it’s color. Water-based wood stain actually penetrates better then oil-based wood stain.
Simply painting a piece of wood would mean that the paint sits on the top of the wood, blocking out the beautiful design that exists in the wood already.
Therefore, staining wood is preferred to help keep the beauty of the grain pattern intact.
Although, gel stain differs a bit from traditional stains in that it doesn’t need to penetrate the wood. Instead, it sort of sits on top of the wood and provides a semi-transparent stain.
This preserves the grain but can be much more flexible and require less effort from staining projects.
Does staining wood protect it?
Some stains come with additives that may help protect wood, like a polyurethane stain. Otherwise, your best bet is to always apply a top coat over your stained wood for protection.
A topcoat will help protect the wood from UV damage, scuffs, scratches, and even spills. If your project is going to live outside, I definitely recommend a water sealant,
Can you stain over paint?
Yes, it is possible to stain over old paint. However, you should be aware that the finished product won’t look exactly like a painted or stained piece. It will be a unique style that combines both!
Just like there is a correct procedure for painting furniture, there is also a correct order to stain furniture.
Because paint has some sort of a gloss, making it less porous, the stain won’t be able to penetrate. This will make the stain sort of spill off. Also, the paint color matters. White paint is best. Darker colors will make it harder to see the new stain.
Staining over paint can be a fun and fresh way to restore older furniture or just revamp your current home style.
The closest example of this style would be rustic. The best stain to use over paint would be a gel based. This is because a gel stain sits on top of the surface and does not need to penetrate to adhere.
Staining over paint can add a look of wear to the piece.
This is important to note because if that is not your desired style, then it may be best to avoid this approach! That being said, make sure to test out a small area first to understand the results.
Be sure to pin!

Enjoy your next staining project!
Staining can be pretty intimidating at first. I know I was afraid of messing up the look of my favorite wooden pieces. But, these tips and tricks helped me along the way, and I hope they can help you too!
I hope I have answered many of the questions you have about the process of staining wood, and that you’re on your way to begin a project of your own!
Good luck in your many adventures. Thanks for reading!
Want to read more about updating your home on a budget? Check out my post below!
Painting Tile Floors: Pros and Cons:
Painting tile floors can have some awesome benefits and really spruce up your place, but it doesn’t come without some negatives.
One benefit is that it is a perfect quick fix and it saves money! It can be really satisfying to finish painting and like what you see. Though, it is not as long-lasting and durable as replacing tile would be.
Painting your ceramic floors can also show more dust and dirt than before painting it. I also learned from previous experience that you have to have the right process to make it last…
Chat soon,
Kori


What great content! Hope those advertisers are paying you well because those are the absolute worst and most frustrating pop ups ever. I’ll never look into whatever they are selling. Even though it was frustrating your content is so helpful and well written thanks!!
Very helpful, thank you.