How to paint furniture white in four simple steps
I’m in love with white-painted furniture! My guess is you are too, or you are about to be as you start your furniture painting project. If you haven’t attempted to refinish a piece of furniture with white paint, it may seem intimidating. Don’t worry! This post is full of tips to help you!
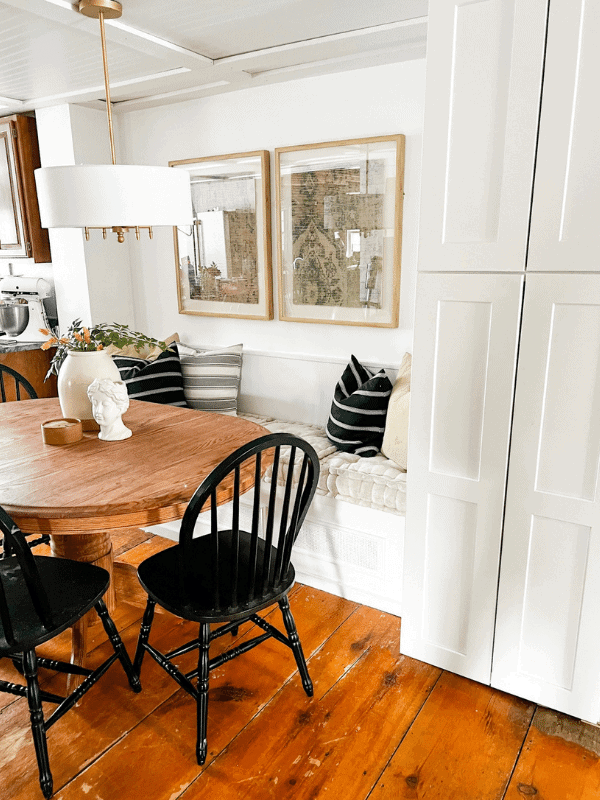
What Kind of Paint Do You Use on Wood Furniture?
Choosing the right paint for your wood furniture is an important task. You want to love it, right? That means color, finish, and quality will play a part in choosing your paint. We will focus on white paint in this post, but many of these tips will apply to any paint color you want to use.
The paint department at your local home improvement store can be overwhelming! Knowing what type of paint works best for your furniture project will help you save time picking out your paint.
These types of paints work well on wood furniture:
- Latex
- Chalk paint
- Milk paint
- Acrylic paint
Can Furniture Be Painted White?
If you have an old, dark piece of furniture you want to refinish with white paint, you may be wondering, can I even paint this white? Will it turn out well? The answer is yes! Absolutely! You can paint your furniture white. The key is prep work! Along with a few other tips we will cover in this post.
What Is the Best Paint to Paint Furniture With?
While there isn’t one answer to this question, there are various things to consider that will point you in the right direction. For example, what kind of furniture are you painting? What is the current finish on the piece of furniture? What type of finish do you want to have when you are done with the project? The type of paint that is best for your furniture will depend on your answer to these questions.
Here is a list of furniture paint choices that work well and a few details about each one:
- Rust-Oleum Chalky Finish Furniture Paint: chalk finish, easy to apply, 30+ colors
- Rust-Oleum Gloss Finish Furniture Paint: glossy finish, 6+ colors
- Ronseal Chalky Furniture Paint: vintage look, rustic look, 8 colors
- Johnstone’s Revive Chalky Furniture Paint: chalky finish, easy to apply, 5 colors
- Hemway Chalk Matt Finish Furniture Paint: chalky finish, quick-dry, 24 colors
- Benjamin Moore Advance Latex Paint: matte, glossy, satin, flat finishes, 3000+ colors
Remember, prep work is key to creating the finish you want! While some of these paints will say “no prep work needed,” I disagree! There is always some prep work to do, even if it’s just a little bit.
What Type of White Paint Is Best for Furniture?
Choosing the right one for the job is critical when it comes to white paints. This includes thinking about the finish you want, the shade of white, and where you will use this piece of furniture.
For example, a piece you will use in the kitchen will need a scrubbable finish that can resist moisture. Something you will use as an accent piece in a hallway can have a less durable finish as it won’t see as much wear and tear.
These white paints are suitable for furniture:
- Majic Paints Interior/Exterior Satin Paint
- Rust-Oleum Brands 285140 Linen White Chalked Ultra Matte Paint
- Rust-Oleum 331049 Milk Paint Finish
- General Finishes Water Based Milk Paint
- Rust-Oleum 1990502 Painter’s Touch Latex Paint
- Country Chic Chalk Style Paint
- Shabby Chic Chalked Furniture Paint
How to Get a Smooth Finish on Painted Furniture?
This is where that prep work comes in! Even when the paint says “no prep work needed,” if you want to ensure a smooth, even finish, do your prep work!
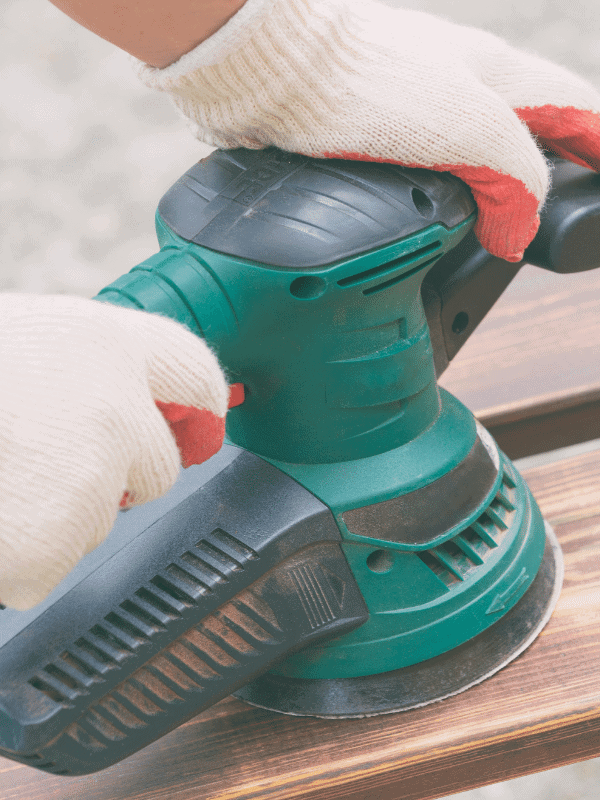
A smooth finish often means sanding during prep. In some cases, your furniture is already free from imperfections, smooth to the touch, and you may be comfortable painting over the existing finish. In that case, you can skip the sanding and move on to the next step to help you achieve a smooth paint finish – cleaning.
Cleaning properly involves removing all hardware, doors, and drawers then giving the furniture a good scrubbing. Sometimes a dry clean is enough. Depending on how old and dusty your furniture is, you may need to perform a deeper cleaning.
If your furniture does need sanding, be sure to use a brush and/or small vacuum to clear away all the sanding debris, then follow with cleaning. Sanding and cleaning are essential to achieving a smooth paint finish on your furniture.
Can I Use Wall Paint on Furniture?
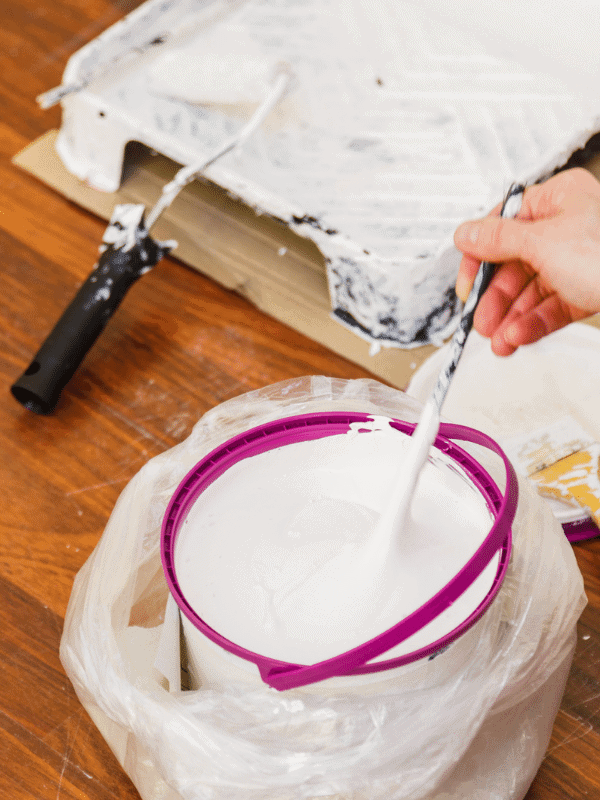
You may have some leftover paint at home, and you are wondering if you can use it on your furniture. The answer is – yes! As long as it is the color and finish you want for your furniture, go for it!
Should I Use a Brush or Roller to Paint Furniture?
Another painting question with no “right” answer. Either a brush or roller works well for painting furniture. I often use both! Using a roller on the flat portions of your furniture will help you go faster, then finish the grooves with a brush.
A roller will give your furniture a smooth, uniform finish. A brush may give your piece a little more texture. When deciding between a brush or a roller, keep these differences in mind, so you achieve the look you want for our piece.
Do I Need to Sand between Coats of Paint?
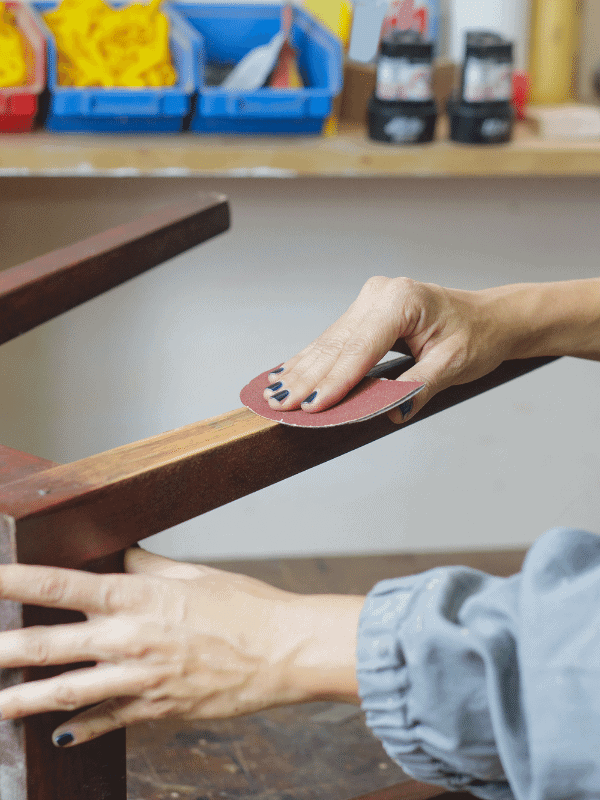
Sanding between coats of paint is not necessary but may provide a smoother finish. On that note, sanding between paint coats is something I always recommend!
Any time you are applying more than one coat of paint, it is vital to allow your paint to dry completely between coats. Most experts say to wait a full 24 hours! After your first coat is dry, gently rub your hand across your furniture. If you feel any wood grain raised up, you may want to lightly sand before your next coat using extra fine steel wool or 120 – 220 grit sandpaper.
Is Cleaning Furniture for Painting Necessary?
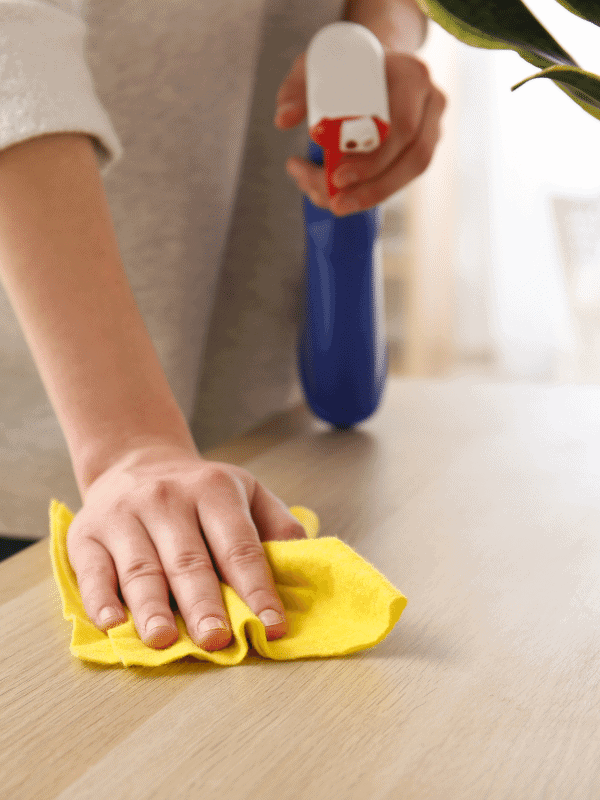
Yes! Hands down, this is a must. Sanding may be optional but cleaning your furniture is not. When cleaning, you remove all grime, dirt, cobwebs, dust, or anything else you may discover in the nooks and crannies of the furniture. Removal of all this dirt and debris is essential to your painting project turning out well.
Do I Need to Use a Top Coat?
A topcoat makes furniture more durable by protecting the finish. A topcoat is not always needed; however, skipping the topcoat means your furniture will show wear and tear faster than if you apply one. Consider where and how you will use your furniture when deciding if you will apply a topcoat.
Do I Need to Reseal Every Year?
When you purchase topcoat for your furniture, read the label carefully to determine how long the finish will last. Resealing every year may not be necessary. However, it may depend on how the furniture is used in your home.
On another note, wax finishes, like those often used over chalk paint, do need to be reapplied yearly to maintain the desired finish.
Why Is Sanding between Coats Necessary?
When you go to the trouble to do all the proper prep work, you may wonder why sanding between coats is necessary. First, it will give your furniture a smoother, more professional-looking finish.
Second, it helps the paint adhere to the wood on the first coat by raising the grain of the wood. It does take more time, but it will be worth it!
Recommended Supplies
As you tackle the task of painting your furniture, keep thi list in mind as you gather supplies:
- Orbital Sander
- Mouse Sander for inside corners)
- Paint Brush
- TSP or Degreaser
- Sandpaper 220 and 120 grit
- Sanding Blocks 80 or 120 grit
- Wood Filler for imperfections and or filling old hardware holes
- Lint-free Microfiber rollers
- Paint trays
- Stainblocking Primer
- Paint
- Protective Top Coat
What Are the Best White Paint Colors for Furniture?
There are may different types of white paint out there, and the best color is always an individual choice. Here are my top picks:
- Sherwin Williams Extra White
- Sherwin Williams Snow Cap
- Americana Decor Satin Enamels Pure White
- Dixie Belle Cotton
- Fusion Sterling
- Wise Owl Antique Villa
- Fusion Raw Silk
- Americana Decor Chalky Everlasting
Quick Tips for Painting Furniture
There is a lot of advice on the internet for painting furniture – it can be overwhelming! Just remember to keep these five tips in mid:
- Always roll or spray larger surfaces to avoid streaks that small paintbrushes would leave benehind. And be careful about the foam roller you use, a dence one may leave air bubbles.
- If you are painting a smaller area, be sure to paint in the direction of the grain.
- Wait until the paint has completely dried to sand and fix errors. Then you can touch up that area.
- Sand in-between coats with 120 grit sandpaper to bring out the grain of the wood (so your paint adheres better) and get a smooth finish.
- Splurge on the right tools, little be worth it! These are like an orbit sander and quality paint, like Sherwin Williams Emerald. A paint sprayer is a great option for a smooth and factory like finish.

Most Common Problems & Issues
While you take some tips into account, it may also be helpful to know what to avoid:
Brushstrokes
Poor quality brushes cause brushstrokes on your painting project. Always buy good-quality brushes!
Flashing
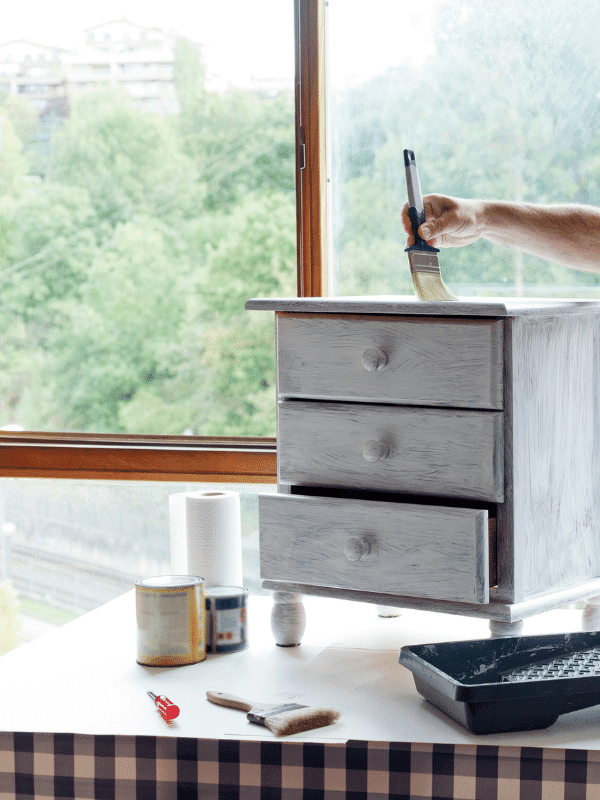
Uneven spots where the paint appears thicker in some areas, noticeable more when light reflects, are called flashing. This common issue can be avoided with higher-quality paint.
Paint That Hasn’t Cured All The Way
If your painted furniture feels sticky to the touch, it hasn’t cured completely. It may be dry but not cured.
If you have this issue, it may be very humid, or the furniture may have too many coats of paint. Either way – time should “cure” the problem! There are some cases where too many layers result in needing to start over, but chances are you can wait it out.
Bleed Through
To avoid paint bleed through, make sure you use primer! Or purchase a paint and primer combination.
How to Paint Furniture White in Only 4 Steps:
Finally, here are my four steps to painting furniture white:
STEP 1: Clean and sand
As I said, cleaning is always a must, and I ways sand for a smooth finish!
STEP 2: Prime with a primer or choose a paint + primer combination.
Primer is also essential for a quality finish! If you want to do this step in one fell swoop, you can get a paint and primer combonaton!
STEP 3: Paint
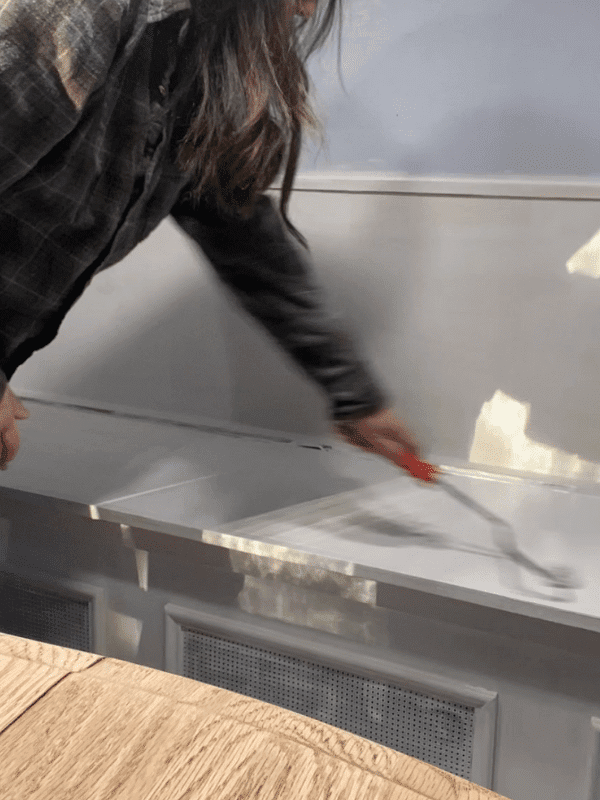
Then, the main event – painting it white!
STEP 4: Apply topcoat to protect your work
Always at a topcoat on top, you don’t want the hard work to go to waste!
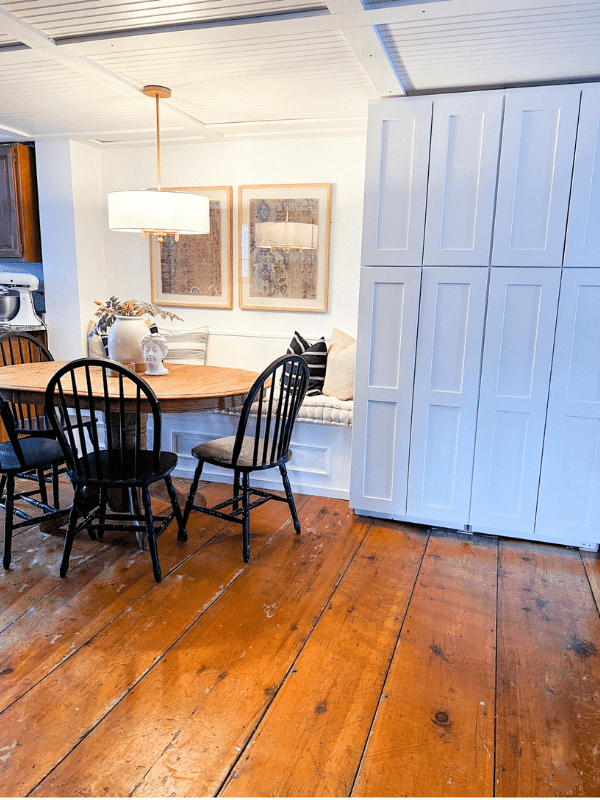
Happy painting! I’d love to hear how your project turned out, comment here and let me know! Also, if you are in the painting mood you may want to try staining furniture as well! Check out my recent post all about staining furniture.
Looking for more? Check out my blog post on building this bench for my eat in kitchen?
Be sure to pin for later!
Thanks for reading!
On a side note:
I’m excited to be one of Google’s paid early testers for their Thank with Google pilot program. Thank with Google is an experimental feature that allows you to purchase a virtual sticker and directly show your appreciation for content on my website. As a loyal supporter, you can now feel more connected and engaged because you have the ability to express yourself and share what my work means to you.
There are a variety of stickers to select from and every time you send a paid sticker, you can add a personal message which I enjoy receiving. For me, these virtual stickers translate into direct revenue to support the work that goes into the content that you are enjoying on my blog.
You can find the Thank with Google feature in multiple places on my site, including the top of this and every blog post. If you try it out, let me know what you think! Thanks as always for your support.
Chat soon,
Kori
