DIY Fresh Christmas Wreaths!
Every year I love to DIY fresh Christmas wreaths for the windows in my home. Fresh wreaths from the my local Christmas tree farm are beautiful, but they can be quite pricey. Especially considering I have 8 windows to put fresh wreaths in.
So instead I head outside, pick some stems and make my own! Today, I’m going to show you just how easy the process is!
There is just nothing like the fresh scent of a fragrant wreath to bring in the holiday season. So today, I’ll be making real wreaths to add to my Christmas decorations.

Is it cheaper to make your own wreath?
Making your own wreath is cheaper than buying one from your local garden center. Buying a real Christmas wreath starts at about $20 and goes up from there. Making your own costs a few dollars. Once you have the supplies you can make as many as you want.

What is the best base for a wreath?
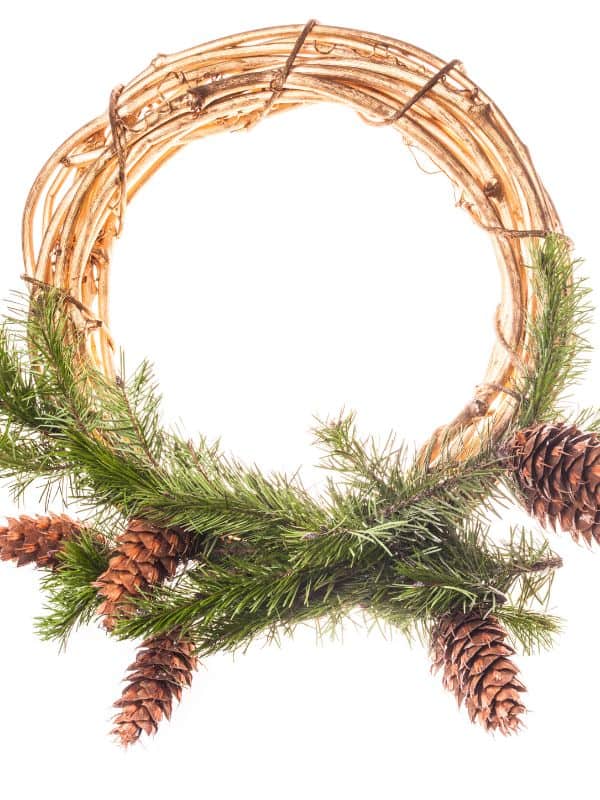
When picking the base for your fresh wreath there are a few choices. You can use metal hoops, straw, wooden hoops, grapevine, and styrofoam.
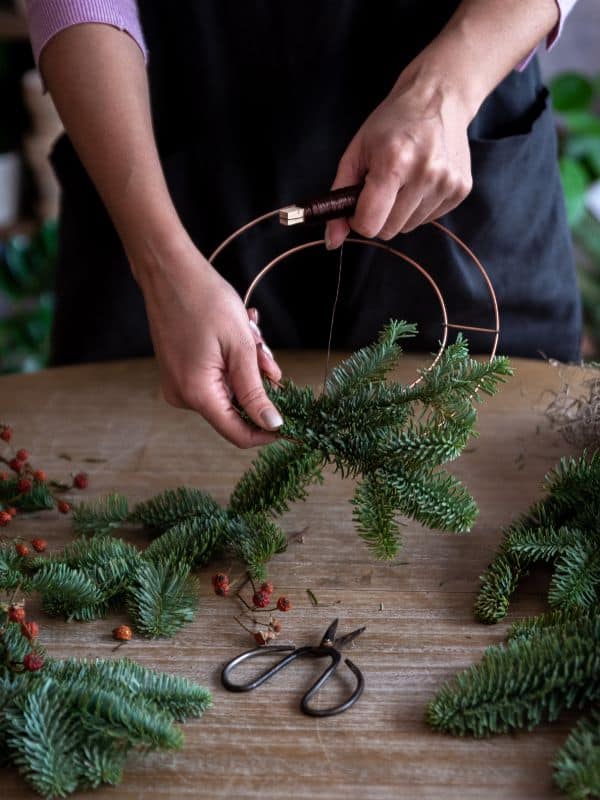
I’ve used each one and my favorite to use are metal hoops. Mainly because they are the most affordable, especially if you’re making multiple wreaths. I bought mine in a pack of 10 for $14.
What can I use as a DIY wreath base?
If you don’t want to buy a wreath base, try making your own. You would try cutting out a circle from cardboard or even using an old picture frame. You could even use a large piece of styrofoam, an old pool noodle or even thick poster board or foam board.
How long do fresh cut Christmas wreaths last?
When DIY -ing a fresh Christmas wreath you definitely want it to last as long as possible. Going through all the effort of making one only for it to die a week later is pretty disheartening. But, when done correctly, a fresh evergreen wreath will last between 2-3 weeks depending upon how you care for it.
Presoaking evergreen foliage for about 24 hours before making your wreath will help the stems absorb as much water as possible to prevent it from drying out too quickly.
Also, choosing greenery with longer needles will help your wreath last longer. This is because the longer needles can absorb more water than shorter needles and untimely will help them to not shed as fast.
Which fresh-cut greenery is best for wreath making?
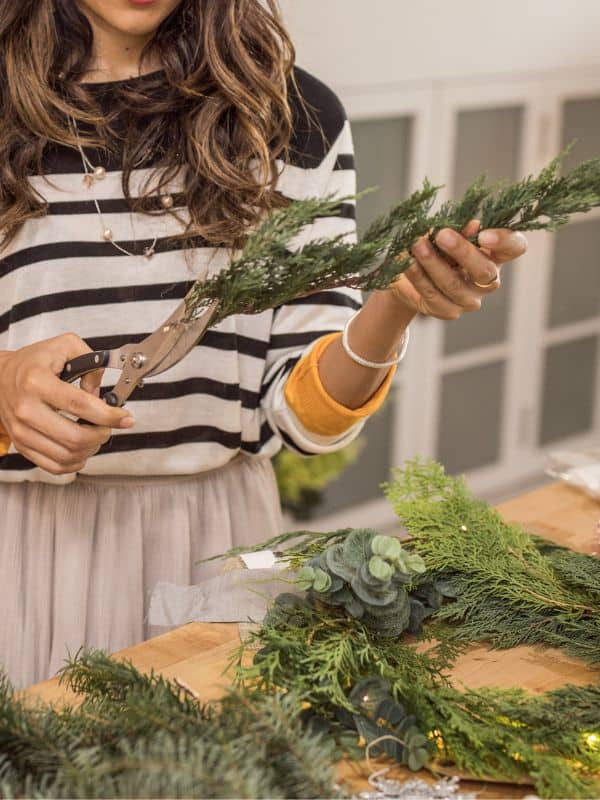
There are so many different kinds of fresh greens to use for making wreaths. There’s blue spruce, princess pine, fraser fir, balsam fir, noble fir, pine, cedar, and many more.
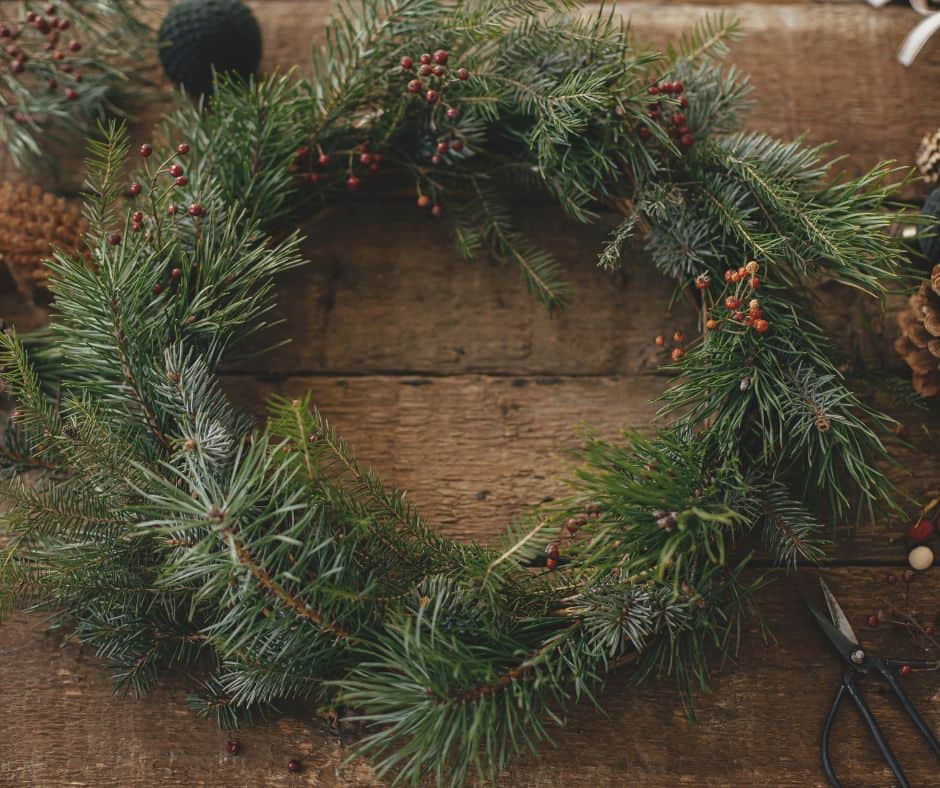
My favorite to use is white pine. Not only because we have an abundance on our property, but also because of their long needles.
They don’t shed and fall off like shorter needles do. Fresh balsam wreaths are so beautiful, but the branches seem to dry out faster due to the shorter needles.
So when choosing branches for your wreaths, choose the ones with longer needles.
How to care for your fresh DIY Christmas wreath
There are a few things that you can do to make your wreaths last as long as possible.
- When gathering you’re fresh evergreen cuttings, be sure to trim the stems of the branch at a 45 degree angle. This will allow your stems to absorb more water once your garland is put together.
- The next step is to soak your wreath before hanging it. I don’t mean just the stems either. You’ll need to fully submerge your fresh wreath for up to 24 hours in fresh water. This will allow your fresh wreath to absorb as much water as possible.
- Once hung, spritz your wreath with water everyday, periodically taking it down and soaking it again for 24 hours.
- Try keeping your wreath away from heat sources like heating vents in your home. Even sunbeams will cause your wreath to dry out faster. This is because heat will evaporate the water from your wreath and cause it to dry out and die. It’s best to hang your wreath in an area with a good airflow if possible and on a window that isn’t facing direct sunlight.
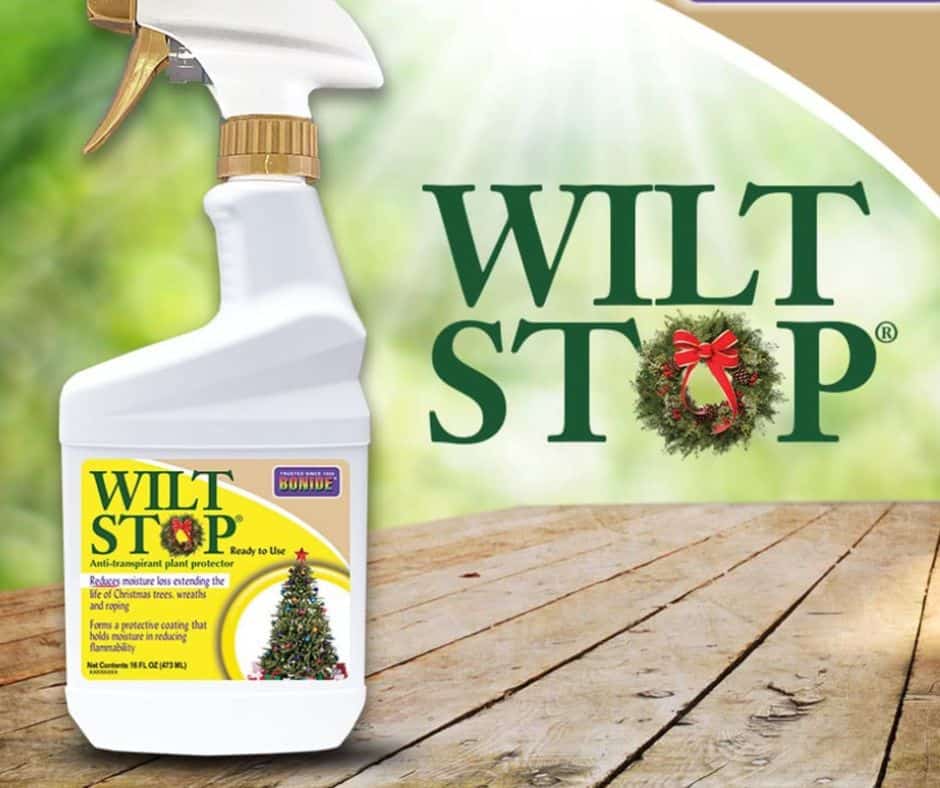
- Lastly, mist your wreath with anti-desiccant spray as soon as you hang you wreath and mist again in two weeks. This will help fight the natural process of the branch turning brown and drying out by locking in the moisture.
Can you put lights on fresh wreaths?
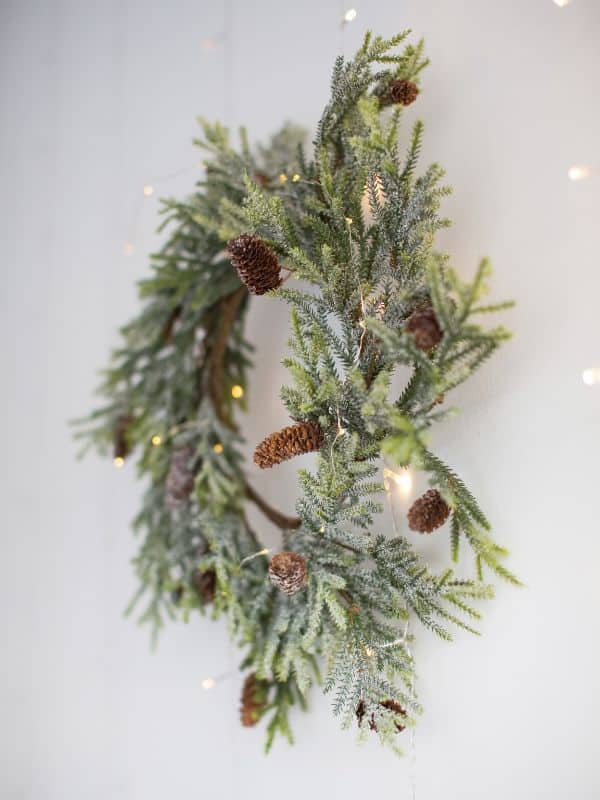
Yes, you can! Adding lights to your fresh wreath is a great way to add an extra flare to your holiday decorations.
Just remember to use LED lights rather than Incandescent. LED lights (affilaite) heat up at a much lower temp than Incandescent lights, so it will slow down the shedding process due to not drying out as quickly from the heat of the bulb.
How long do fresh outdoor Christmas wreaths last?
Fresh wreaths can make the perfect addition to your outdoor decorations. But with the temperature fluctuating so much, you might be wondering how long they can last.
Fresh wreaths hung outside will last up to eight weeks! But of course that will depend on where you hang your wreath.
A fresh wreath can make a great door decoration, but you just want to be sure it’s not in direct sunlight. Sunlight will dry out the stems making your fresh wreaths die faster.
If you have a covered front porch then your fresh wreaths have a better chance of lasting longer.
Also, using anti-desiccant spray protects stems from drying out, from wind burn, sun scald, and the winter cold. Just spritz your wreath every two weeks for best results.
Where to get your fresh Christmas greenery
When choosing greenery to DIY a Christmas wreath , I prefer white pine. I love the way it hangs from the hoops and when the needles eventually dry out, they don’t fall and shed as smaller needles do.
You can certainly use the boughs from your Christmas tree, but remember that they won’t last quite as long. And they will shed a lot!
I live In the woods so I just have to walk out my front door and cut some branches down for greenery.
If you don’t have evergreen trees accessible to you, I find as an alternative, the best places to grab those fresh stems are at your local Christmas tree farm or even at Home Depot and Lowes.
Be sure to grab extra so you can use the remainder to make holiday centerpieces or fresh garland!
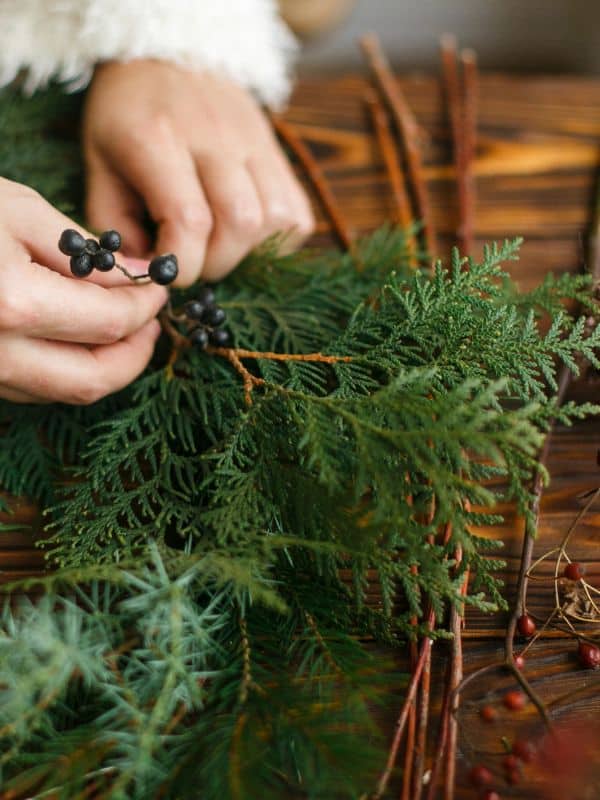
How to make fresh wreaths for the Christmas season?
Making fresh wreaths is a lot like making fresh Christmas garland. To start:
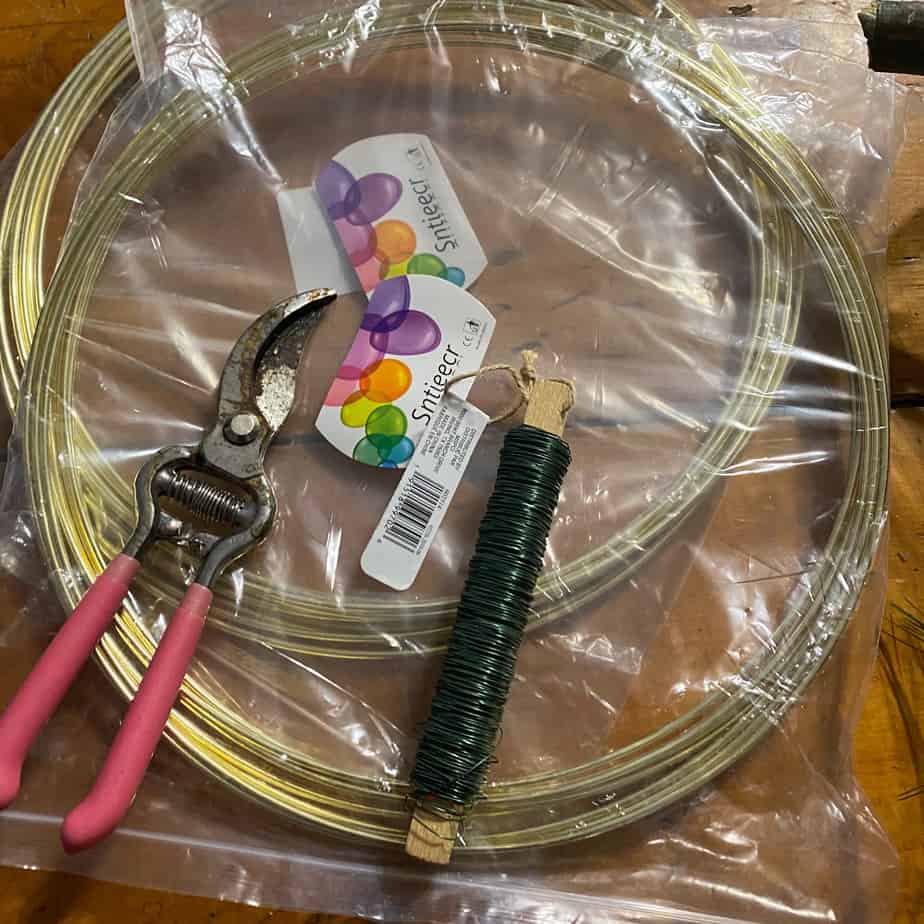
Gather your Supplies
You’ll need
- A pair of floral shears
- Floral wire
- A wreath base
- Greenery (garden centers are a great resource if your having trouble finding branches where you live)
- Decorations
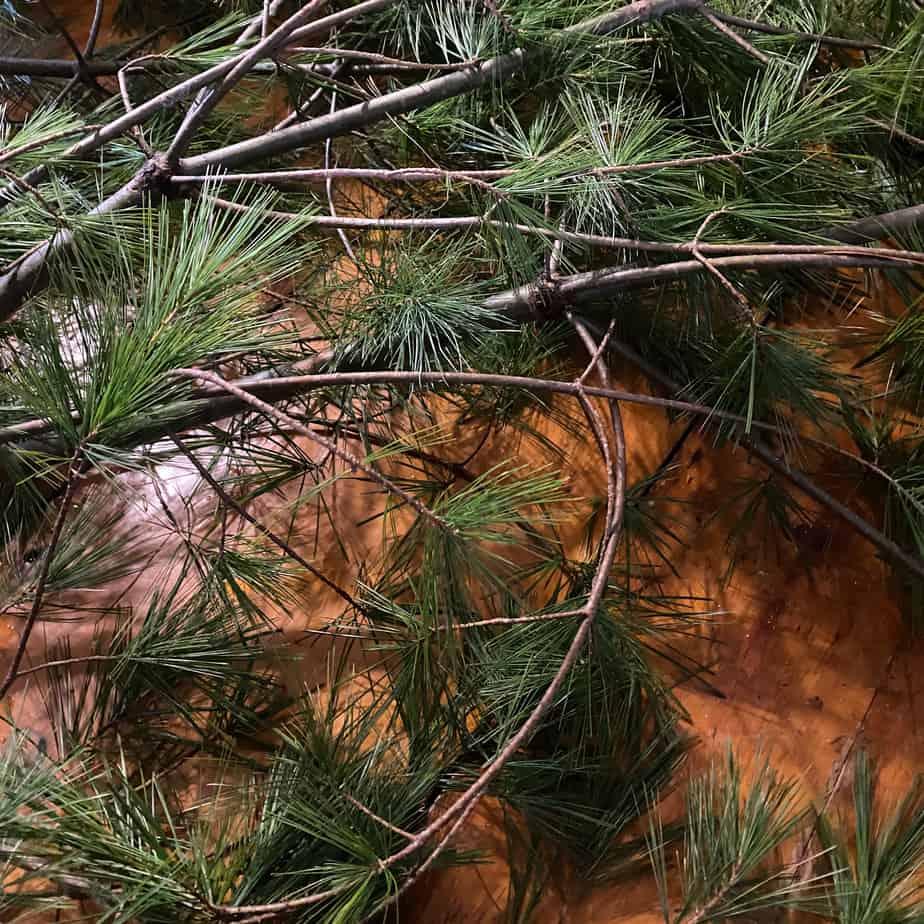
Step one: Cut your greenery to approximately the same length
With white pine, there are several bunches of greenery on each branch. I like to start by cutting off all the greenery and then bunching them up in my hand by the stems.
Then I’ll place them on the hoop. I do this because I want the bundle to look fuller.
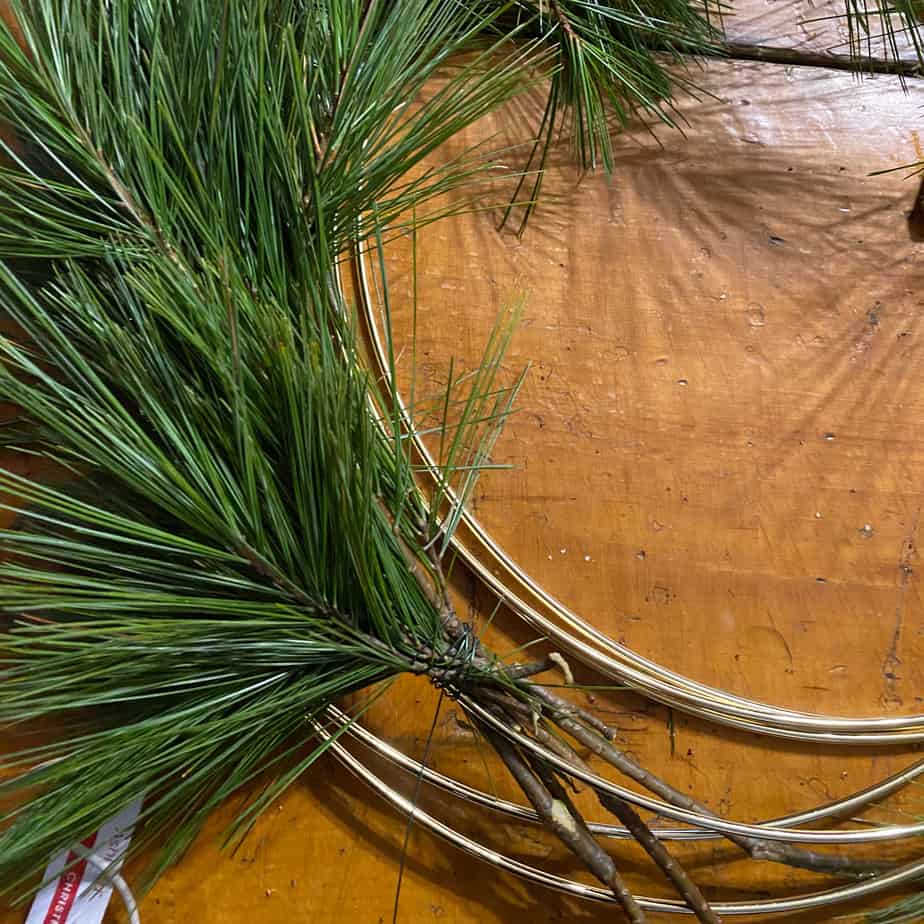
Step two: Wrap your wire around the bundle of stems and the wreath base
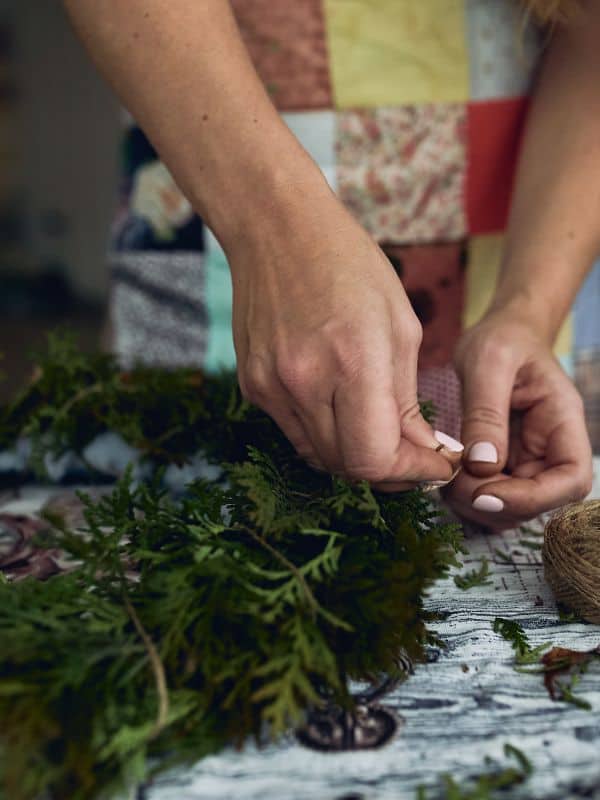
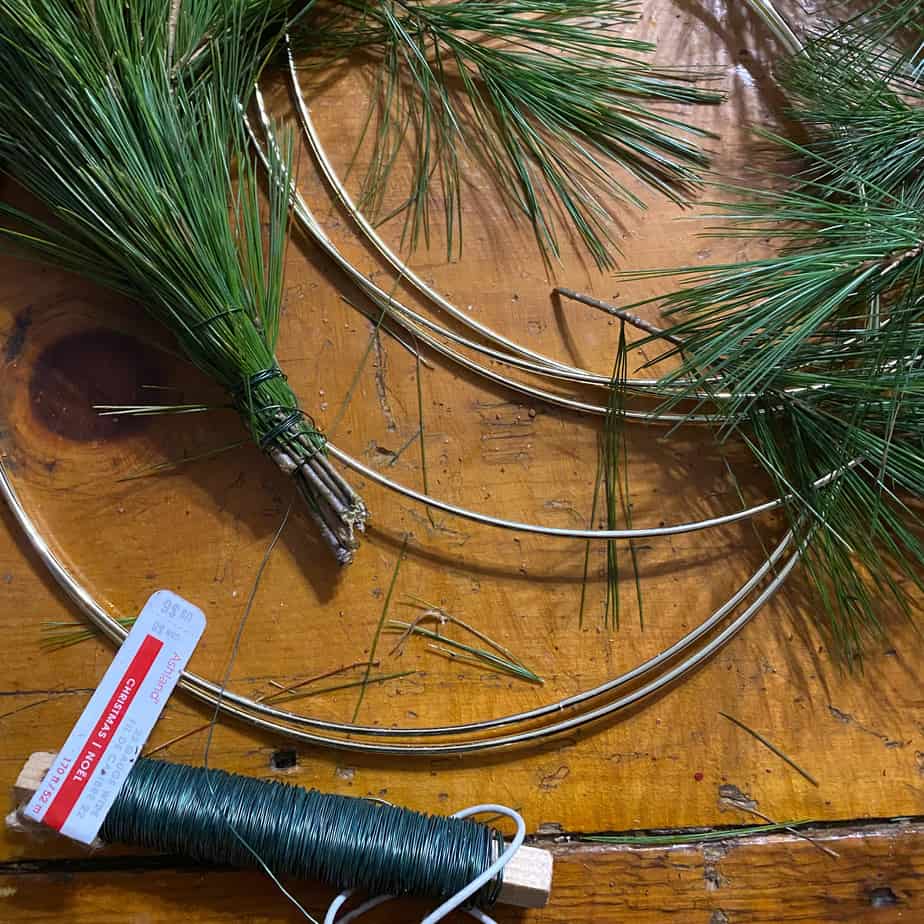
Next, wrap your wire around the greenery’s stems and the hoop to secure it in place. It’s best to wrap each bundle a few times before moving on to the next bundle of greenery.
Also, make sure not to trim the wire after each bundle is secured. It’s important to keep your wire intact until your wreath is done.
Not only does this make the process go much faster, but it also makes your wreath more stable.

Step three: Layer and wrap until completely covered
Continue to layer your bundles of fresh greenery on top of each other and securing it in place by wrapping your floral wire around the stems several times until the wreath base is completely covered.
Try and keep the same size bundles of greenery throughout. This will keep your wreath balanced.


What can you use to decorate your fresh wreaths?
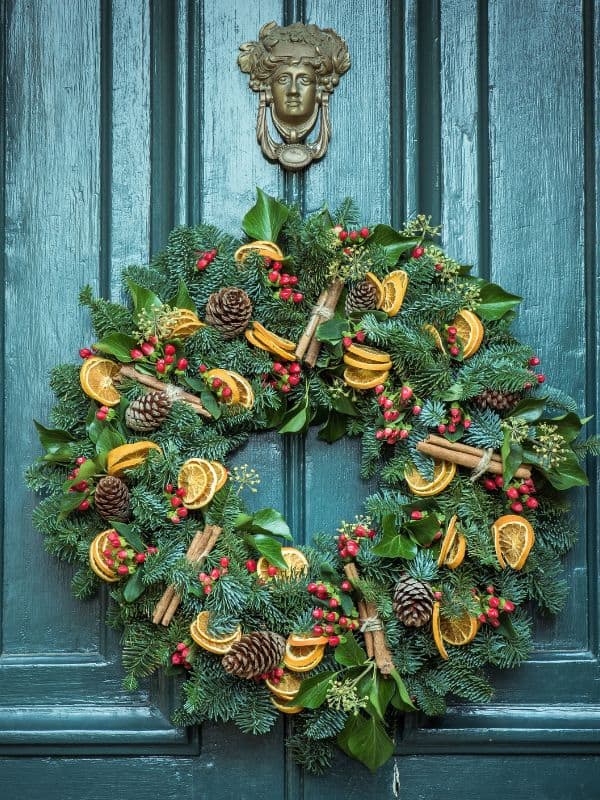
You can use just about anything you want to decorate your fresh wreaths. I like to use fresh flowers, a bright red bow, pine cones, ornaments, led lights, red berries, English holly, ribbon, or even cinnamon sticks!
You can use either your floral wire to attach the decorations or a hot glue gun. But to me, there’s something so special about unadorned fresh Christmas wreaths.
I save the decorations for when I make fresh Christmas garland!

How to hang your fresh wreaths on your windows
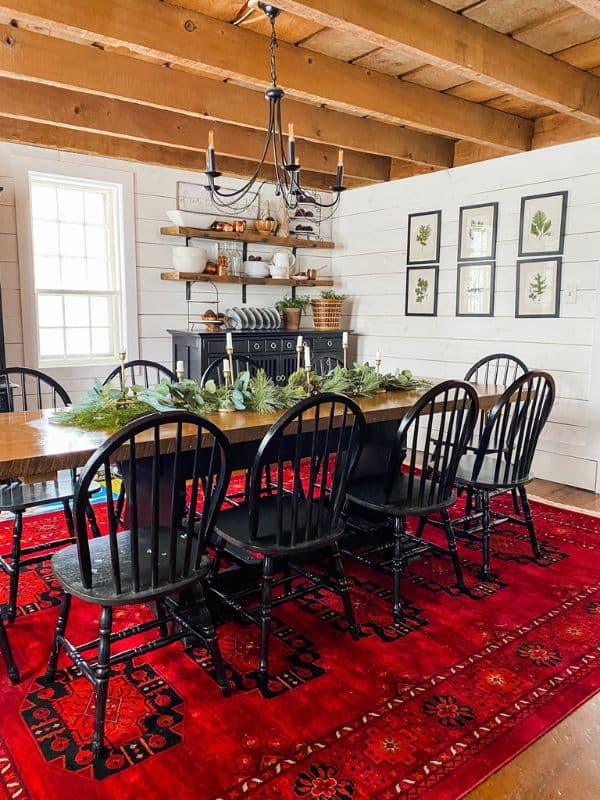
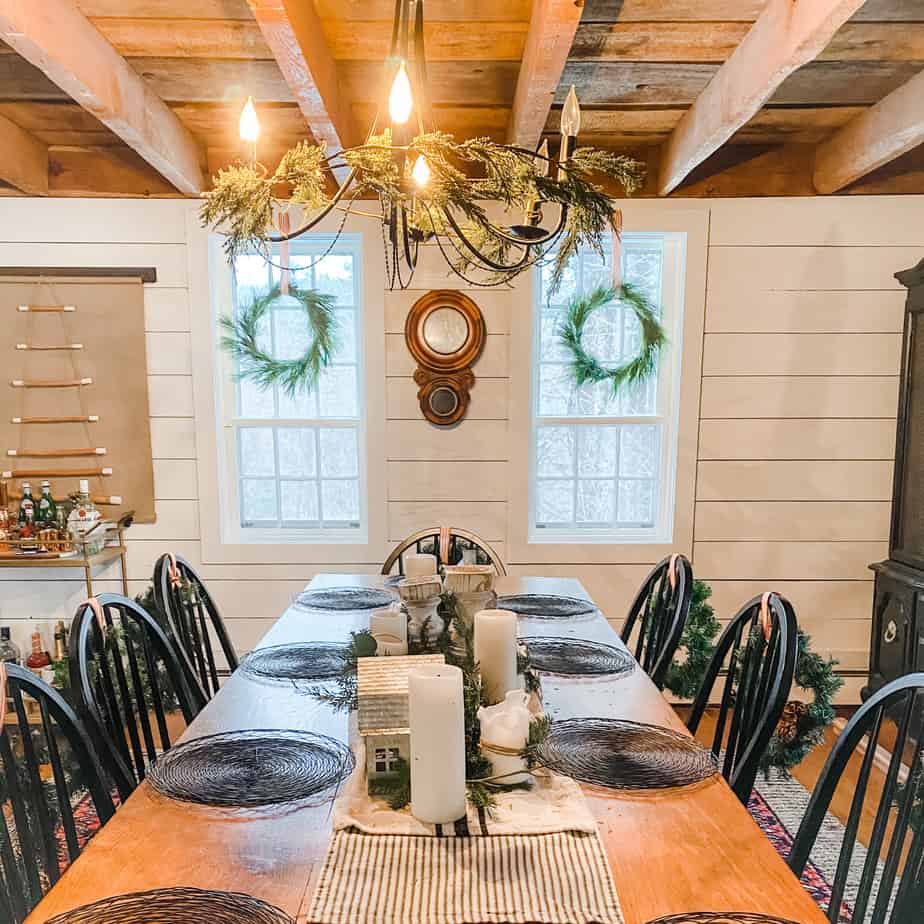
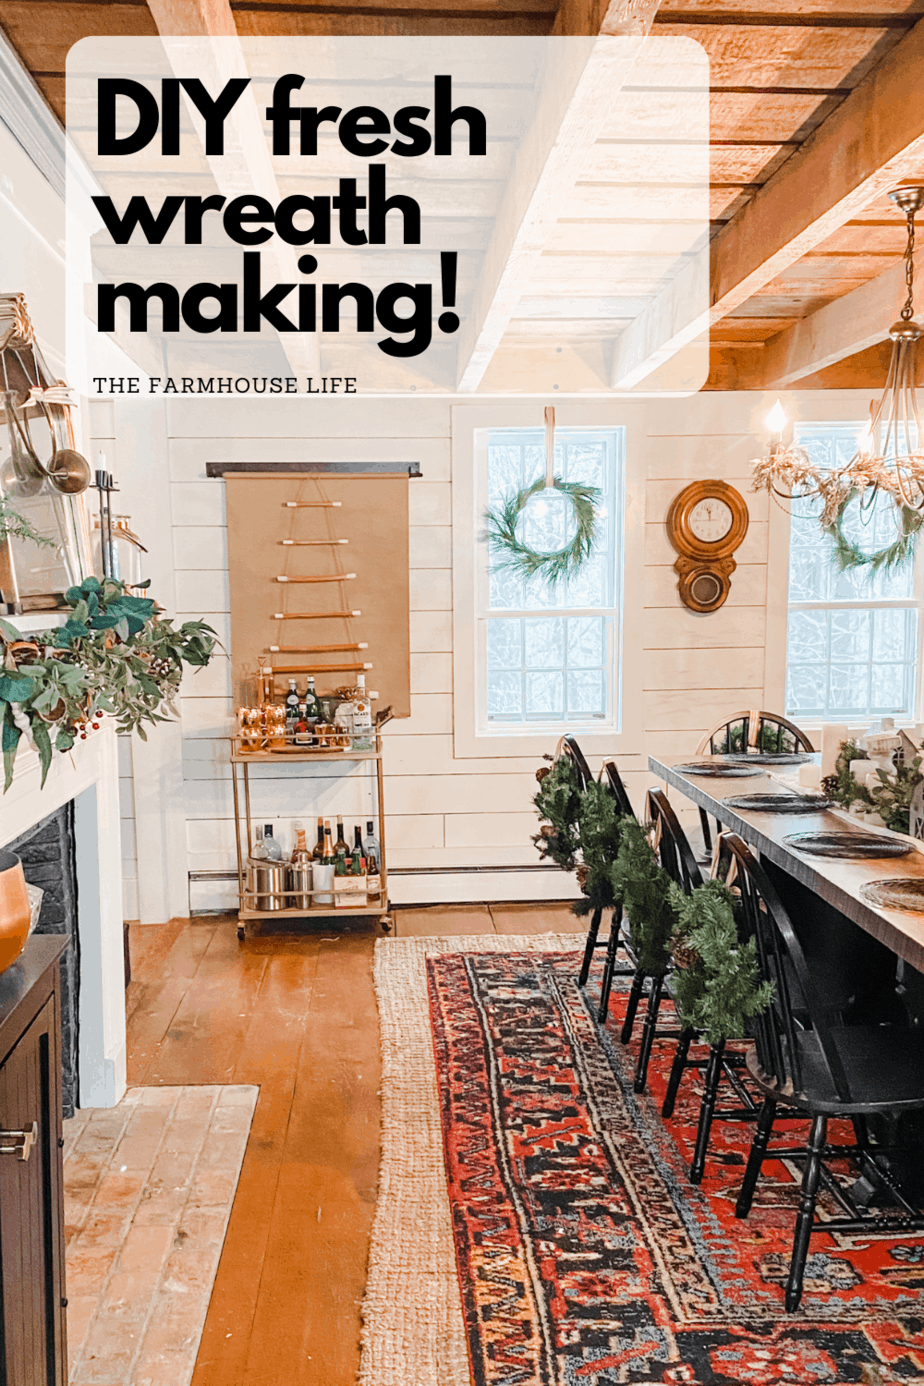
I Like to hang my wreaths on all the windows in the main floor of my home. To hang them I just loop ribbon through each wreath and then use a nail and a small hammer to attach it to my window trim.
I love the way pine wreaths fall once they’re hung. They aren’t perfectly symmetrical. It just feels more organic.
There’s something about the beauty of bringing natural elements in from outside. They’re beautiful and imperfect all at the same time!
This just adds to the fact that these gorgeous wreaths aren’t made from artificial greenery, but are live wreaths!

Fresh wreath making that involves the whole family!
Making a handmade wreath is not only simple but it’s a great way to spend a Saturday afternoon this time of year.
Plus, when gathering your supplies, maybe take a walk through the woods with the whole family collecting branches, pinecones and berries.
What better way to bring some holiday spirit into your home then with a beautiful fresh Christmas wreath.
And what beats that amazing aroma?!
Thanks for reading along and I hope you create your own DIY real Christmas wreath this year! Happy holidays and good luck with your wreath making!

Want to shop the supplies for this project? Just click an image below to be taken to the source. *These are affiliate links and if used, I make a small commission at no cost to you. Thanks for supporting the brands that support this blog of mine!
Be sure to pin me!!
Want to read more about decorating your home on a budget? Read on below!
Chat soon,
Kori





Beautiful!! Looks so inviting to just stop in and share a cup of coffee either at the dining room table or curled up in one of those comfy looking chairs in the living room!! Very simply done, but with an elegant feel!!! Merry Christmas and thank you for sharing your home with us!
That is too kind of you to say! My home was built in the 1700s and as we reno and decorate I always try to keep the original old-world charm! I appreciate you noticing! Merry Christmas to you!
I love these wreaths!! Thanks for the tutorial because I want them in my house next Christmas!!!
Thank you! I love the way they look when they’re all done! I made about 20 every year for my house. But it is a lot of work to make that many… The alternative is spending way more. So every year I contemplate… then I decide to make them because the supplies are basically free.
Thanks for hearing your home!
I like your touches of black. I once read that every room needs a piece of something black and every garden needs a gray planting. Where did you purchase the black tables in the center of your living room? Happy holidays!
You are entirely welcome! Thank you for commenting! I have heard the one that every room should have something black… but the other is new to me! Thanks for sharing!
The black tables are from IKEA. They’re called nesting tables. If you have an IKEA near you they’re decently priced!
Very pretty. I love your decorating style. It looks like people could actually live there. Beautiful without being pretentious. I like that you have nice things but not a ton of it everywhere as so many of these bloggers have just gone over the top with stuff . I feel overwhelmed by all the cluttered spaces. I will definitely subscribe.
Judy, That’s so kind of you to say! We definitely live here… all five of us. Three little kids make things impossible to have super nice stuff. I like to mix new and old to make things look lived in and comfy! So glad to have you as a subscriber!
I liked this Christmas wreaths. It is very cool.