Well, we made it. We decked the halls and trimmed the tree. But now that Christmas is over and it’s like… now what?
We’ve spent so much time decorating for Christmas are we really ready to take it all down and start over?
I mean, here in NH we’re in the dead of winter, so taking out Spring decor might look a little silly and definitely far too premature.
To be totally honest, I love the natural and earthy elements of my Christmas decor and I try and hold on to them as long as possible. I’m just not ready to say goodbye to it all quite yet.
Thankfully, there is a way to keep all the greenery without it looking too “Christmassy”.
I’ll show you how to transition from your Christmas decor to winter decor below with only a few simple steps! Then, be sure to stick around for a short “winter decor” tour of my home!
The first step to ridding your home of Christmas and bringing in more winter decor is to get rid of all the Santas. I don’t know if your house even has Santas, but if it does… it’s time to say goodbye.
This can also mean any sign that says Christmas or phrases we associate with Christmas time. Like “It’s the most wonderful time of the year”, “Silent Night Holy Night”, etc.
The second step is to takeout all of those bright Chrismassy reds and replace them with lighter and whiter tones for the New Year.
We associate white and bright tones with a clean slate which is perfect for the New Year.
This is where I feel a bit hypocritical. My home has reds all year long. I have red boho rugs and pops of red in decor all throughout my home. So I actually keep my red Christmas decor like my poinsettias, dinnerware, etc.
My third tip on transitioning from Christmas decor to Winter decor is to bring in as many natural elements as you can.
Fill those bowls with pinecones, add evergreen branches to your vases, keep those pine wreaths in those windows, and leave those bare or lighted threes throughout your home.
My fourth and last tip on bringing winter decor in and transitioning Christmas decor out is to keep all those cozies right where they are!
And by this I mean throw pillows and blankets. I have them everywhere in my living areas. I have them in baskets, draped over chairs and ottomans, and stacked on the ground.
I never want to be more than an arm’s length from a warm blanket… well, because it’s cold!! I definitely don’t want my guests (hoping I’ll actually have guests in 2021) to be cold either!
Today I am so honored to be here as a guest host for Welcome Home Sunday. Each Sunday, this weekly blog series features five bloggers and a guest host. A big thank you to my friends at The Tattered Pew, White Arrows Home, Seeking Lavender Lane, Sincerely, Marie Designs, and Noting Grace for hosting this awesome and inspiring series and inviting me to be apart of this week.
I’m Kori, and I’m so glad you’re here! Home design has always been a passion of mine. I love to find new ways to make my home feel and look beautiful.
I’m a DIY girl who loves farmhouse style with a twist of boho. And let’s face it…a room that reflects your personal style can boost your mood and make you feel happy!
When we’re surrounded by an organized well-designed space it inspires us to go and do the things! My family of 5 recently moved from city life to farm life and we’ve been renovating our 1700s abode one room at a time.
I like to write about design tips, DIYs, easy styling, tips on organization and cleaning, entertaining, and so much more! I even have a store where I sell Christmas prints! Check it out here!
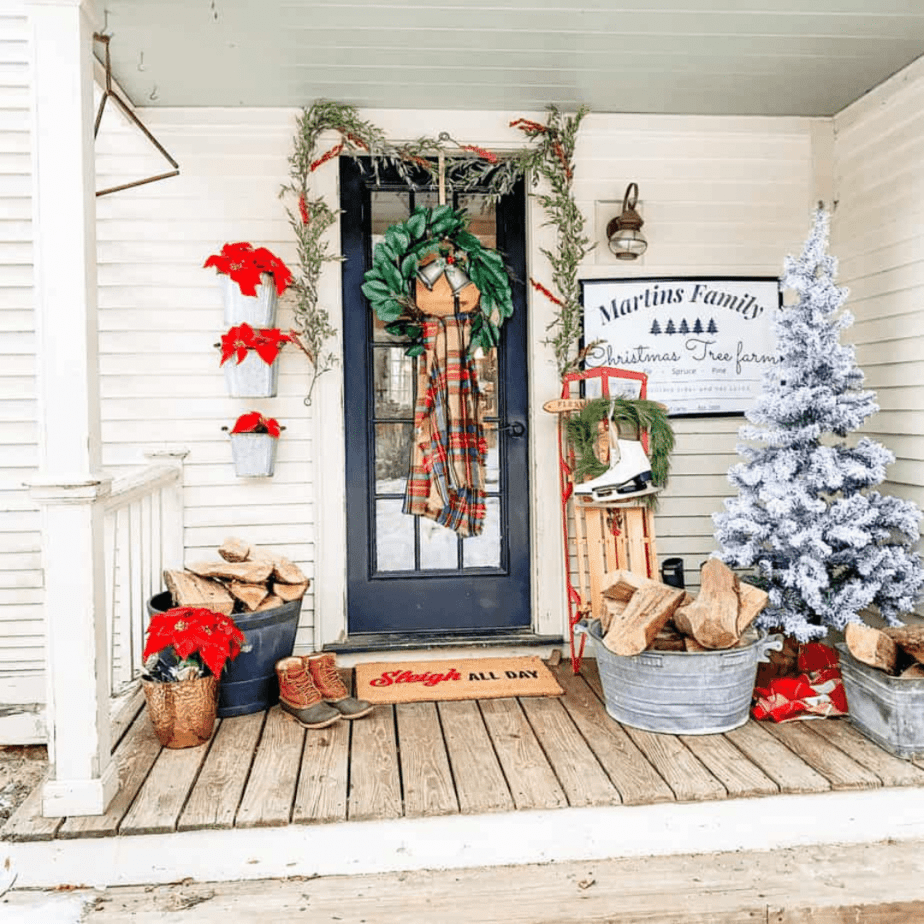
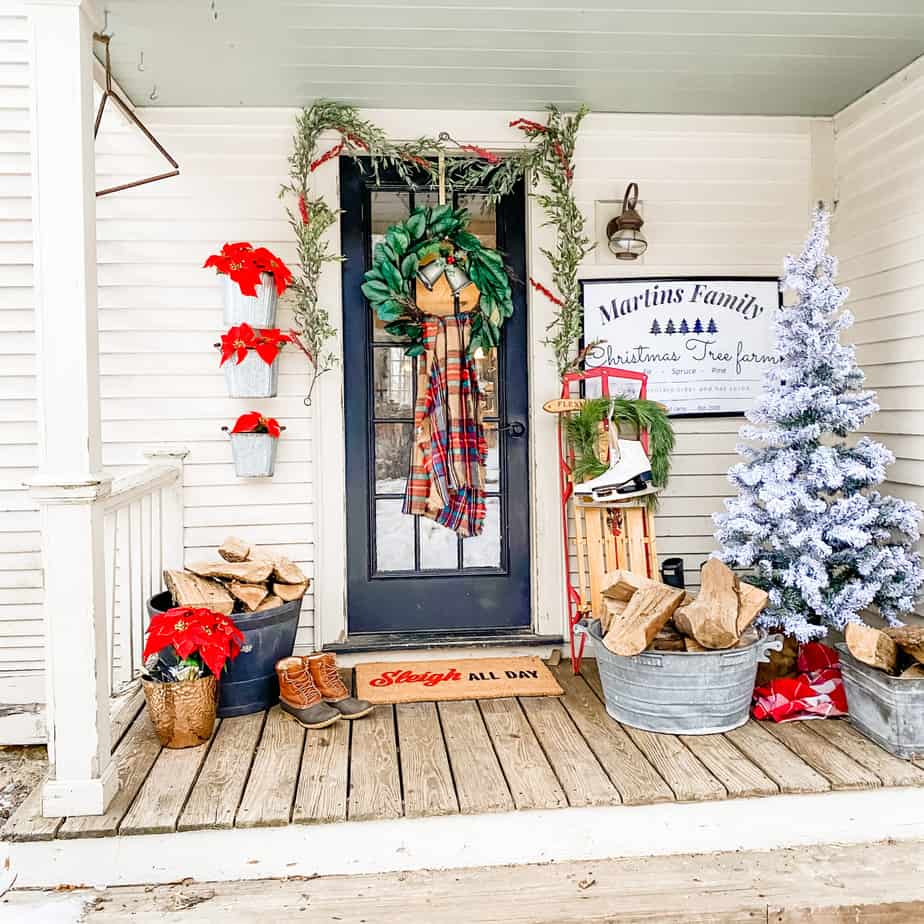
I’m so excited to show you my front porch all decked out for Christmas!
First, I have to say, welcome! If you came from Kaley’s at The little white farmhouse, I’m so glad you’re here! I’m a real fan girl of Kaley’s and I love everything she puts together. If you’re new here, I’m Kori. I live in rural New Hampshire on a little hobby farm raising pigs with my husband and 3 kids. We are slowly fixing up our 1700s farmhouse one room at a time. I love to decorate with farmhouse style and a little twist of boho. I’m a DIY girl and I wholeheartedly believe when we’re surrounded by an organized well-designed space it inspires us to go and do all the things!
A special thanks to Rachel from The Ponds Farmhouse for hosting this awesome tour!
Alright… without further ado… Here is my Farmhouse Christmas porch! Enjoy!
Thank you so much for stopping by! I hope you’ve enjoyed it! Next up on the tour is the one and only Vintage Home Design! I promise… You’re going to love it!
Then be sure to check out the other amazing ladies and their gorgeous farmhouse front porches!
I love adding as much greenery in my home around the holidays as I can. I try and make fresh wreaths for my windows inside and outside. I also make fresh garland for my mantels and centerpieces too.
And although the fresh greenery looks beautiful, it can be pretty time-consuming. That’s why I love using time-saving hacks that help me accomplish the look I’m after – but for only a fraction of the time.
I started with two strands of faux garland and turned them into 12 tiny wreaths for my dining room chairs!
Get your supplies together by grabbing your faux strands of garland, some wire cutters, ribbon, and anything you want to add to embellish your wreaths.
To cut your strands of garland you’ll definitely need a pair of wire cutters. They make those stands of galrand strong and regular sissors aren’t going to cut it.
Cut your first piece for your wreath and then use that piece as a template to cut the rest. This way all of your wreaths will be about the same size.
To make your wreaths all you’ll have to do it take your two ends of your peices of garland and twist them together.
Then spend some time fluffing out your wreath until you have your desired look. Repeat this process until you have all of your wreaths made.
Next, it’s time to attach your wreaths to your chairs. Instead of adding command hooks or even small picture frame nails, I just do the whole tie and hide trick.
To use this trick all, you have to do is cut your ribbon to the size you want it to hang. Then, Loop it around the center of your chair and tie a knot to hold it in place.
Then, I rotate the knot all the way around until it sits right under the wreath. This way no one can see it! Plus, It’s super easy to take down when the season is over!
Once you’ve hung all of your wreaths to your chairs it’s time to embellish! I used some leftover berry picks and antique bells that I had leftover from another project. First, I hooked my berry picks through my bell loop and twisted it on. Then I strung a piece of twine through the bell loop and tied it around the ribbon right in the center.
For supplies, you’ll need Twine cut to your desired length and whatever else you’ll want to embellish your string garland. You’ll also need a small bit of floral wire too.
I happen to have dried orange slices on hand, faux berry picks, and antique vintage bells. But really anything will work.
If you’ve never died oranges before, check out this video from Made By Hand. She does such a wonderful job showing how to make your own.
I like to start when making my string garland with my largest items to help anchor everything. In this case, it would be my antique bells.
Each of my bells has a little metal hoop at the top. So I took my twine and I strung it through my loop and tied a knot. Measuring the same distance all the way to the end of my twine. I kept repeating this process until I reached the end of my twine.
To add my dried oranges, I strung both ends of a small piece of floral wire through the dried orange and began to twist the wire around the twine. I also added a few orange slices through the loops of my bells. This created some pretty clusters.
And lastly, I added my berry picks. My berry picks have wire stems so this made this process so much easier than having to glue each berry pick on. All I did was wrap my berry pick stem around my twine and twist.
You can hang your sting garland anywhere. It would look simple and beautiful over a window, a mantel, or even strung across a bookcase. I decided to hang mine over my fireplace mantel layered in with green garland and a strand of beaded garland. You can either use command hooks or a small nail and hammer.
To get started, we’ll need to gather up our supplies. First, we’ll need 2/4 strands of garland. This will depend on the length of your staircase. You want extra to be able to leave swoops in the garland.
Next, we’ll need small nails and a hammer. If you don’t want to put small holes in your staircase I’d suggest using command hooks.
Lastly, we’ll need a few rolls of our favorite ribbon and some floral wire. I like wired ribbon because It holds its shape the best. We’ll also need the floral wire to string up our ribbon once we’ve made the bows.
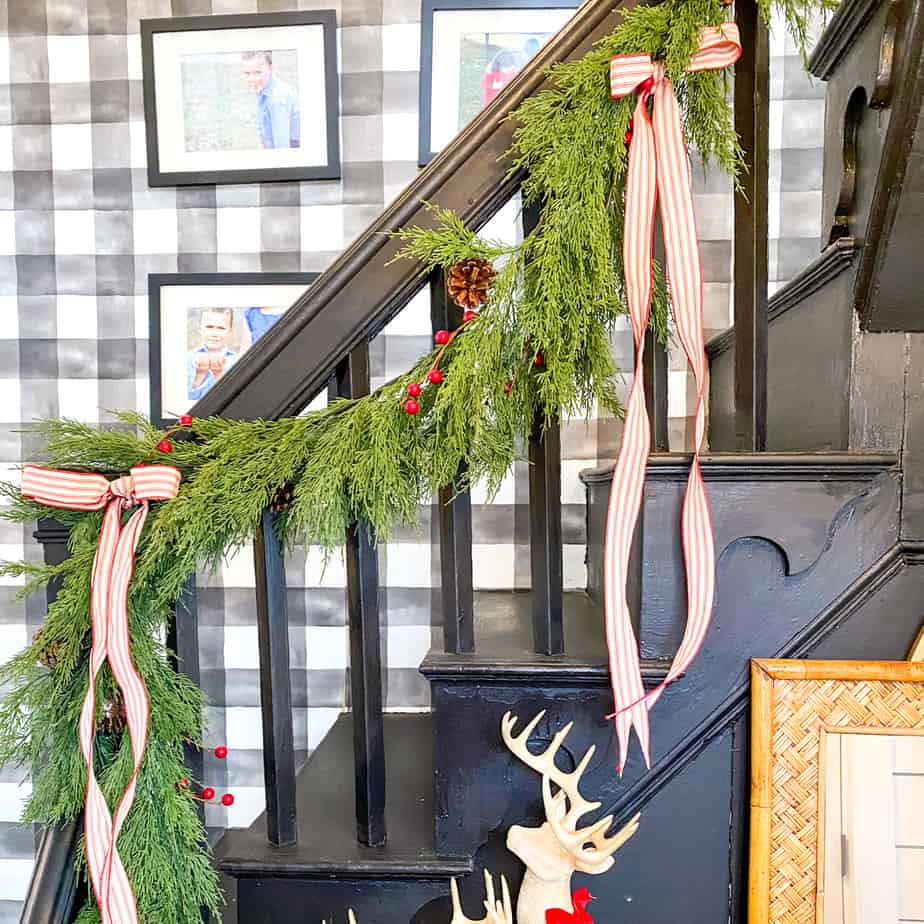
When hanging our garland first we have to determine where we want our garland to sit. Do you want it on the outside, inside, or at the top of the banister? To help you determine where to put it – think about which angle you want it to be seen.
For instance, I put mine on the outside of the handrail because I like to see it from the entryway door.
Next, we need to either use our command hooks or hammer and nails to attach the ends of the garland to the banister. My garland had hoops on either side. So I hammered a small picture frame nail right through the loop to secure it in place.
Be sure to let it swoop a little in the middle and use another nail or command hook to secure it in place.
Repeat this process depending upon how long your stair rail is and how many strands of garland you have to hang.
To make our bows we’ll need to cut our ribbon into two strands. The length will depend on how long you want them to hang down. I like mine pretty long, so I opted for about 12 inches.
Tie one ribbon strand in the middle of the other strand, and then tie a bow. It will look not so pretty – but it’s ok. I have a tip.
Next, take one of the small tails that was leftover from the bow and wrap it down and in between the long strands of ribbon and then up through the middle of the bow. This will leave the front part looking very pretty and finished!
Then, tie the two small tails on the back of the bow to secure everything in place and then fluff everything out.
Lastly, it’s time to attach our bows to our banisters. I’ve attached all three of mine to the posts on my staircase. It also works out to be the start, middle, and end of my garland.
To attach your bow simply string a 12 inch piece of floral wire through the back of your bow and then wrap it around the stair rail. Floral wire works great to hang your bow because all you have to do is wrap it around the spindle and twist each end to secure it in place.
Did you know that if you subscribe to my blog you get a free set of Christmas Printables?! Check it out here!
I am beyond excited to be welcoming you into my home all decked out for Christmas! I hope it brings you joy and inspiration.
Today is day three of the Blogger’s Best Holiday Home Tour! I’ve enjoyed all the other inspiration so far! And a big thank you to Mansa and Kelly for putting this all together!
If you are hopping over from My Wee Abode’s home tour, welcome! Isn’t her home gorgeous?!
I’m Kori and I live in rural New Hamshire with my Husband, three kids, beautiful farm dog Mona, and a bunch of pigs and chickens! I love all things home decor and decorating!
Come check out how I’ve decorated for Christmas!
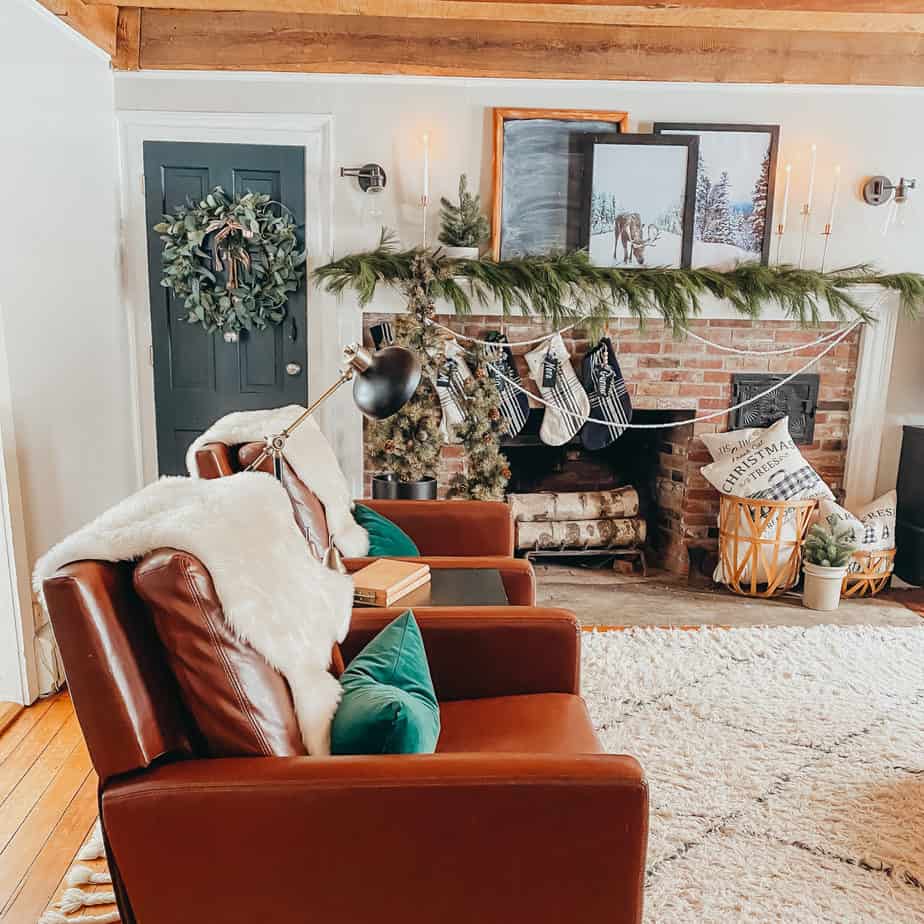
I try very hard to stick to the charm of my old home when decorating. We’ve got 6 fireplaces, warm wooden exposed beamed ceilings, and wide plank flooring. So when I decorate in general I try and stick to this color palette (warm colors instead of cool). So decorating for Christmas is so fun! I get to use lots of reds, plaids, and natural elements.
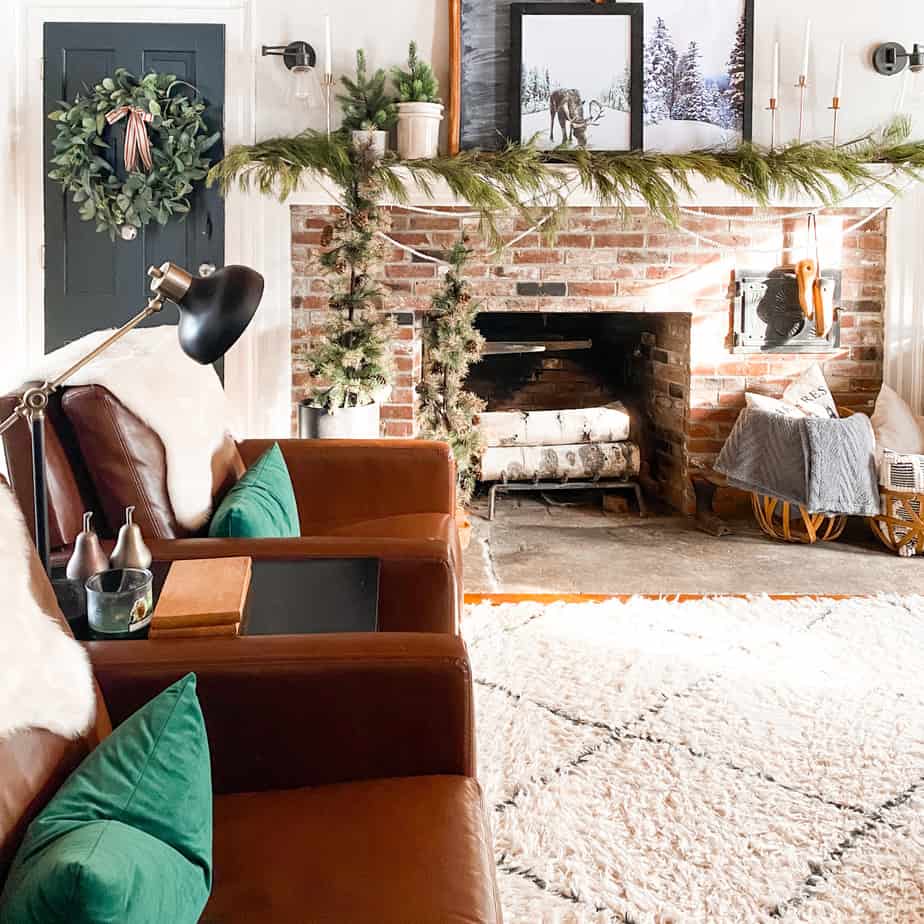
Our sitting room is one of my favorite rooms in our house. And it happens to be the room In which our tree is in! I love adding new artwork to my home, especially at Christmas time! Several of these printables are available in my shop.
I also love to layer textures in my home. I’ve added several pillows, rugs, and throws to add color and warmth to this room.
We also have a game table set up in here so the kids can play board games and do puzzles all winter long. There isn’t a TV in this room. We try and keep things on the quieter side in here.
I like to grab a cup of coffee and cozy up with a good book.
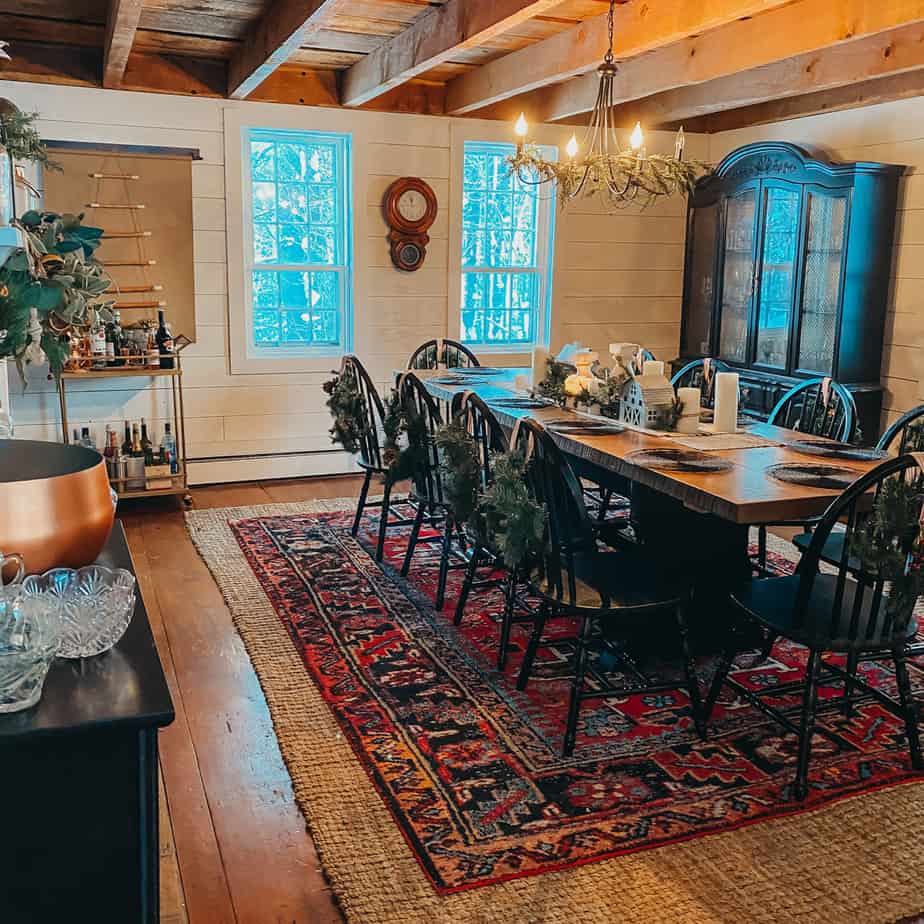
When we designed the dining room table (my husband built it), I had one thing in mind… Christmas dinner! I wanted to be able to fit my entire family at the table for dinner without having a kid’s table.
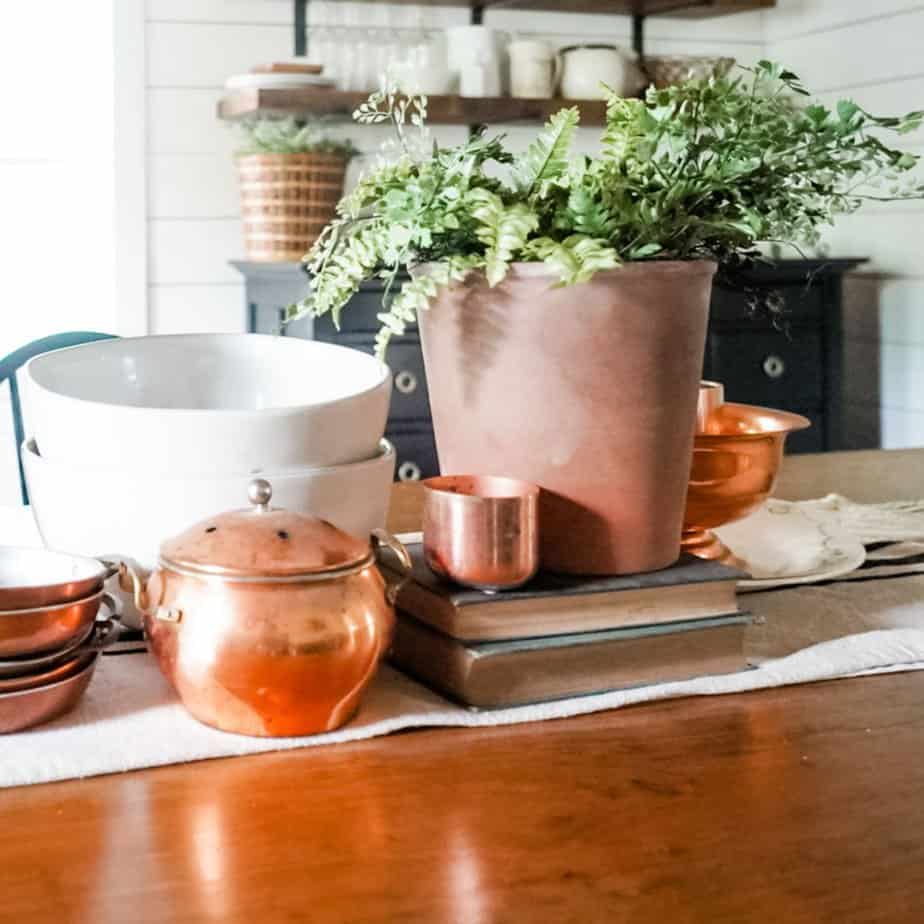
Decorating is fun in this space. I try and keep things on the more natural side by adding in lots of greenery and pops of copper for color!
We also have a large coffee/hot cocoa bar on the buffet! My kids enjoy coming home from school and helping themself to a large cup of hot cocoa. I enjoy making myself a hot latte with my Nespresso maker! It makes the most wonderful lattes!
We have two entryways in our home. This one is to the front door and I’ve decorated it very simply for Christmas.
I found these reindeer at Target this year and I had to grab them knowing they’d look amazing on my entryway table.
I also added a little swag to my mirror above my entryway table.
Pine cones are a great way to add some Christmas decor to any bowl. Plus they can stick around far after Christmas and still work as “winter decor”.
The Family room is where we all hang out. It’s where our TV is. It’s where our leather recliners are which is where you’ll find my husband.
For Christmas, I had to keep it simple and clutter-free in here or else everyone would be moving things around way too much.
Adding cozies was the most important thing in this room. Lots of pillows and throw blankets. No matter where you are on the couch… a throw blanket is in reach!
For my Master bedroom, I went really simple. I added a wreath above my bed and a tree throw pillow.
I didn’t add any reds to this space because I LOVE my brown duvet cover in here and I didn’t want it to clash. So instead I added lots of greens.
Now, I don’t know if my guest bedroom will get used this year – But I decided to decorate anyway! I found this adorable noel ticking pillow at TJ Maxx and I had to grab it for this room!
I recently added this rug in here and I love the coziness and warmth it adds.
Well, thanks for making it this far! I would love it if you subscribed!
Next, on the tour is my friend over at Stone Gable. Be sure to check out the others on the home tour as well! (Links all listed below)
The Tattered Pew // My Thrift Store Addiction // Simply 2 Moms
Worthing Court // Bricks N’ Blooms // Open Doors Open Hearts
Lora B Create and Ponder // This Is Simplicite
Shiplap and Shells // The Ponds Farmhouse //
Stone Gable // Midwest Life And Style // Follow The Yellow Brick Home
Noting Grace // My Wee Abode // The Farmhouse Life
Aratari At Home // Caitlin Marie Design // Sweet Pea
Fiddle Leaf Blog // First Day Of Home // White Arrows Home
Cottage On Bunker Hill // The Aspiring Home // Lantern Lane Designs
DIY Beautify // Cassie Bustamante // The Flowering Farmhouse
To kick off day one of the 12 days of Christmas crafts I thought it would be appropriate to start with an Advent centerpiece! I figured we should start with a little history of Advent candles.
Advent candles essentially are candles that you light each day and week until Christmas. A small candle was lit every weekday and Saturday during Advent. On Sundays, a large candle was lit. The custom started among Protestant churches in Germany and evolved into the smaller wreath with four or five candles know as today.
The candles on the Advent wreath symbolize hope, love, joy, and peace. Some denominations consider the fourth candle to stand for purity, and most call the fifth candle the Christ candle, which is lit on Christmas to remind Christians of the light Jesus brings to the world.
I love the idea of an Advent centerpiece. It’s a great way to work in the beautiful symbol of the season with something that we not only see every day, but also calls us to action. Lighting the candle symbolically each week is something fun we can do to involve our family while teaching them the reason for the season.
To start, gather up all your supplies. You’ll need candles, fresh or faux greens, twine, hot glue, and scissors.
Cut your greens to about 2-3 inches long and layer them on top of each other to stack on the candle. Then cut your twine to about 12 inches long.
Thanks so much for reading along! If you make your own Advent centerpiece, please share it with me on Instagram @thefarmhouselife
This season I’ve rounded up some of the hottest gifts to make shopping for your people much easier! Whether it’s your family, friends, teachers, etc – Check out my holiday guide to check off those people on your list.
To be totally honest, this guide might have a dual purpose. Not only am I creating this guide to help you get your shopping done easily, but I’m also creating this guide as a resource for myself. As a lot of these items I’ve bought or plan on buying for MY people.
Alright – We’ll I’m off to shop now!
Hello Friends. It’s time again for another round of the Pinterest Challenge. Today, I’ll be showing you a fun way to decorate with wooden crates this holiday season.
If you’re coming over from Lora at Create and Ponder – Welcome! And thanks so much for stopping by! I’m glad you’re here. Wasn’t her crate beautiful?!
And a special thanks to Cindy from Country Road 407 for organizing all of this! Well, there’s a lot to see so let’s get started.
This month’s inspiration photo comes from Jennifer at The Grace House Interiors. I love how she added these rustic wooden trees and beautiful evergreen sprigs! The berries give a perfect pop of color too!
I decided for this Pinterest challenge that I was going to think outside of the box. Literally! Instead of layering Christmas goodies inside, I was going to stack mine in my fireplace along with my jars and crocks and Create a sort of pedestal.
I started with my two crates. I stacked one upside down first, that way I could put things on it. The other crate I stacked on its side so it lays vertically. I stacked them differently because I wanted to create varying heights to add dimension to my fireplace.
Next, I wanted to showcase my collection of jars and crocks. So I stacked them throughout the fireplace. Some I stacked on the crates and some right beside the crates.
Lastly, I decided my fireplace display was missing something and needed a pop of color. So I added this faux poinsettia. It adds just the right amount of color and also adds height to the overall display adding more symmetry throughout.
Now it’s time to check out Julie from My Wee Abode ‘s Christmas crate! Don’t forget to check out all the other links too. You’re bound to Pin and save several somethings! 😉