Easy Chandelier Makeover in 4 Simple Steps
Chandeliers are such a great focal point to any home! They can hold so much character, while also being a great source of light for common areas.
It can be hard to find the right one for your style, let alone finding one within your budget! Your home may already have a chandelier but as your family and your styles evolve, it no longer fits in the way you want it to!
Well, if you’ve got some DIY motivation, you’ve come to the right place! Updating an existing chandelier can be done in 4 easy steps!
I’ve gotten a few questions about updating chandeliers. I’ll take a few moments to answer some of the questions, and then we can get into how to update an outdated chandelier.
How do you modernize an old chandelier?
There are countless ways you can upgrade your chandelier so that it works with your decor! We’ll go into a few ideas for inspiration, but if you are looking for a modern look, I have a few ideas.
Many chandeliers have a metallic look or have shades that don’t quite fit with today’s style anymore. The first thing to change is the color of the chandelier.
It is pretty common to go with black when painting a chandelier because it goes with everything! It also works with a lot of modern decors.
The next thing to consider is the chandelier shades and bulbs. The best bulbs for use and aesthetics when it comes to chandeliers.
If your chandelier has shades, there are many ways you can DIY them or find replacements! Once you have the biggest focal points decided, you have the freedom to figure out how to accessorize them!
You can add some hanging crystals, beads, and any other decoration that would work (and is fire safe!). The nice thing about DIYing things is that you have complete freedom to make them what you want!
How do you revamp a chandelier?
If your chandelier isn’t too out of date, and you just want to spruce it up, you don’t have to go through the whole process of repainting.
You could very well skip to the decorating stage! Add your own beads and crystals and create arcs and a dangling earring look between the arms of the chandelier.
You could go for a nature-inspired look with wooden beads or beads made out of nuts or coconut. Other jewelry and beads can be found at your local craft store.
This is also the perfect method to keep things fresh for each season. Chandeliers are the perfect vehicle for seasonal decorations.
You can add greenery or hang snowflakes for Christmas, add some fall leaves during Halloween and add some pastel decorations for easter!
Farmhouse Chandelier Makeover
A DIY project can be really nice because of the freedom of your own design, but the number of options can be debilitating.
Sometimes you just need some inspiration, which is why I always enlist the help of my good friend Pinterest! I love the ideas I find on Pinterest, and it is also the perfect place to find chandelier makeover before and afters.
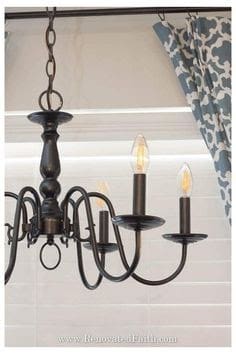
I’ll highlight some of my favorite themes I found on Pinterest just in case you can use some brainstorming help! I really like this farmhouse chandelier idea.
The most popular paint, especially for a farmhouse light fixture is black. The black helps work with the homey feel of the farmhouse vibes, and it is important to find worm-light bulbs to keep it feeling cozy!
The examples I’ve found usually keep the chandeliers pretty simple so that the design of the fixture itself shows through, and that the other focal points in the room complement it!
Vintage Chadelier Makover
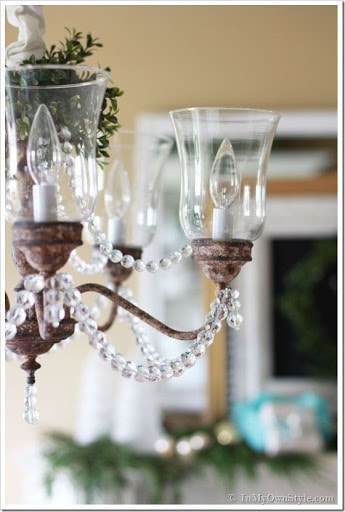
It may seem redundant to revamp your chandelier to give it a vintage look, but I think these ideas are wonderful and show why it’s worth it!
This vintage-style chandelier is very beautiful with its glass shades and beads. It also keeps the vintage look with the metallic frame and arms, and with the shape of the glass shades.
Crystal Chandelier Makeover
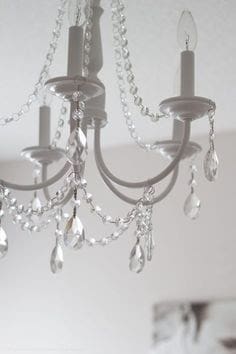
You can also make hanging crystals the focal point of your chandeliers.
This is perfect if you are looking for a cooler-toned chandelier because you can really play off of the silvers of the crystals when painting the arms, and taking the opportunity to make it stand out!
You could also find different colored crystals to make it work with your color scheme!
Glass Panel Chandelier Makeover
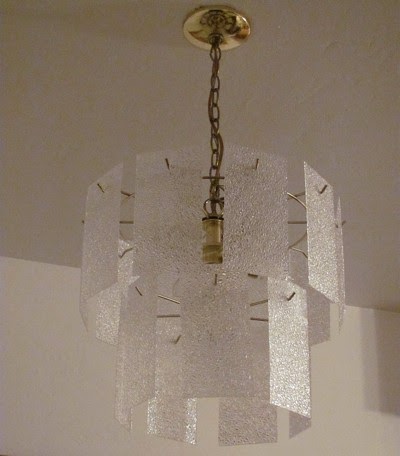
This glass panel make-over by ThriftyFun was redone with an acrylic panel! This goes to show that chandelier makeovers can really be done on any budget. This makeover updated the outdated glass panel look and make it new!
Can I paint my chandelier?
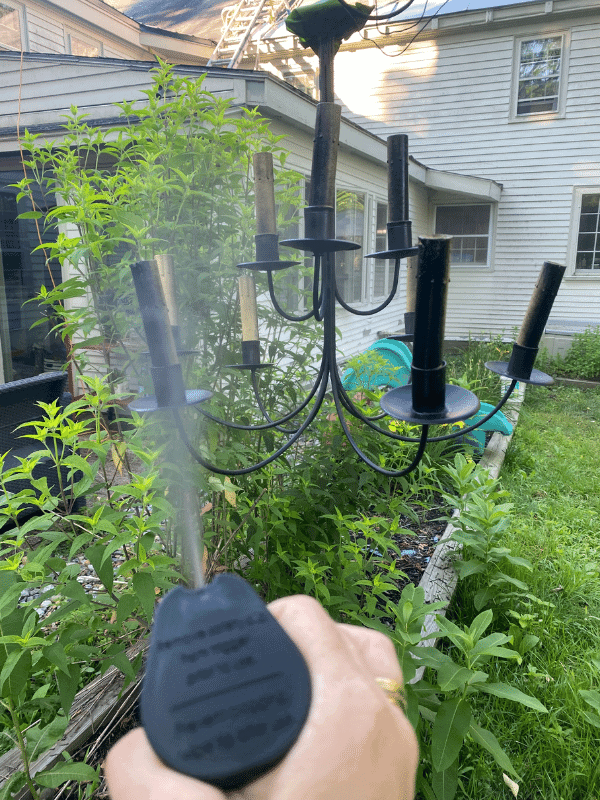
Yes! You can repaint your chandelier with spray paint by taking it down and bringing it outside so that it can be moved easily! Tape over the spots that you don’t paint and spray away until it is fully covered!
Can I paint a chandelier without taking it down?
Yes, you can paint your chandelier while it is still hanging, though I would not recommend spray painting it.
It’s hard to control spray paint and not get it anywhere else in your home. I’d recommend using a brush and making sure you thoroughly cover each section as you go.
Steps to giving your chandelier a makeover!
We’ve finally made it! I’ve got your 4 step plan for a just-like-new chandelier below:
1. Clean your Chandeleir
Before you do anything with your chandelier, make sure it is as clean as can be! Use a TSP cleaner to get rid of any dust, spider webs, bugs, and anything else that may have collected on the fixture over time.
This will make sure that the paint goes on cleanly and evenly.
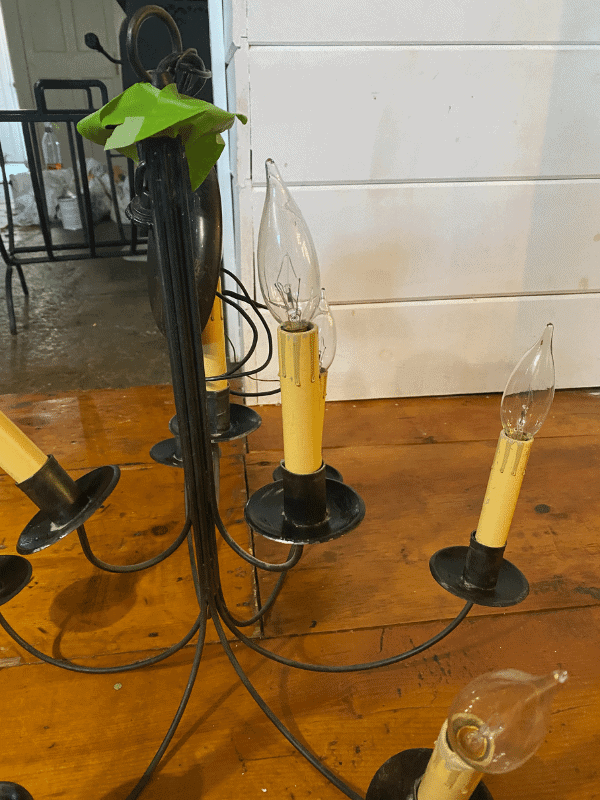
2. Tape off all the parts of your chandelier that you don’t want to be painted
Taping off the edges and other parts of the chandelier will give your project clean lines! You’ll be able to spray paint it stress-free!
3. Hang light Outside
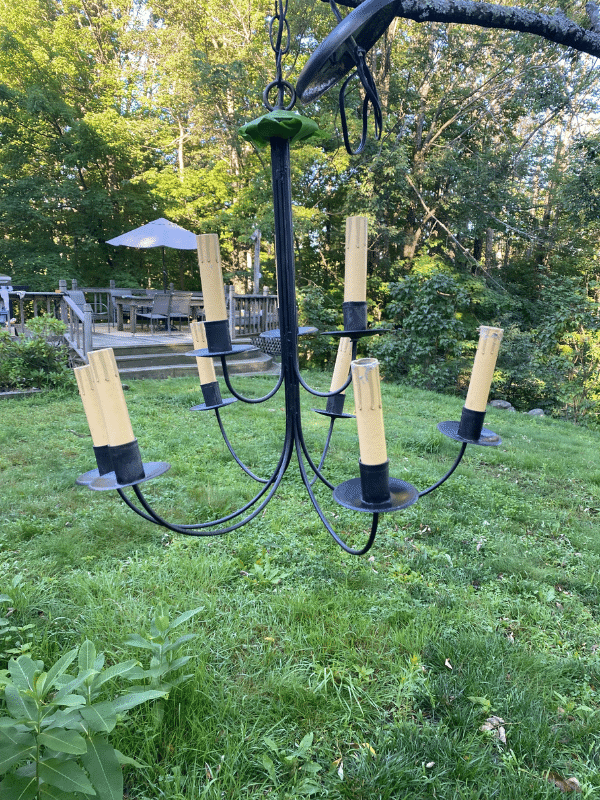
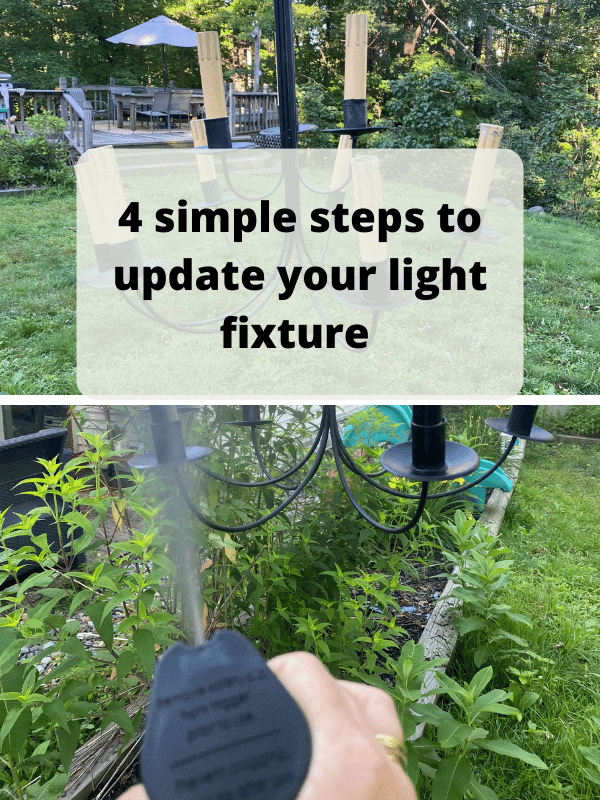
To start spray painting, bring the chandelier outside on a rotating hanger or connect the fixture to a tree with a rope.
It can be hard to make sure that the chandelier is fully covered, so hanging it up outside can help you access the hard-to-paint spots easier. It will also give you an idea of what it will look like once it’s done.
4. Spray paint fixture and let dry
You may have to do a second coat on your spray painting, it depends on the type of paint and the type of material the light fixture is! Before you take the chandelier down and inside, make sure it dries for a few hours.
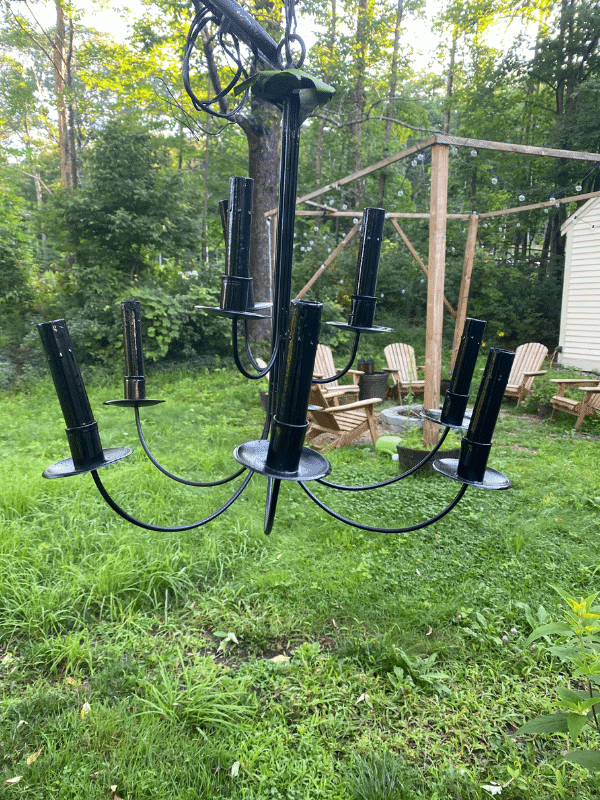
You don’t want to ruin your brand new project by touching or bumping it and giving it an uneven look! Once you know it’s fully dry, you can put everything back into place and enjoy the new look!
All done and ready to be hung!
Want to shop the supplies needed to paint your light fixture? Click an image below! (*These are affiliate links and if purchased, I make a small commission. Thanks for supporting the brands that support this blog of mine!)
Be sure to pin for later!
That’s it for now!
Thanks so much for reading along!
Much love,
Kori ~from The Farmhouse Life

