Using gel stain over paint: A detailed guide
Gel stain is a unique stain that can revitalize your old wood furniture or cabinets. It creates a rich and even tone, similar to paint, as gel stain sits on top of the surface.
There’s a common misconception that you can’t use gel stain over finished paint. But that’s not exactly the case. As long as you follow a few simple steps, you can create a gorgeous finish with a gel stain that will last for years.
It’s a relatively easy application even though it might feel intimidating. This guide will take you through the basics of using gel stain over finished wood and painted surfaces.
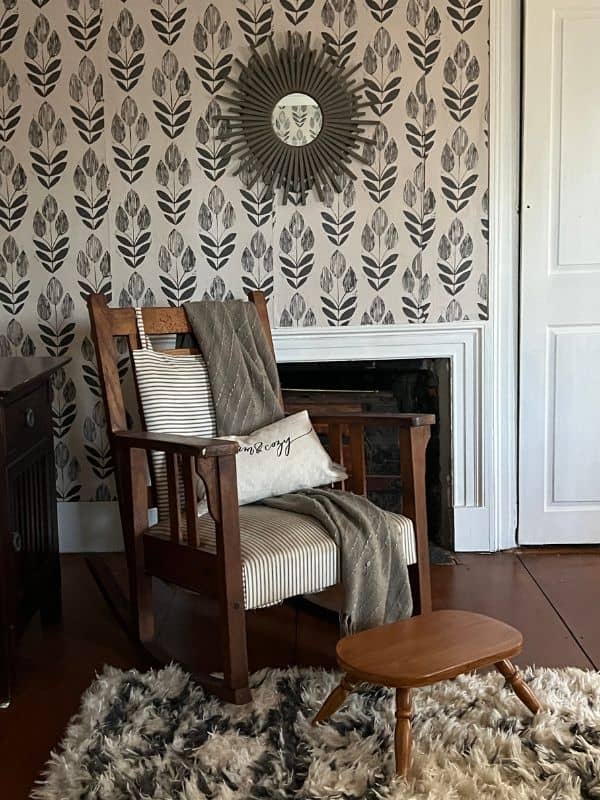
what is gel stain?
Gel stain is an oil-based type of stain with a color added. Technically, it falls under the varnish category.
It’s thicker than other wood stains, as it sits on top of the wood instead of soaking in, like traditional stains do. This reduces blotching, a problem common with traditional stain.
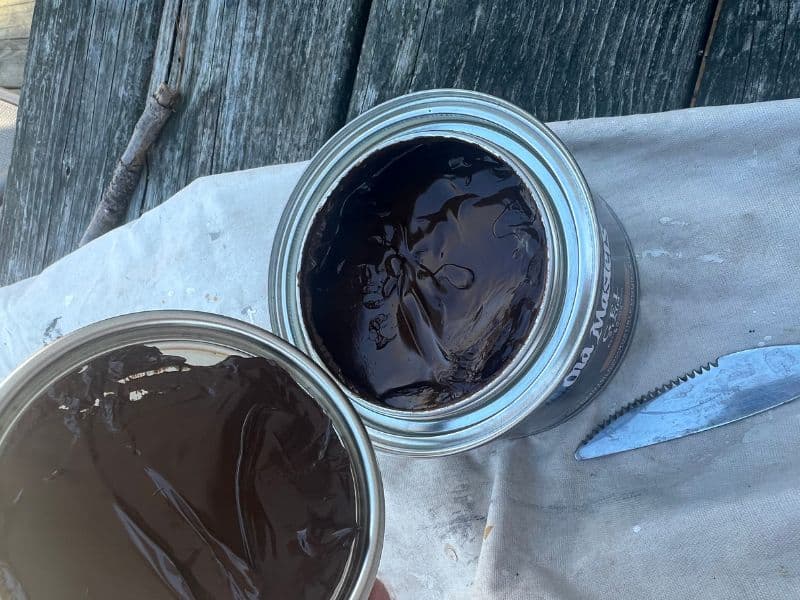
How do You prepare painted wood for gel stain?
There are a few things you need to do before applying your gel stain. First, make sure the surface is clean and free of any dust or debris. If there is any wax or oil on the surface, it needs to be removed as well.
The best way to do this is to use a degreaser or wax stripper. This is especially true if you are painting kitchen cabinets. If you’re working with unfinished wood, you don’t have to anything. If there is an existing finish, then you’ll want to do some light sanding.
Can you use gel stain over paint?
You can apply gel stain to most surfaces, including paint. You can also use it on, milk paint, chalk paint, and latex paint.
Although, if you do apply gel stain to painted wood instead of stained wood, you will not see the wood grain. Instead, it will give it an aged look.
Although, You can replicate the good grain look with brush strokes. It will look weathered and antique. I especially love the way gel stain looks over white paint.
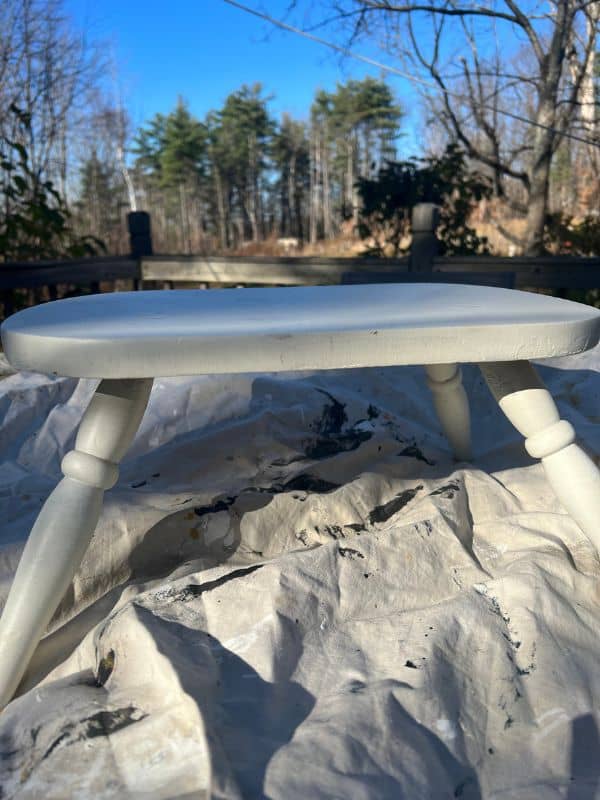
Can gel stain go over varnish?
Yes, gel stain can go over varnish. Although, you may not be very successfully. Varnish, shellac, and lacquer are meant as topcoats.
They are tough sealants meant to protect the wood from physical elements. Because of this, it makes it hard for anything to adhere, including gel stain. If there is varnish on the wood, you would have better luck to sand first before applying.
Can gel stain go over an existing topcoat?
You can use gel stain over an existing topcoat, like polyurethane. Polyurethane is an oil-based product, just like gel stain.
When staining over a previously sealed layer, the directive is to scuff up the surface in order for the adhesion of the gel stain. A great way to do that is to use a fine-grit sandpaper (220 grit or higher).
Once evenly scuffed up the surface, wipe away any resultant dust with a lint-free cloth and apply your gel stain according to the manufacturer’s instructions. Of course always do so in a well-ventilated area.
It’s worth mentioning that you may not always need to strip away the topcoat before re-staining. It is possible to sand down any glossy areas and achieve satisfactory results.
Can I custom mix gel stains to create my own colors?
You can combine different colors of gel stain to create your custom, unique look. There are a few things to keep in mind when doing this.
First, the ratio of colors that you mix will affect the resulting color. For example, if you have a gel stain you want to use, but want a slightly lighter shade, so you mix equal parts of two different colors.
You will get a color somewhere between those two original colors, instead of lightening the original shade. Also, be sure to mix stains that have the same undertones.
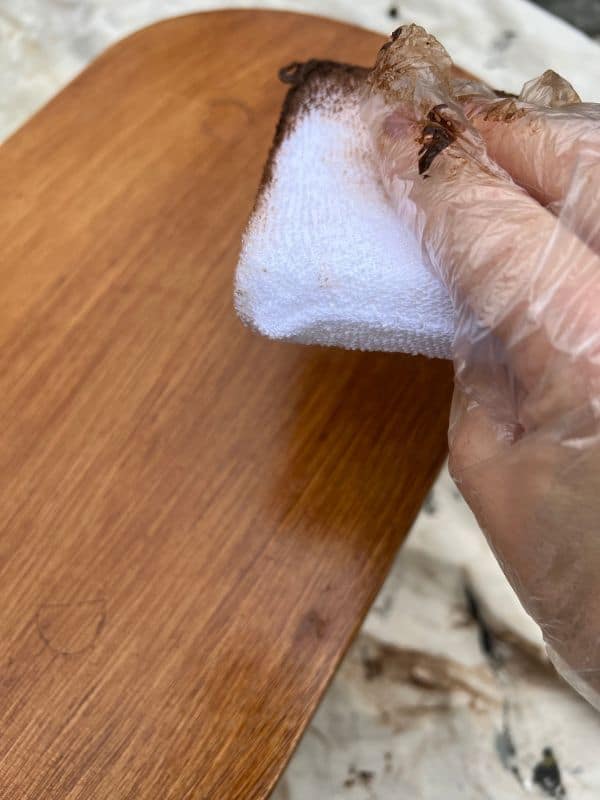
Can I use a lighter gel stain over an existing dark stain?
Of course using gel stain would be much easier if we were starting with raw wood, but generally thats never the case.
So if you’re trying to use a gel stain (or even a regular wood stain), you can not go from darker to lighter without lifting the existing color.
A great option would be to use a powerful stripper to help remove the existing stain. This way you can take it down to the natural wood before applying the lighter color.
What will remove gel stain If I make a mistake?
If you make a mistake while using gel stain, use mineral spirits or lacquer thinner where the gel stain is too thick.
These products work to help dissolve the gel stain. Then, you can reapply thin coats of the gel stain. Be sure to wipe it off right away to avoid any tacky or blotchy finishes.
Can I apply a gel stain and let it absorb into the finish?
Sorry, but you can’t apply a gel stain and let it absorb into the finish. Gel stain is designed to sit on top of the wood and create a thin, even coating. If you try to let it soak in, you’ll end up with a mess.
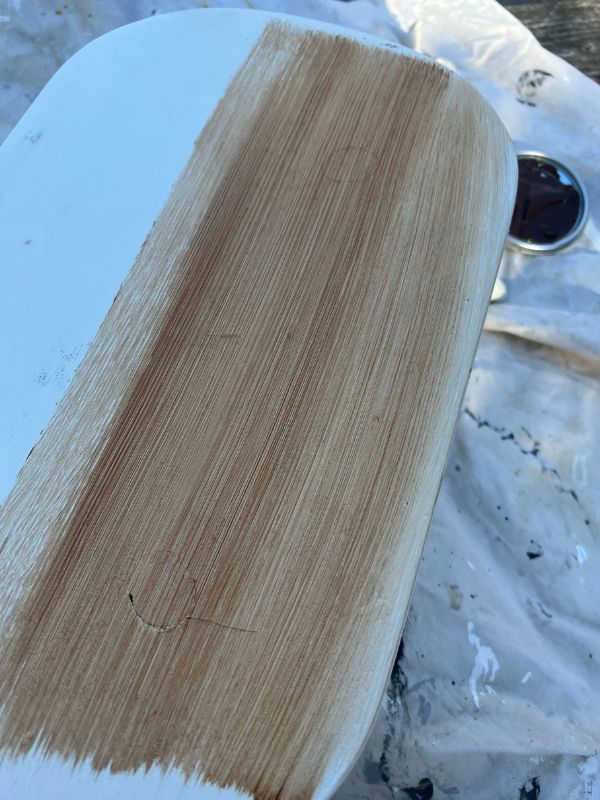
What should you use to apply gel stain?
You can use either a natural bristle brush, foam brush, a cotton rag, or a staining pad. It’s best to avoid using a roller.
I recommend using a high quality brush or a staining pad when applying the stain. Cheaper brushes will shed, leaving unwanted bristles behind.
The goal is to apply a very thin coat of stain and wipe it off immediately. This is because gel stain is fast drying.
If you went too thick on the first coat it will leave a sticky finish and will take longer to dry. You can always apply a second coat if you want a deeper color.
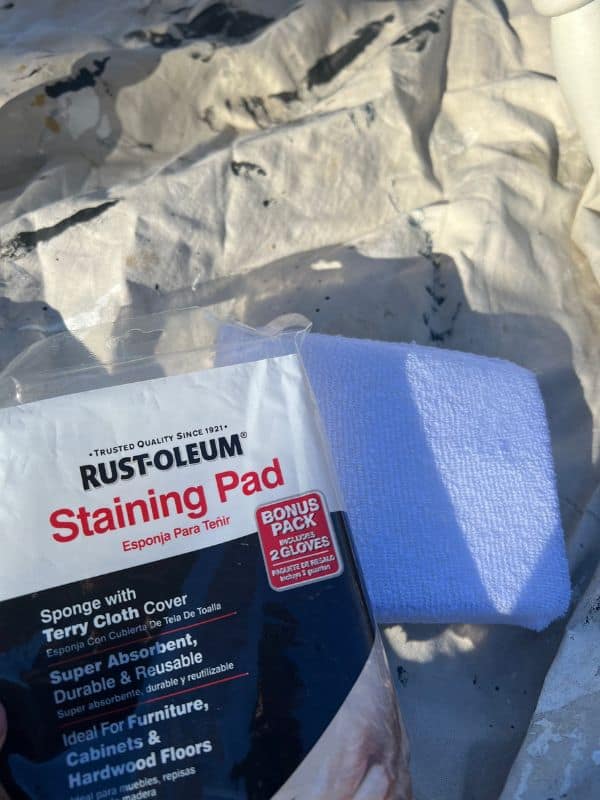
Do gel stains only work on wood?
No, you can use gel stains on various surfaces, including a painted surface, wood, metal, laminate, etc. The main advantage of using a gel stain is that it provides more coverage than traditional liquid stains because you don’t have to rub it in.
It sits on top of the surface. This makes gel stains ideal for large surface areas or projects where you need to achieve a uniform color.
How many coats of gel stain over finished wood are required?
It really depends on the color of the stain and what material you’re working with. Generally, you will want two or three coats of gel stain for wooden projects.
Even though gel stain wont absorb into porous surfaces, it will still slightly soak into the wood grain. So it may take a couple coats to achieve an even or opaque finish.
First coat
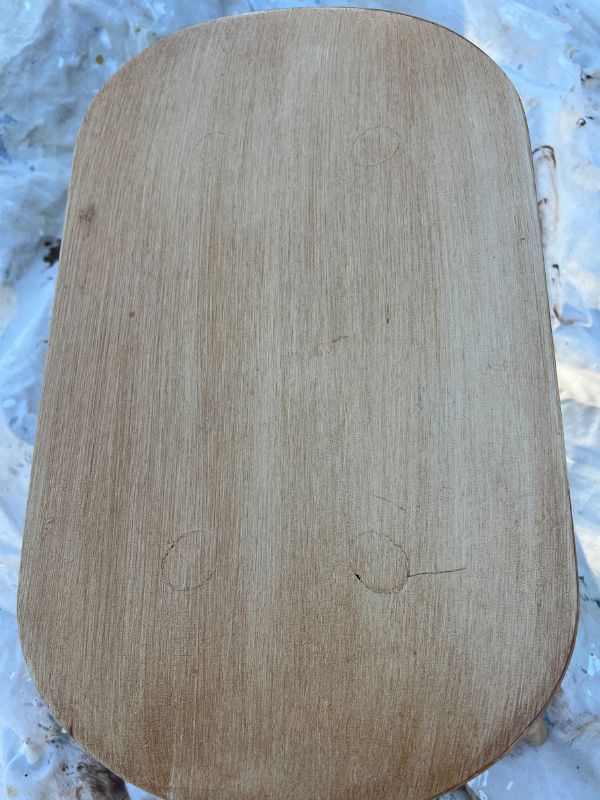
Second coat
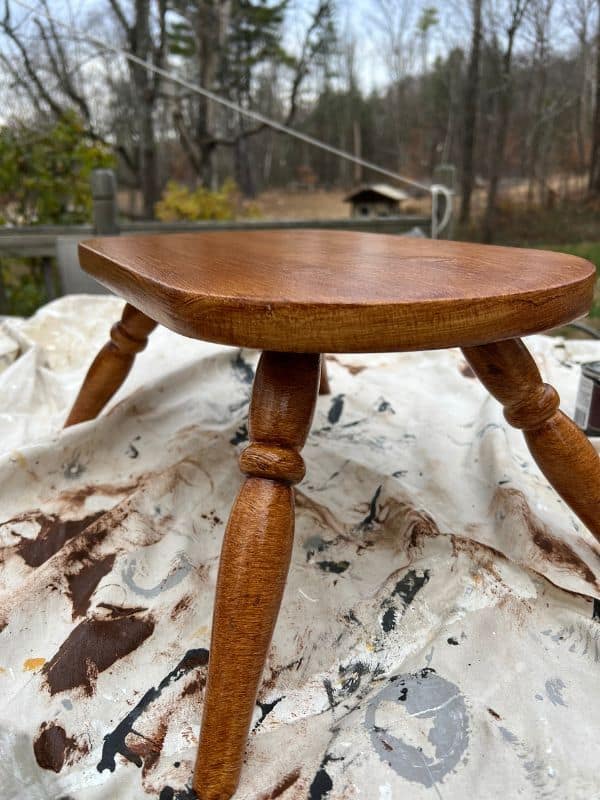
Do I need to sand between coats of gel stain?
Gel stains, like other oil-based products, don’t need to be sanded between coats. Any sanding you do would be on the prep phase.
Sanding between coats is necessary for water-based stain. It raises the grain of the wood, allowing the stain to penetrate better. Since gel stains do not penetrate the surface, there’s no need to sand.
But, I have to say, a light sanding between coats wont hurt anything either. It can help the gel stain adhere better to your wood project. But again, it’s not necessary.
Does gel stain cover scratches or imperfections?
In general, all stains, including regular stains and gel stains, make imperfections more noticeable.
It’s important to sand down the entire wood surface before, because it may be too late once the stain goes on.
Try shining a direct light on the surface to try and spot the imperfections before hand. Then, sand in the direction of the grain. Cross-stain scratches will stand out once the staining process is complete.
How long does it take for gel stain to dry?
After the first coat of gel stain, it takes about 24 hours of dry time before its ready for another coat. It may take a few depending on the depth of color you want to achieve.
And then another 24 hours before you can apply a topcoat. For the best finish, use oil-based polyurethane, varnish, or shellac.
Can you use gel stain over any surface?
You can use gel stain over every surface because of its consistency. Gel stain is a pigmented varnish that you can use to give wood and other surfaces a smooth, even finish.
Unlike conventional stains, gel stain does not penetrate into the surface, so it can be used on any material without fear of damage or discoloration.
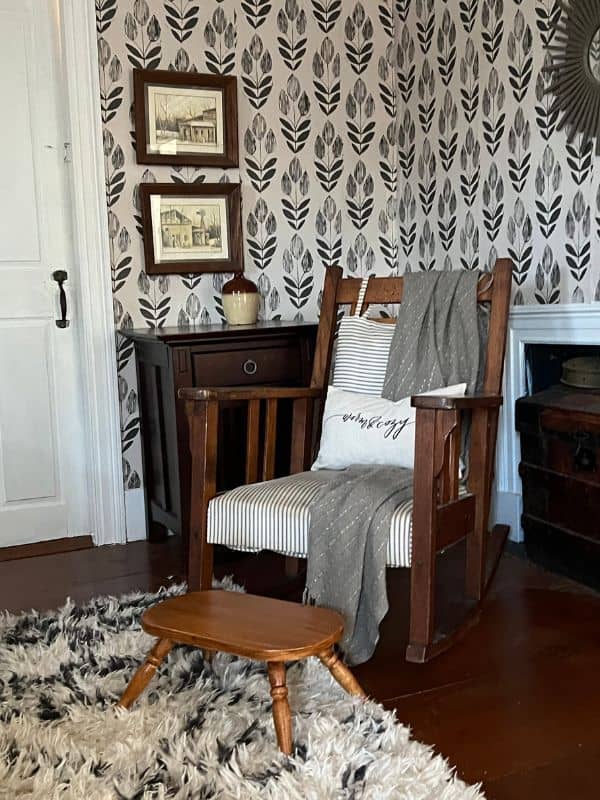
How to apply gel stain to finished Wood?
Applying gel stain to finished wood is pretty straight forward. I’ll go through the application process in a bit more detail below. The trick to making gel stain stick to furniture that has an original finish is to seal it all in with a topcoat.
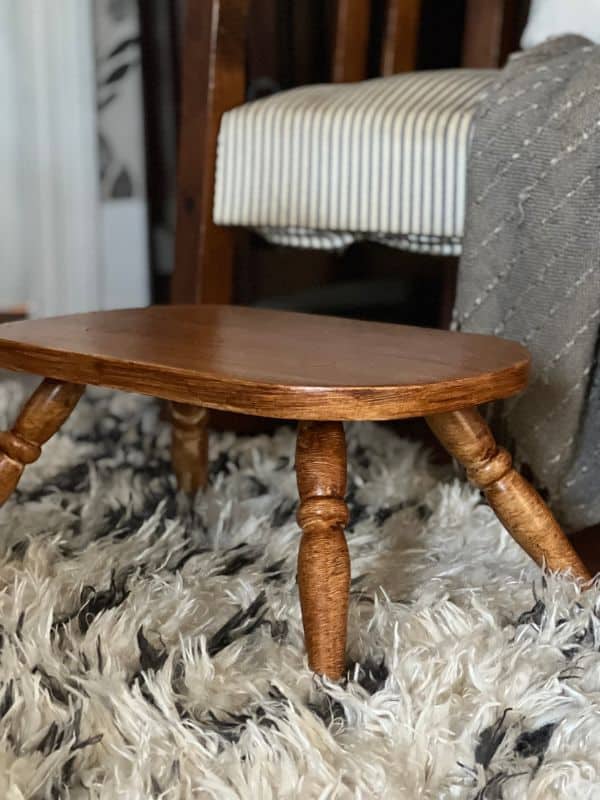
Supply List
Before using gel stain over finished wood, here are a few supplies you’ll need:
- Furniture (really any! wood, veneer, linoleum, even painted)
- Sandpaper
- Rags or tack cloth
- applicator pads
- Gloves
- whitening agent; TSP works too!
- Paintbrush
- Gel stain
- Clear topcoat
After collecting your supplies and moving your finished wood furniture to the working area, follow these steps to complete this project:
- Make sure the work area is well-ventilated. Gel stain fumes can be overwhelming, so open up some windows and doors before you start. Have all of your supplies ready to go before you begin. You’ll need a clean rag, gloves, gel stain, and a brush or sponge applicator.
- Inspect the piece of furniture you’ll be working on. If there are cracks or holes, now is the time to fill them in with wood filler. Once the wood filler is dry, lightly sand the entire surface. This will help the gel stain adhere better. If you are applying a lighter stain, you will need to do some heavy sanding to remove the old stain before applying the new.
- Sanding will create dust particles into the air, so the next step is removing all dirt, sanding dust, or grime from the furniture’s surface. You can do this with a damp rag or a vacuum cleaner with a soft brush attachment.
- If your furniture is very stained or discolored, you may need to use a whitening agent to brighten it up. You can find these at most hardware stores. Follow the instructions on the package, and wear gloves to protect your hands from the chemicals.
- Use medium-grit sandpaper to lightly sand over any areas that are particularly stained or discolored.
- Once you’ve finished sanding, use a clean rag to remove dust from the surface.
- Apply gel stain. Put on a pair of gloves to protect your hands from the stain.
- Pour some gel stain into a container, and dip in your brush or sponge applicator. Apply the gel stain to the entire surface of the wood, working in small sections at a time. For best results, be sure to apply very thin coats. Use a clean rag to wipe off any excess stain immediately. Do not wait too long as it will become tacky and wont dry properly. You’ll have to remove that section before moving on. To do this, use mineral spirits or lacquer thinner. This will absorb the access stain. Wait about 10 minutes and reapply that section.
- After the first coat is complete, it must dry for 24 hours before apply the next coat. It will feel dry after about 6 hours, but don’t be fooled. It needs to be completely dry or else it wont cure properly. You could potentially wipe off the gel stain while applying the topcoat if you apply it too soon.
- Once you are happy with your color, you’re ready for your topcoat! Drying time varies depending on how many coats you’ve done. But it’s safe to say you should wait up to 48 hours after your last coat of gel stain before applying your topcoat. Be sure to use an oil based topcoat. Since gel stain is an oil-based stain, it plays well with other oil based products. This doesn’t mean you cant use water-based sealant, but that it might take a bit more effort. For instance, letting the stain dry for several days to a week before applying the water-based top coat. It’s a good idea to wipe down the furniture with mineral spirits first, and if nothing wipes off then your ok to apply your water-based topcoat.
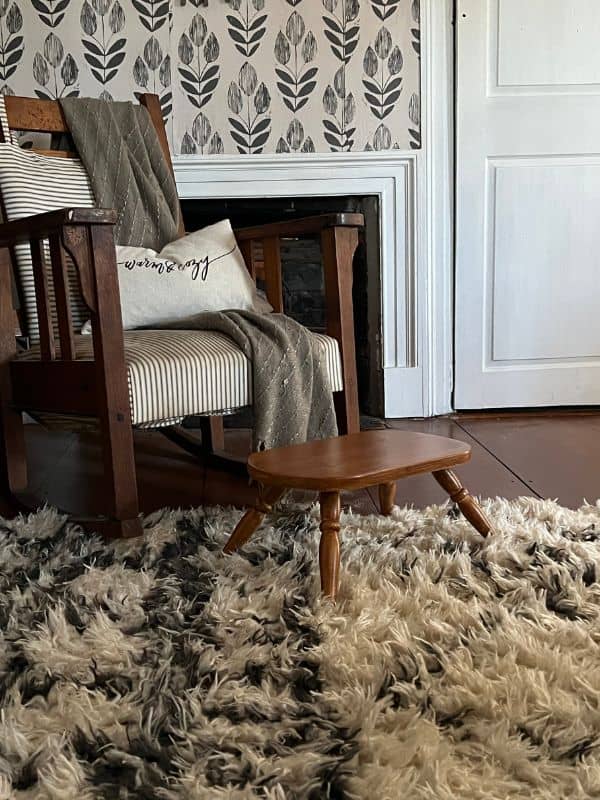
Will my gel stain ever dry?
Unfortunately, it is possible for your gel stain to never fully dry. This could be because you’ve applied your gel stain too thick or because you live in a high humid area.
Either way you might have to opt for a plan b, which would be start from scratch and sand it all off and start again with very thin coats of gel stain.
And that’s all. These quick steps will help you use gel stain over finished wood, and revamp your furniture!
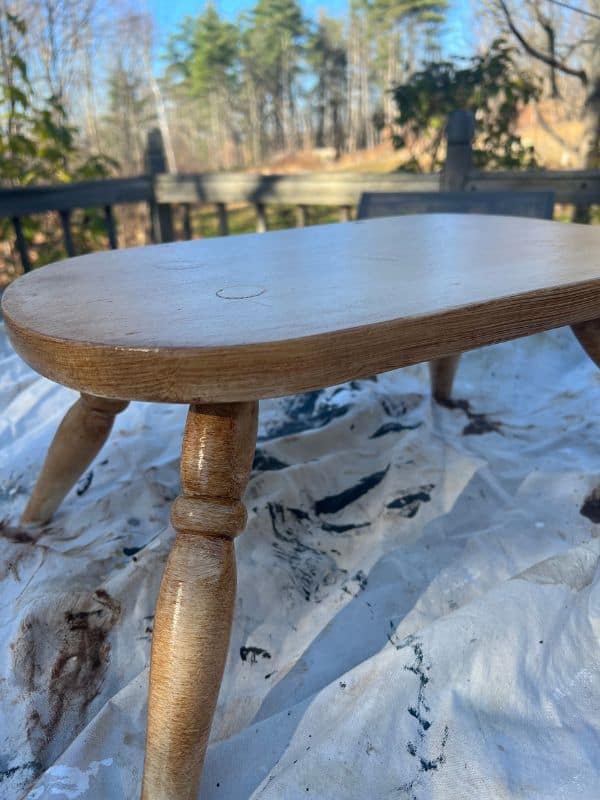
Wrap Up
Gel stain is a popular choice for finishing wood furniture. It is durable and provides a sleek finish that can enhance the look of any piece.
With so many stain colors to choose from, you can be sure you’ll find something that will match your decor.
When applied correctly, gel stain will last many years and will not require frequent refinishing.
Additionally, gel stain is resistant to scratches and other damage, making it an ideal choice for high-traffic areas.
Gel stain is also available in many colors, making it easy to find the perfect shade to match your décor.
If you are looking for a good stain that is easy to use and provides a beautiful finish, gel stain is the ideal choice. With proper care, this stain can help your furniture look its best for years.

Want to shop the supplies for this post? Click on and image to be taken to the source. *These are affiliate links and if used I make a small commission at no cost to you. Thanks for supporting the brands that support this blog of mine!
Be sure to pin for later!
Want to read more about updating your home on a budget? Check out my post below!
Whitewash Brick: The Pros and Cons of painted brick plus the easiest techniques
Brick decor can be a lovely and natural way to show off your style! With its old-fashioned but timeless presentation, brick can bring a touch of history to your living space. Although, sometimes brick can seem dated and in need of a facelift.
Here I’ll be sharing all you need to know about whitewash brick surfaces, including the pros and cons of painted brick and some of the most popular techniques…
That it for now, thanks for reading along.
Chat soon,
Kori


Kori! Love the tips 🙂 I’m new to the gel staining world and just finished two pieces with gel stain. One is a coffee table and another is a farmhouse headboard. I actually mixed paint with the gel stain to get a lighter color, but the gel stain did loose it’s thickness. Your footstool has inspired me for another gel stain project though!
https://katietshome.com/creative-diy-headboard-makeover-idea/