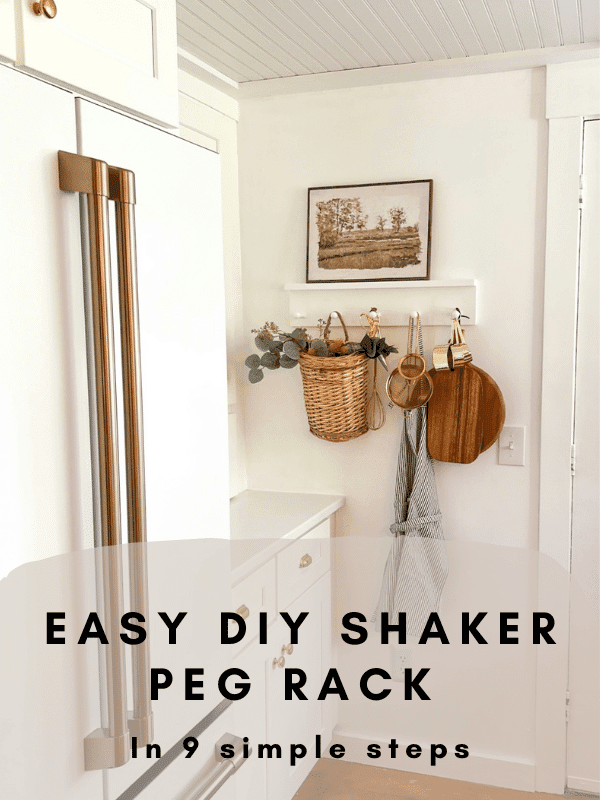
Easy DIY Shaker Peg Rack In 9 Simple Steps
Shaker peg racks are a convenient way to organize your belongings and add extra storage to your home. Not only are they functional, but they can also be a decorative addition to your place.
Today, I will show you how to make a DIY shaker peg rack using just a few simple tools and supplies. I’ll also provide tips on customizing your rack for your specific needs.
So whether you’re looking for extra space or want to add a touch of rustic charm to your décor, I’ve got you covered! I’ll start with answering some commonly asked questions and then share instructions you’ll need to get started DIYing your own!
What Is A Shaker Peg Rack?
A shaker peg rack is a furniture piece with pegs for hanging items like coats, hats, umbrellas, and other accessories. It’s a great way to keep your entryway or hallway tidy and organized.
Shaker peg racks are usually made from wood and come in various shapes and sizes. Some feature elegant designs, while others are more simplistic in style.
They’re a popular choice for rustic or cottage-style homes. This rack is worth considering if you’re looking for an attractive way to organize your belongings.
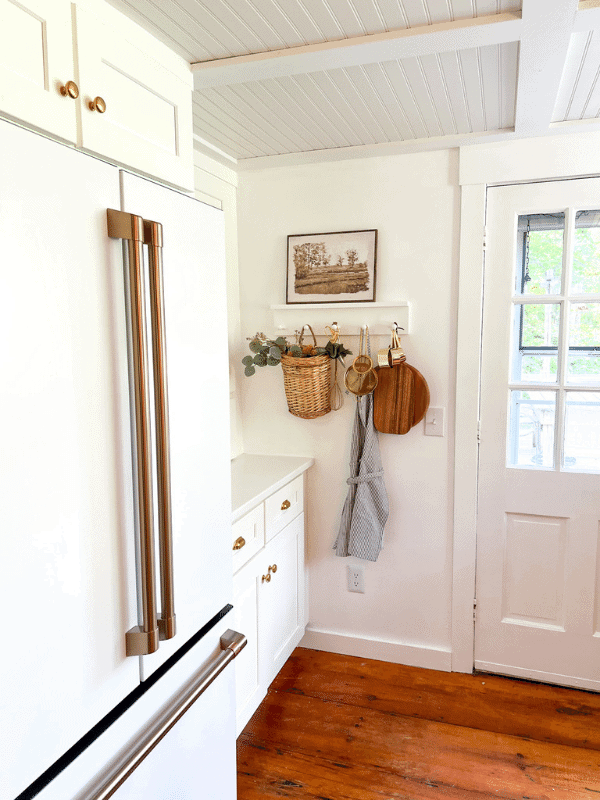
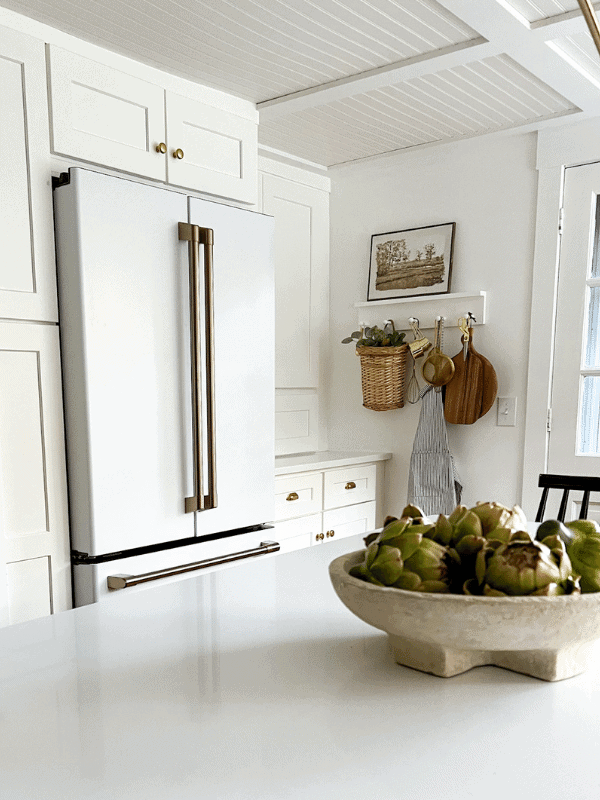
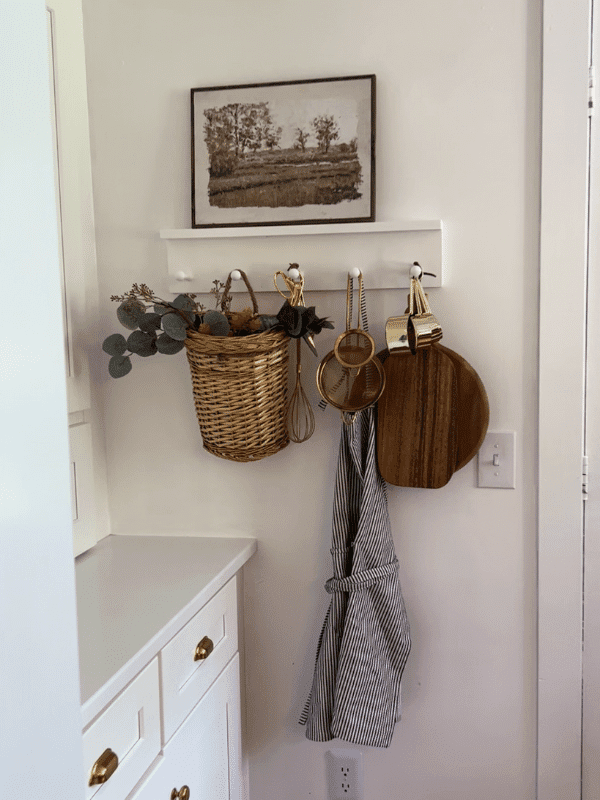
I decided to do An easy DIY peg rack for my baking essentials. It’s something truly practical that also looks very beautiful as well.
How Do You Make A Wooden Shaker Peg Rack?
This easy step-by-step guide will show you how to make a DIY shaker peg rack that’s perfect for your home. Whether you need a shaker peg rail for the kitchen or laundry room, the process stays the same.
This project is simple and you can complete it in a few hours with basic woodworking skills. The finished product will add functionality and style to your space. So, grab your toolbox and let’s get started!
To make your shaker peg rack, you will need:
- Drill
- 1/2 inch drill bit
- Measuring Tape
- Level
- Square
- Miter saw (You can also have your wood cut to size at home improvement stores)
- Shaker Pegs
- Wood for backboard
- Wood filler
- Caulk
- Paint and primer
- Sandpaper
After gathering the essentials of making a peg rack, follow these steps to complete this project:
- Gather material and cut each piece down to size
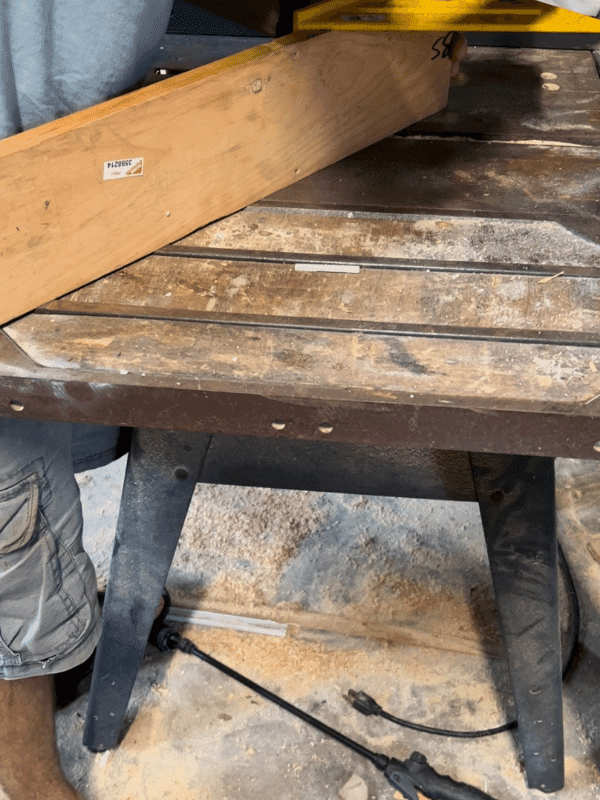
First, we began by gathering our material. We got lucky and had each board in our barn. I wanted my peg rack to have a shelf, so we grabbed two boards, measured them, and cut each board to our desired size.
- Screw each board together
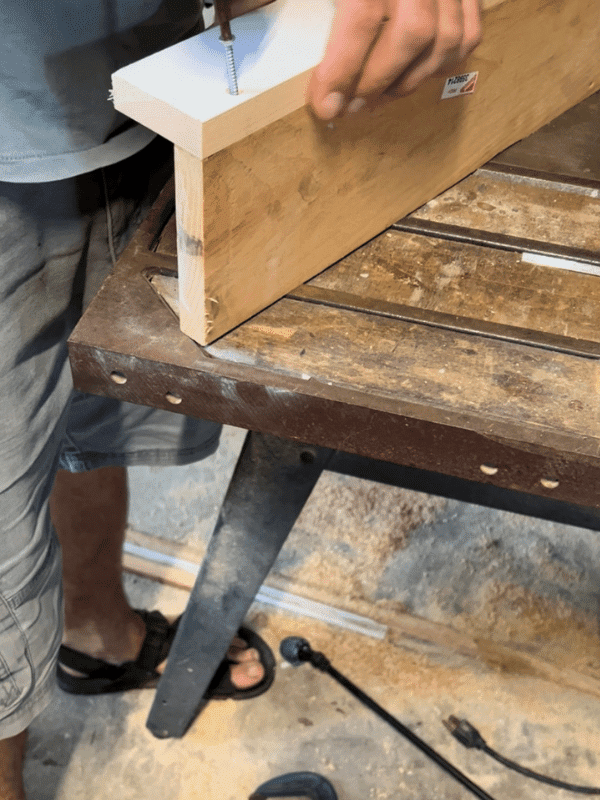
Next, we connected each board together by screwing them together.
- Create the peg holes
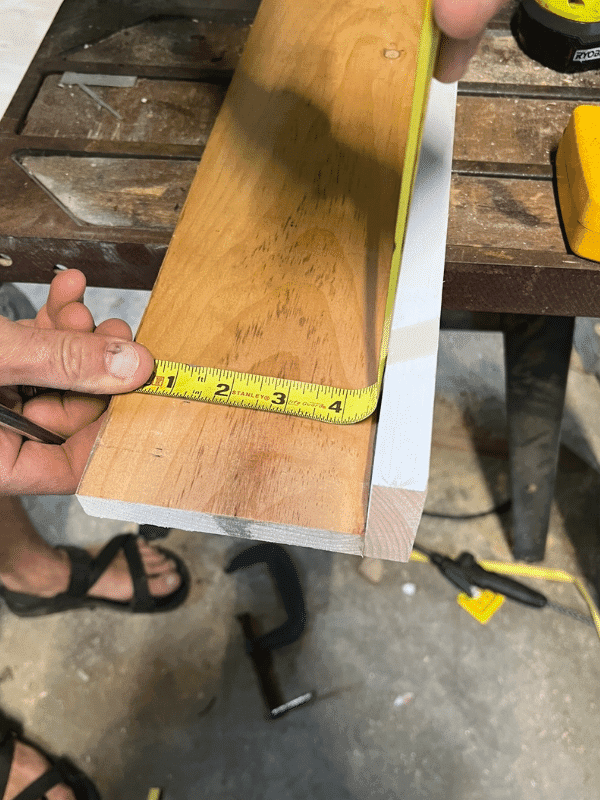
Then, we measured the distance of the board and divided the spacing evenly for each peg. We made sure to mark each spot with a pen to ensure our peg holes would be evenly placed.
- Screw-in the pegs
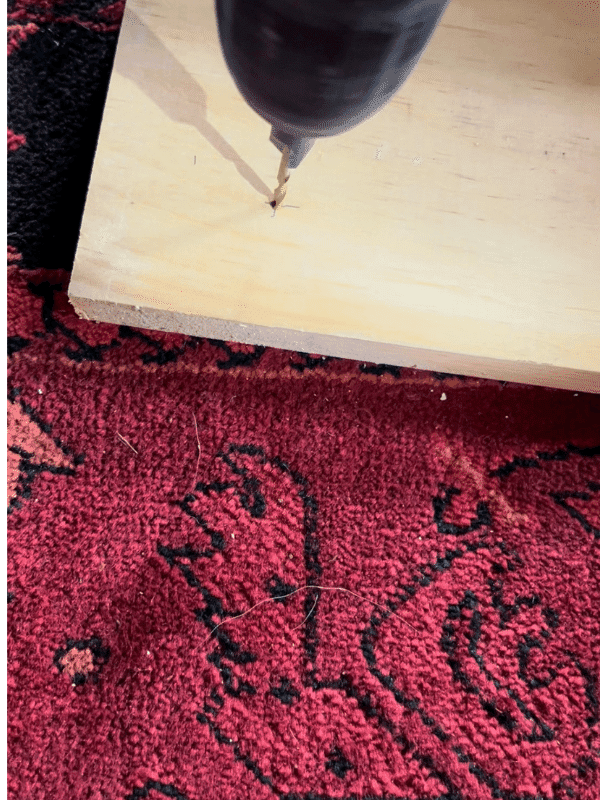
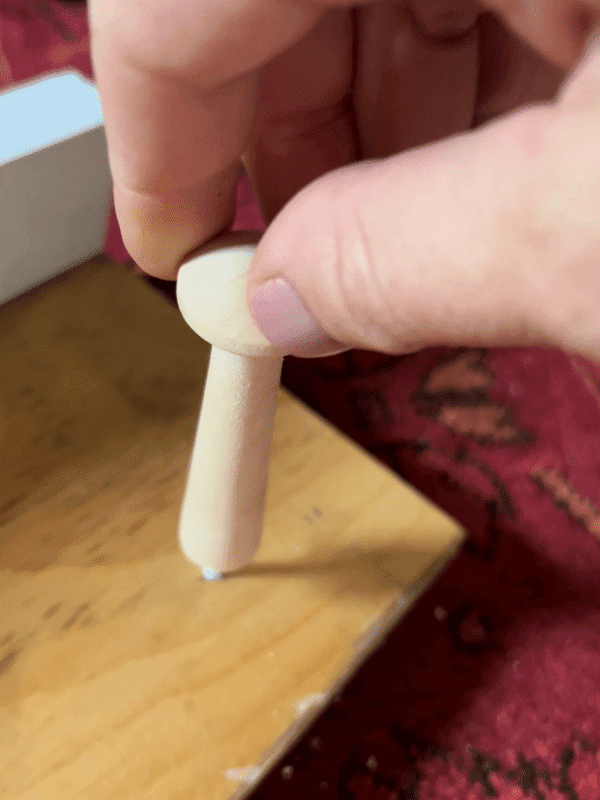
- Using a 1/2 drill bit, we pre-drilled the holes for each peg and then screwed in each peg by hand until they were all secure.
- Sand the edges
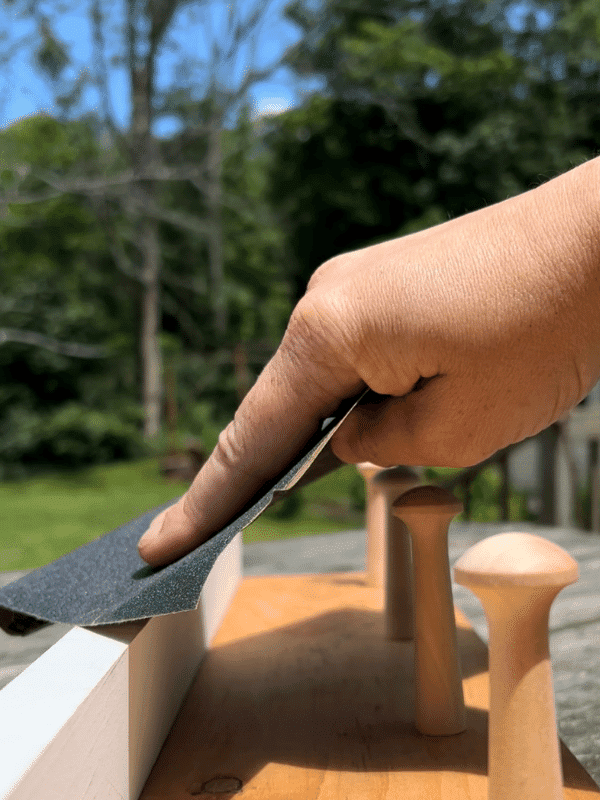
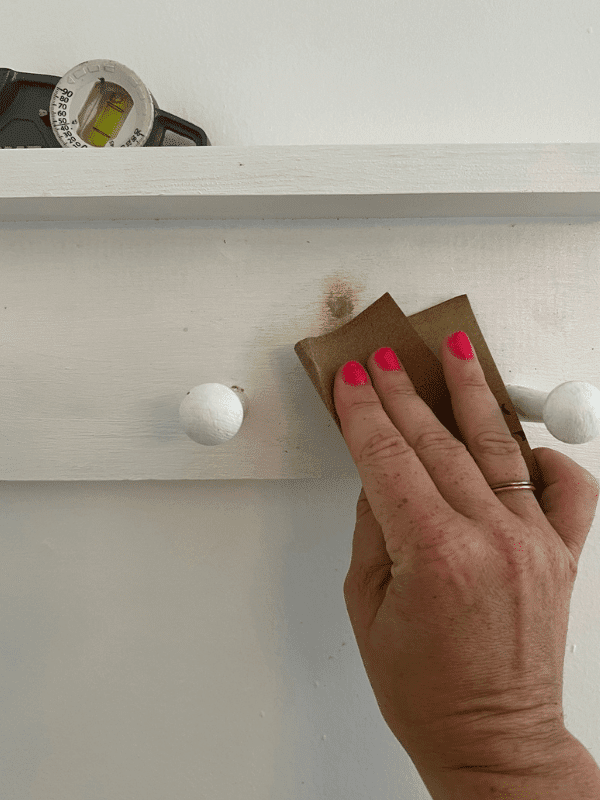
Now that our peg rack was done, it was time to start the finish work. We grabbed some 220 grit sandpaper to smooth out the edges and to help prep the surface for paint.
- Paint the peg rack
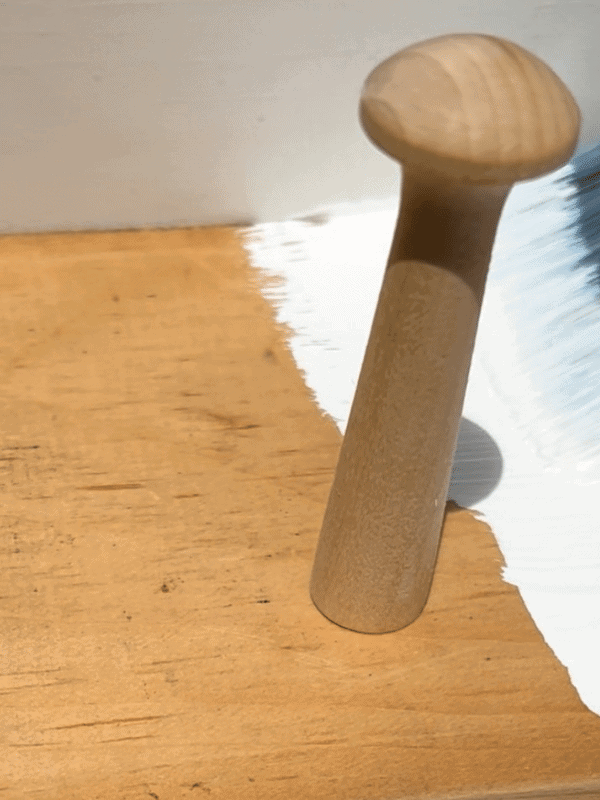
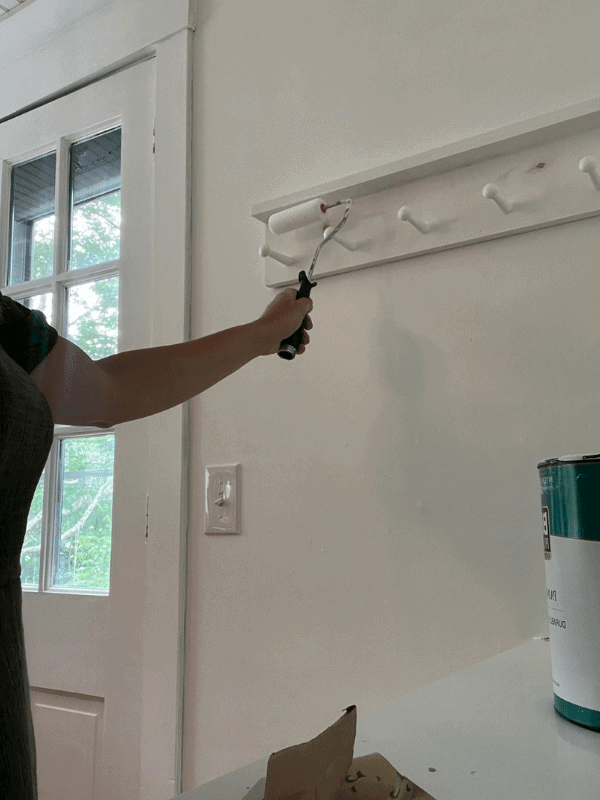
After everything was sanded, we painted the entire surface, including each peg. Then we let it dry. I did a second coat after that. It’s also a good idea to add a protective top coat for further protection.
- Install and cover the screw holes
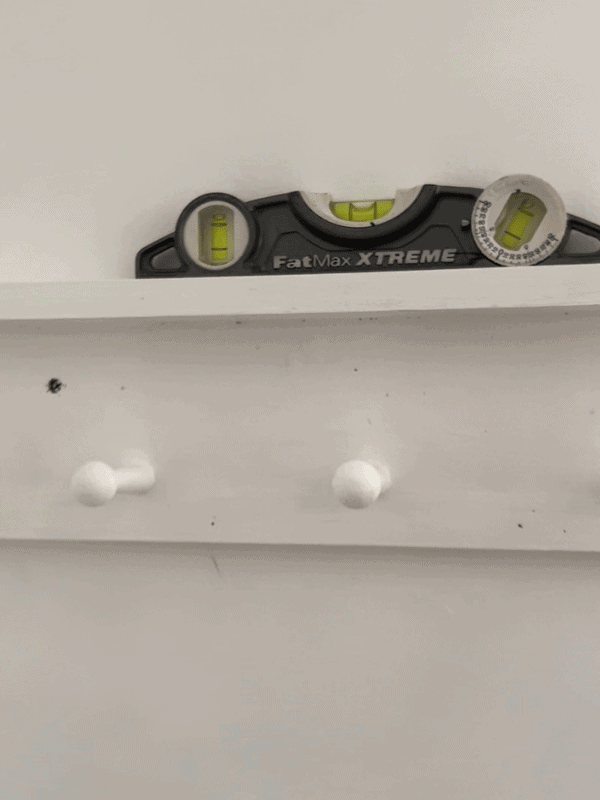
Once our paint dried, our peg rack was complete! To hang it on the wall we just drilled two holes, first with a drill bit, and then with screws through the board and into the wall. Next, we used some food filer to cover the screw heads. We waited until it was dry and then sanded and painted over the wood filler.
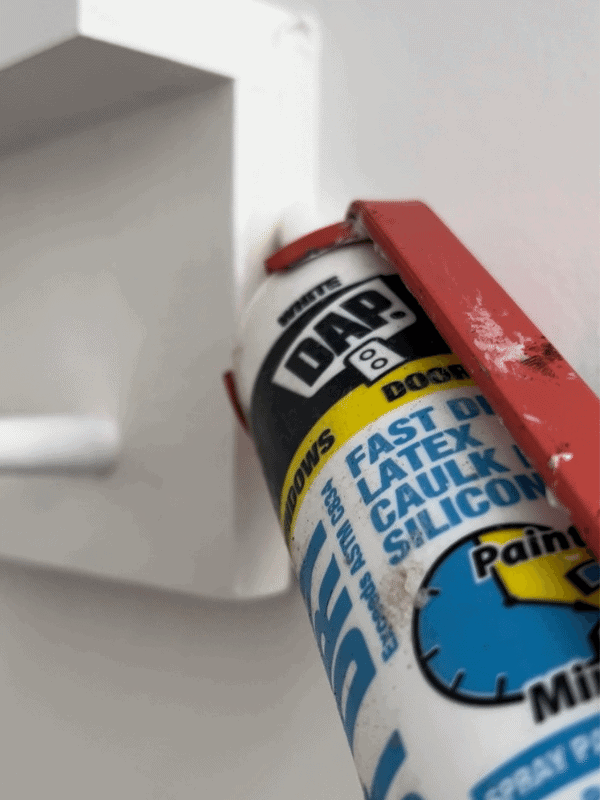
- Caulk the edges for a seamless finish
Lastly, we caulked the edges of the peg rail so there weren’t any gaps between the board and the wall.
9. Decorate!
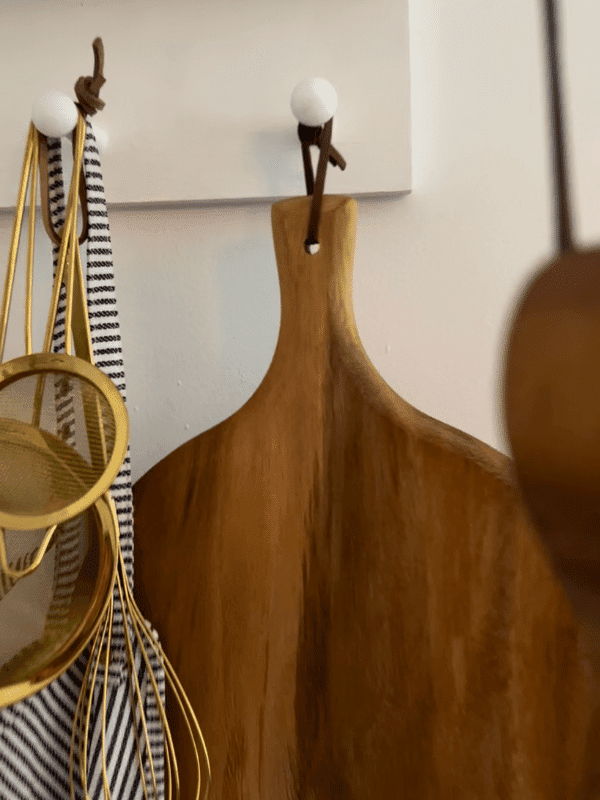
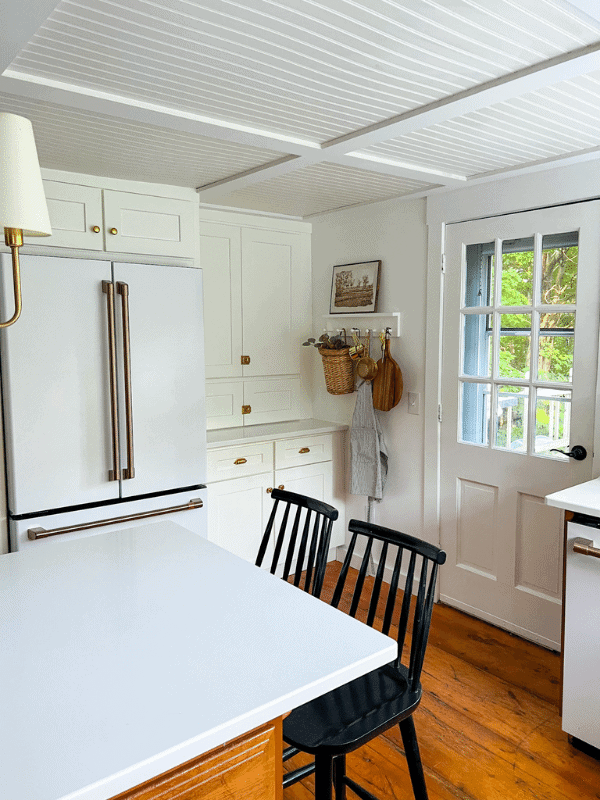
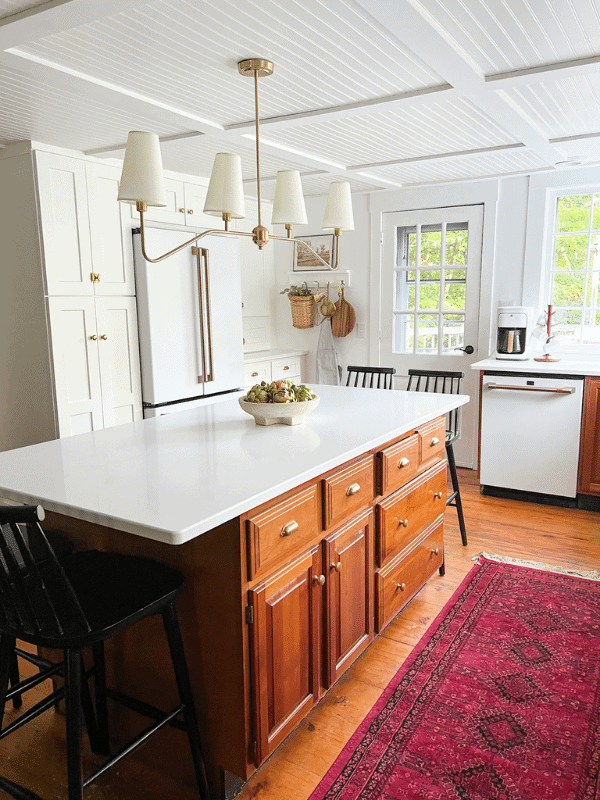
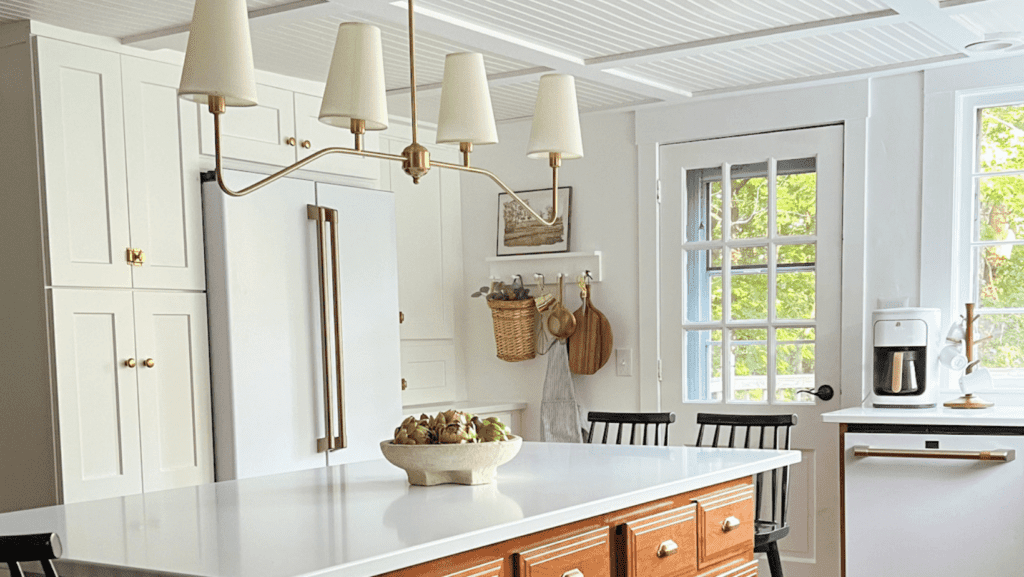
Then finally I was able to decorate! I wanted to use my peg rail to display baking essentials because it was hung right next to my baking cabinet.
How Do You Make Pegs?
I bought the pegs I used off of Amazon, but if your feeling ambitious, you can make your own! To make pegs for your shaker peg rack, you will need the following materials:
- Dowels, cut to size
- A hand saw
- Wood glue
- A jig (optional)
Here’s how you can make pegs:
- Begin by cutting your dowels to the desired length.
- Next, use a hand saw to cut each dowel into eight pieces.
- If you are using pre-made pegs, insert them into the holes of each dowel piece.
- Apply wood glue to each hole and peg, then connect the pieces.
- Let the glue dry completely before handling the racks.
You’re now done!
Should I Buy Pegs For A Peg Rack?
You can purchase these racks ready-made, or you can easily DIY them using some basic materials. Either way, pegs are inexpensive and effective in keeping your belongings in order.
Peg racks with shelves are ideal for small spaces because they tend to not take up very much space. They free up floor space and ensure everything is well-organized.
Whether you use them in the mudroom for organization or in the kitchen for utensils, a peg rack can help any room feel more put together.
Here are a few things you should consider before buying pegs to make a peg rack:
- The first thing to consider is the wood you want to use. Some woods, such as cedar, are resistant to decay and will last longer than other types of wood.
- The second aspect to undertake is the size of the rack. You’ll need to decide how many pegs you want and then purchase the appropriate boards.
- Finally, you’ll have to decide if you want to paint or seal the wood before using it. If you do, allow enough time for the paint or sealant to dry before hanging your coats or towels on the rack.
What Do You Hang On A Peg Rail?
A shaker peg rack can hold an impressive amount of items! You can hang pots and pans, baking essentials like measuring cups and spoons, utensils, and clothes on it.
If you’re crafty, you could also use a peg rack to organize your supplies. It’s a versatile organizational tool that is perfect for small spaces.
You can hang several other things on a peg rail, depending on your needs and preferences. For example, you could hang pants and shirts on it to organize your closet space.
You could also hang towels on these sleek pegs to help them dry more efficiently. In reality, you can use pegs to hang anything that can be hung, making the possibilities endless!
A shaker peg rack is handy to declutter your countertops and keep your kitchen organized. They are also perfect for apartments or homes with limited storage space.
You can find them at most home stores or online. Be sure to check your thrift stores too! Just measure the space you have before purchasing, so you get the right size.
The great thing about peg rails is that they offer a versatile storage solution that you can customize to fit your specific needs. To declutter your home, consider a wooden peg rail with a shelf and say goodbye to the unnecessary mess.
How Do You Attach A Wooden Peg To Wood?
One way of attaching a wooden peg to wood is to use a dowel jig. A dowel jig is a tool that helps you drill evenly-spaced holes in your workpiece.
This is the method we prefer because it’s the most accurate. You can also use wood glue and clamps or wood screws.
If you’re using a dowel jig, simply clamp the jig to your workpiece, drill holes in the workpiece using the dowel jig as a guide, then insert shaker pegs into the holes.
If you’re using glue and clamps, apply glue to the ends of the pegs, insert them into the holes, then clamp them for a sturdy finish.
How High Should A Peg Rail Be?
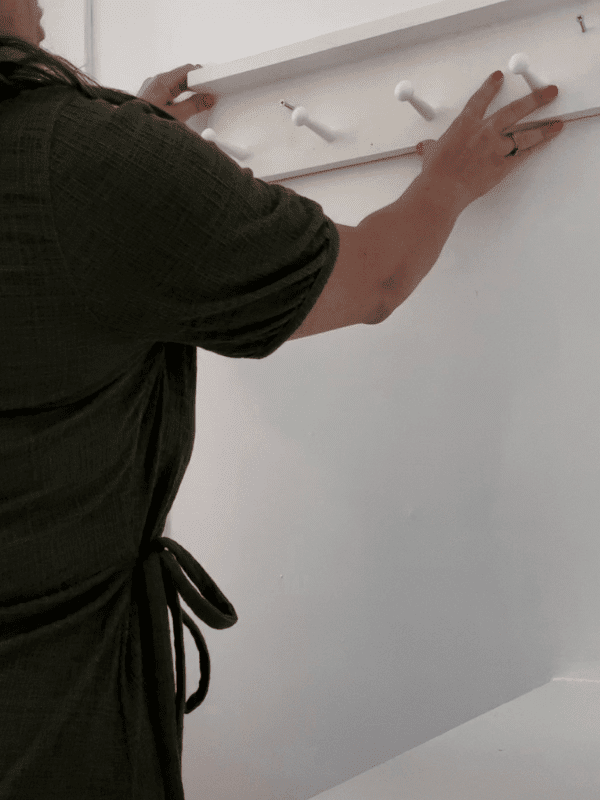
It depends on the height of the person using the rail and the height of the rail itself. Generally, a modern peg rail with a shelf should be high enough so that when a person stands with their arms at their sides, their palms can rest comfortably on the pegs.
Where Can You Install A Shaker Peg Rack In Your Home?
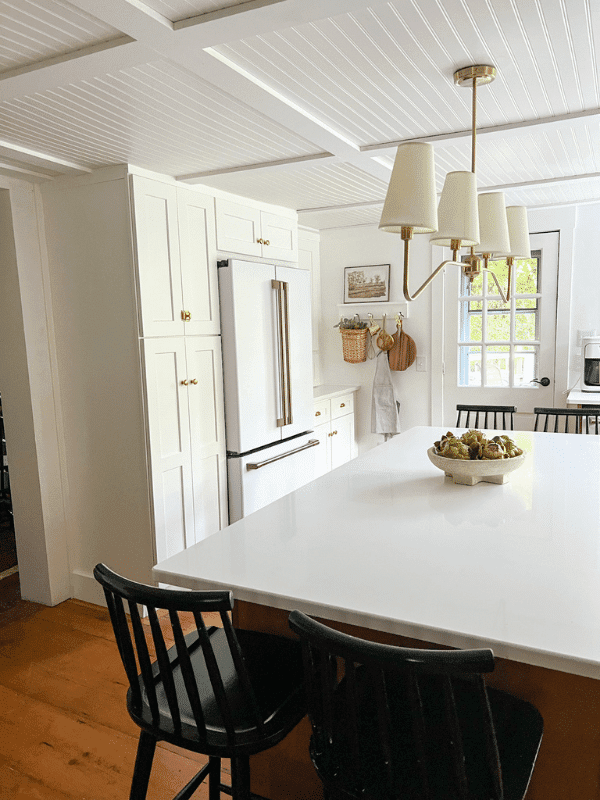
You can install a shaker peg rack anywhere in your home where you want to create additional storage space. The main benefit of a shaker peg rack is that it doesn’t require extensive drilling; you simply need to find a wall stud and screw the peg rack into place.
Shaker peg racks are perfect for small spaces like closets, entryways, kitchens, and laundry rooms. You can use them to store everything from coats and hats to spices and pans. Plus, they add a touch of rustic charm to any space.
How Do You Paint A Peg Rail?
Painting a shaker peg rail is an excellent option if you’re looking for a way to spruce up your home décor. Here’s a step-by-step guide on how to do it:
- Start by sanding down the surface of the peg rail. This will help the paint adhere better. Then, wipe away any dust with a damp cloth.
- Next, apply a primer to the peg rail. Once the primer is dry, you can begin painting. For best results, use a paintbrush and not a roller. Rollers are excellent, but tricky to use when painting pegs.
- Start painting from the top of the peg rail and work your way down. Allow each coat of paint to dry completely before adding another.
- Once you’re finished painting, add any finishing touches, like your favorite decor or practical ideas that need a good home.
These steps should help you successfully paint a shaker peg rail. Remember to take your time and be patient while the paint dries between coats. With a little effort, you’ll have a beautiful DIY shaker peg rail to beautify your home décor.
Where To Use A Peg Rack In Your Home?
There are a lot of places in your home where you can use a shaker peg rail shelf. One great option is the kitchen. You can use it to hang pots and pans or even towels and aprons.
Another great spot is the laundry room. Use it to hang clothes that need to air dry or store laundry detergent and other supplies.
If you have extra closet space, a shaker peg rack is also a great way to organize your clothes and accessories. And last but not least, a shaker peg rack is also handy in the storeroom for hanging tools and other items you want to keep off the ground.
Are Wooden Shaker Peg Racks Sturdy?
Yes, if they’re well-built. Wooden shaker peg racks are typically sturdy as long as they’re made with strong materials and proper construction techniques.
For example, if the joints are glued and reinforced with dowels or similar methods, the rack will be much sturdier than one that relies solely on nails or screws.
In addition, a good finish will also help protect the wood and keep the rack looking its best for many years to come.
You can always test a shaker rack before making a purchase or look for online reviews from previous buyers. Another option would be to buy a metal rack, which would likely be more sturdy than a wooden one.
Are Shaker Peg Racks Still in Style?
Yes! They are timeless! Though there are many ways to store items and keep a home organized, shaker peg racks offer a unique combination of simplicity and durability.
Unlike other storage options, shaker peg racks can be easily customized to meet the specific needs of any space. And because they are made from natural materials like wood, shaker peg racks are also environmentally friendly.
So if you’re looking for a storage solution that is both stylish and functional, consider building a shaker peg rack. With just a few supplies and some elbow grease, you can create a uniquely modern and practical piece of furniture that will help you keep your home organized for years to come. Good luck!
Be sure to pin for later!
Want to shop this post? Just click on an image below to be redirected to that shop. *These links are affiliates and when used, I make a small commission at no cost to you. Thanks for supporting the brands that support this blog of mine!
Chat soon,
Kori

