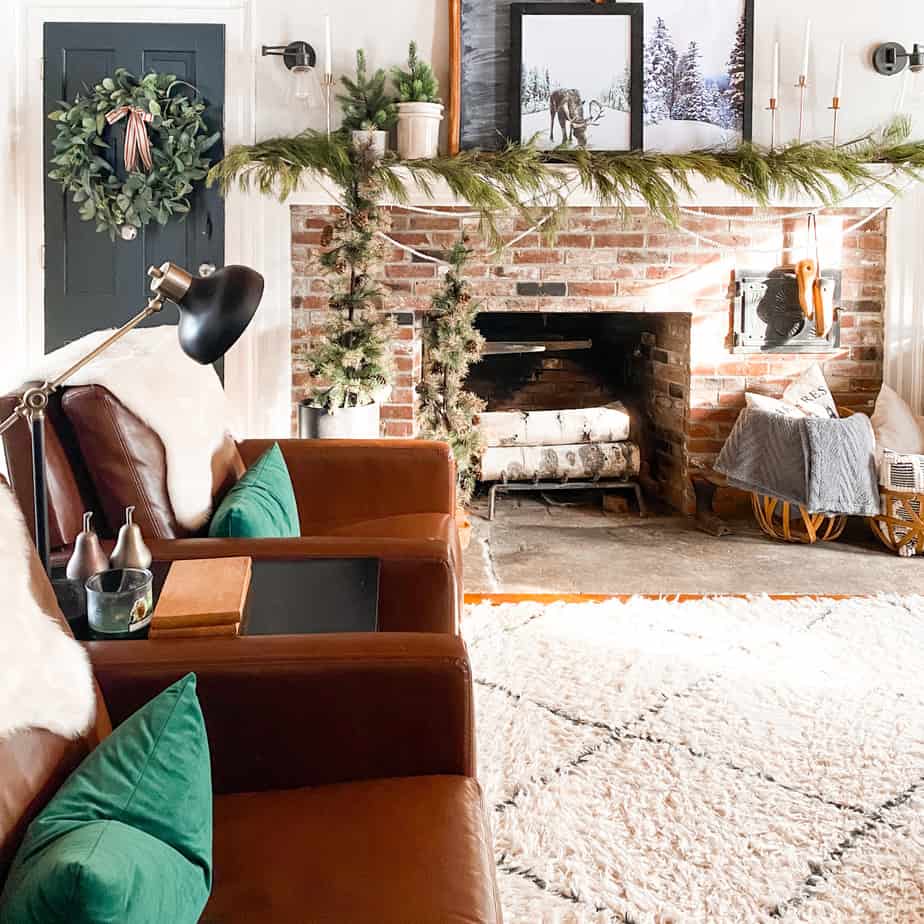
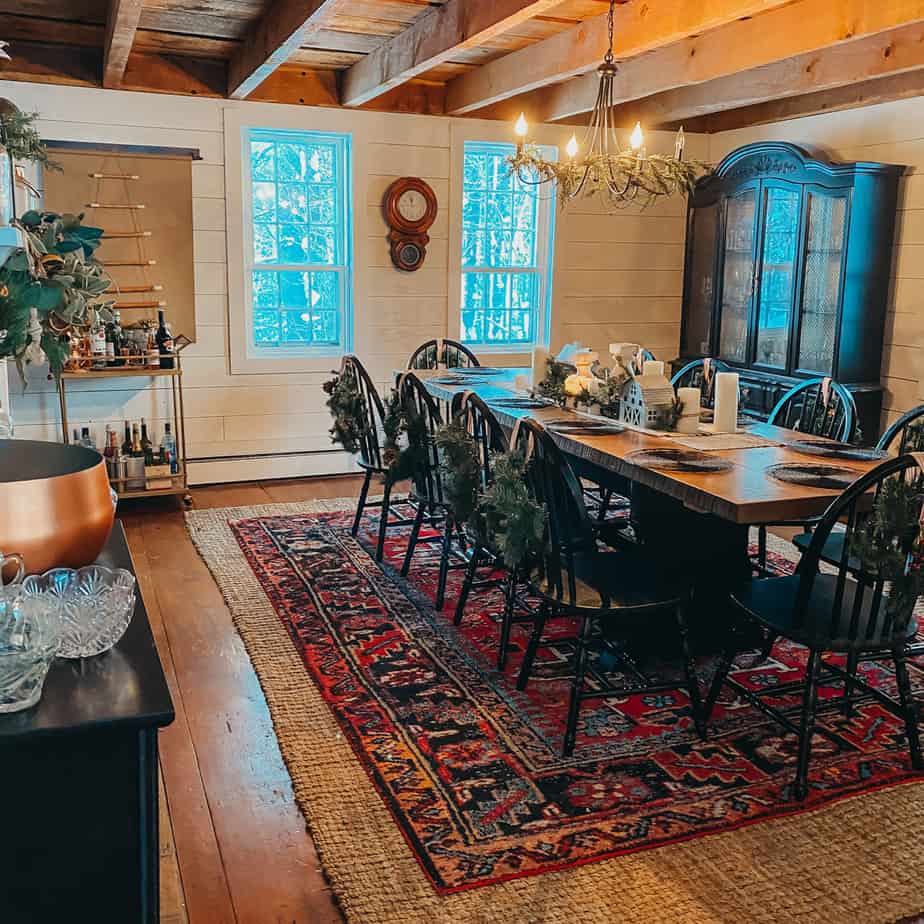
To kick off day one of the 12 days of Christmas crafts I thought it would be appropriate to start with an Advent centerpiece! I figured we should start with a little history of Advent candles.
Advent candles essentially are candles that you light each day and week until Christmas. A small candle was lit every weekday and Saturday during Advent. On Sundays, a large candle was lit. The custom started among Protestant churches in Germany and evolved into the smaller wreath with four or five candles know as today.
The candles on the Advent wreath symbolize hope, love, joy, and peace. Some denominations consider the fourth candle to stand for purity, and most call the fifth candle the Christ candle, which is lit on Christmas to remind Christians of the light Jesus brings to the world.
I love the idea of an Advent centerpiece. It’s a great way to work in the beautiful symbol of the season with something that we not only see every day, but also calls us to action. Lighting the candle symbolically each week is something fun we can do to involve our family while teaching them the reason for the season.
To start, gather up all your supplies. You’ll need candles, fresh or faux greens, twine, hot glue, and scissors.
Cut your greens to about 2-3 inches long and layer them on top of each other to stack on the candle. Then cut your twine to about 12 inches long.
Thanks so much for reading along! If you make your own Advent centerpiece, please share it with me on Instagram @thefarmhouselife
This season I’ve rounded up some of the hottest gifts to make shopping for your people much easier! Whether it’s your family, friends, teachers, etc – Check out my holiday guide to check off those people on your list.
To be totally honest, this guide might have a dual purpose. Not only am I creating this guide to help you get your shopping done easily, but I’m also creating this guide as a resource for myself. As a lot of these items I’ve bought or plan on buying for MY people.
Alright – We’ll I’m off to shop now!
Strawberry jam is a family favorite in my house. It pairs so well with my soft homemade bread! We eat a lot… of both!
The downside is that the suger content is really high and you never really know what else they put in the store-bought jars. Things like high fructose corn syrup and preservatives just to name a few.
So I’ve decided this is one of those foods that I can make myself. That way I know what’s in it and I can feel good when they slather!
I’ve done some experimenting with different ingredients and I’ve come up with the best tasting – easiest – and quickest to make!
We like the taste of strawberries and want our jam to taste like strawberries and not candy. Every time my kids slather this jam on their bread they always say it tastes so fresh – just like they’re eating fresh strawberries.
This strawberry refrigerator jam will last 7-10 days in the fridge. I try and make at least two small jars at a time. I mean – we make a lot of PB & Js over here!
For this recipe, you’ll need 1 lb of strawberries, a cup of sugar, and 1/4 cup of lemon juice. Pour all of your ingredients into a bowl and mix it all well.
After all the ingredients are mixed well, toss them into the blender and let it pulse a few times to break up the strawberries. next, put them in a pot and cook on low/med heat. Be sure to bring this mixture up to a boil and stir frequently. If you don’t notice your jam thickening, keep cooking. It will eventually thicken. If not add more sugar and cook longer.
Allow the mixture to sit and cool and then pour into your jars. Be sure to store it in the fridge for up to a week!
If you’re coming over from Aliya, welcome! Wasn’t her hot cocoa bar gorgeous?!
Well – It’s that time of year where a hot beverage in our hands is a must! Honestly, I can’t seem to work proficiently without one! I’ll admit – I’m a sucker for a good Starbucks latte.
But boy can those get pricey. Especially if you have little to no will power like me. All of a sudden my “once in a while” coffee treat turned into an “every other day” coffee treat. And my budget went out the window.
My husband would ask “Um – Kori… do you really need that many Starbucks lattes?” And of course, my answer is yes! But the more I thought about it the more I realized it was time to maybe invest in my own Latte maker. So this year I decided I was going to upgrade my coffee/hot cocoa bar with a Nespresso machine!
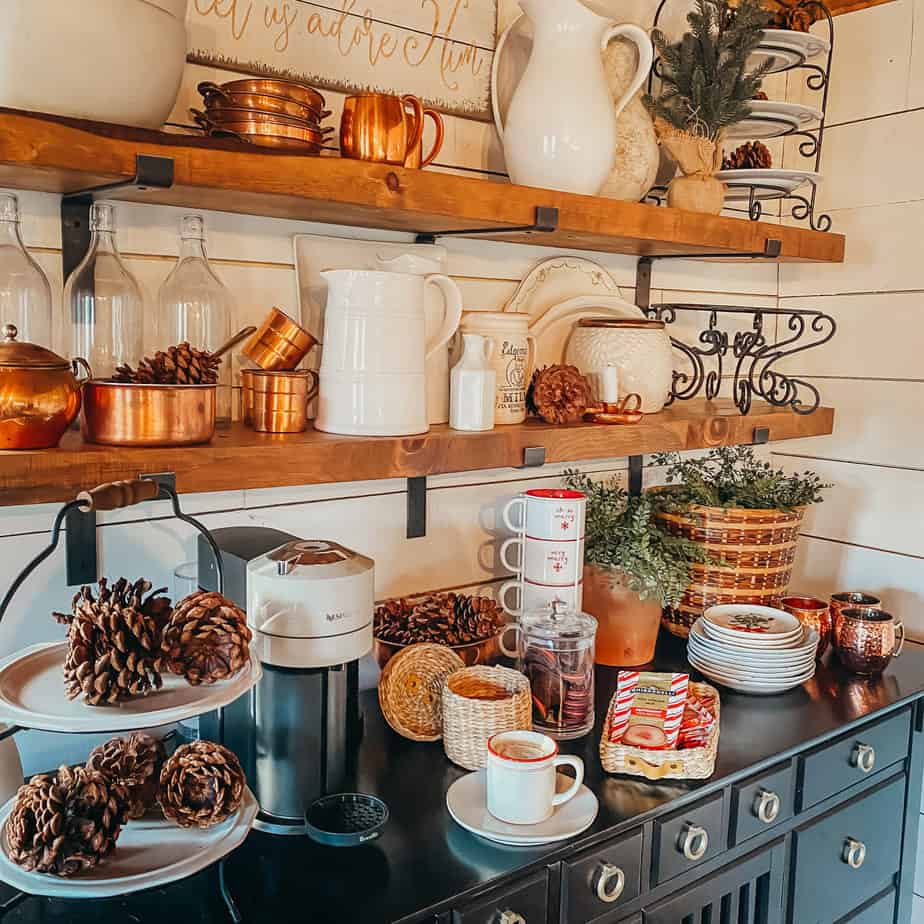
Every year I try and make my coffee bar festive for the Holidays. I’ll add cute jars and baskets with all the fixings for yummy hot cocoa or a sweet delicious coffee. My kids love coming home from school and helping themselves to warm cocoa with an absurd amount of marshmallows.
This year I’m adding a Nespresso machine to the mix so now I can make my own caramel latte or macchiatos any time I want. Really the possibilities are endless because with a Nespresso machine you can really make any specialty drink. And… he’s to hoping with my own Latte maker, my budget will be saved as well.
The key to a good coffee and hot cocoa bar is having EVERYTHING that someone might need on hand to make their beverage. So for instance, if someone is going to make hot cocoa they’ll for sure need water. That’s why I put an electric tea kettle on my bar filled with water. I also have jars filled with marshmallows, candy canes, and chocolates. Whatever the heart might desire.
And for coffee fixings of course there’s hot cocoa for mochas, caramel syrup for lattes, and a milk frother/ steamer for the perfect frothed topping!
Adding some of your favorite Holiday decor is a sure way to make your coffee bar so festive and more appealing.
I like to add copper touches because to me, copper just feels like Christmas! I also added some of my favorite Holiday mugs and a few teacups with saucers so I can pretend to be fancy.
I try and add “wintery” touches so it can stay around long after Christmas (not that we need the temptation in the new year). Decorations like pinecones and evergreen sprigs will not look out of place well past Christmas.
That’s it for me! Now it’s time to go check out Kristin’s gorgeous hot cocoa bar
And be sure to check out the others hot cocoa bars below!
White Arrows Home / Pine & Prospect Home / The Tattered Pew
Thistlewood Farms / Open Door Home / The Farmhouse Life
Making homemade bread has never been easier… and believe me. I was an avid breadmaker user for years! I loved my breadmaker. All you have to do is dump your ingredients in and wait 4 hours. But after perfecting this recipe, I find that it takes half that time AND it comes out softer and more delicious!
Making homemade bread has so many benefits in comparison to store-bought bread. First of all, there’s the bonus of actually knowing what your eating. Store bread’s ingredients list is long and sort of looks like a chemistry experiment. Homemade bread has only 5 ingredients that you can pronounce.
Another benefit is that each loaf costs pennies compared to store loaves that can be much more expensive.
Plus they freeze really well. I like to make a few batches at a time to freeze for later in the week.
The ingredients list is so simple. All you’ll need to gather is:
You can use any white flour you like. Bread flour is going to make the fluffiest bread. If you wanted to make whole wheat bread you can substitute 1 of the cups of white flour for whole wheat or rye flour. Whatever whole grain flour you want to use is fine. Just make sure you only substitute 1 or 2 cups max! Otherwise, it’ll be too dense and won’t rise.
Add in all of your dry ingredients into a large mixing bowl. I like to use metal only because it holds in the heat well and in order for your bread to rise, it’s going to need to be warm.
Add in 4 cups of flour, 2 teaspoons yeast, salt, and sugar. Then mix well.
Once your dry ingredients are mixed well, you can add in your water mixture slowly. This recipe requires 2 cups of water. My trick is that I add 1 1/2 cups of room temperature water and 1/2 cup of boiling water. This seems to create the perfect temperature for your yeast to grow and your bread to rise.
Slowly add in your water to the dry ingredients a little at a time. Use a fork to mix. Keep adding until you have a ball forming. It’s going to be a really sticky ball – but you’ll see it go from a bunch of tiny clumps to one large clump.
After your dough has been formed cover your bowl and set it somewhere warm. I like to put mine near my woodstove. I know some people who let their bread rise in a closet, near the stove, or even near a heating grate. You know your house best and know where the warm spots are. Let it sit covered for an hour.
Next, grease your pan with something thick – like Crisco, butter, or lard. I haven’t tried coconut oil. I don’t know if that’ll work, but most oils won’t work. Olive oil will just absorb into your dough and won’t coat your pan once it’s baking.
You want to be able to dump it out of your pan when it’s finished baking. Believe me – If you don’t spend enough time greasing your bread pan – you’ll know it. You’ll be scraping your beautiful bread out of your pan. And It’s not fun!
After the hour is up transfer your dough to your greased bread pan. The dough is going to be sticky. It helps to coat your fingers in Crisco so not too much sticks to you.
Once your dough is in your pan, place it somewhere warm to rise once more for an hour. This time your pan should not be covered. Your bread will rise a lot this second round and a towel will only restrict it from rising.
Preheat your oven to 425* and place your bread in the oven on the middle rack. Let it bake for 20 minutes. After 20 minutes, turn the oven down to 350* for another 20 minutes.
When the time is up, take the bread out of the oven immediately and dump your loaf out of the pan. Allow the bread to cool on a cooling rack.
Once your bread has cooled – enjoy! After about 10 minutes we literally can’t wait for a second longer to try it! There’s nothing better than warm bread! We love ours with butter and a little homemade strawberry jam.
Next week I’ll share a super easy jam recipe that I make from time to time with frozen strawberries leftover from the summer.
Hey Guys! I’m so excited to be joining in on my first ever Pinterest Challenge. Today we’re making our own Christmas jar or hurricane! If you’re coming over from Everyday Edits, Welcome! I’m glad you’re here. Wasn’t her lantern gorgeous!?
And a shout out to Cindy from Countryroad407 for putting this challenge together! I’m so excited to be apart of this round!!
This month’s inspiration photo comes from Katrin at Northern Feeling. She created the most adorable little village in a jar with twinkle lights, faux snow, mini trees, and of course these sweet little houses. It’s absolutely adorable and my kids have already put this craft on their list to-do list this holiday season.
The great thing about the Pinterest Challenge is that we can look at wonderful inspiration photos like Katrin’s jar and make our own – but with our own twist!
For this month’s Pinterest Challenge I’m going to make my own Christmas jar to use as my dining room tables centerpiece with my antique Santa figure on display.
I’ve gathered some other supplies to fill up my jar and to complete this project. Projects like these are so fun because you can add your own twist as opposed to buying one new.
To fill your jar you can add pinecones, twinkle lights, real or faux stems, etc. I decided to keep it as natural and rustic as possible. So I grabbed my largest glass jar, some pinecones from outside, and I cut up a faux cedar branch that I had laying around in my attic.
This is where you can have fun! Add really anything that makes your heart feel happy and reminds you of Christmas. I always like to pick a theme first. Are you looking for a snowy Christmas scene or maybe a rustic walk in the woods?
Whichever direction you are looking for, try and stick to your theme that way your jar doesn’t seem overwhelmed with items. You’ll at least need a jar to add your items into and whatever your main feature will be. For instance, an antique Santa like mine or maybe a snow-covered house or barn. And then all your other supplies to fill in your scene.
Onto the fun part… assembling your jars! I added the pinecones to the bottom layer of my jar first. If you don’t have pinecones you could maybe add faux snow or even twinkle lights.
Then you add your next layer. This is where I added my antique Santa figure.
And Lastly, once my Santa figure was securely placed in the pinecones I added my faux stems. I cut small pieces of my faux cedar branch and placed them all around my jar so it looked like my antique Santa figure was talking a walk in the woods.
As I said earlier in this post, I wanted to show my Christmas jar off by using it as the centerpiece to my dining room table. Now, It would look pretty bare if I didn’t add other elements to the tablescape. So I used a pretty striped table runner, some eucalyptus garland, candle holders, pinecones and pinecone garland, and copper accents.
I placed the jar itself on a cake stand so my Christmas jar would be the tallest element and layered in some Christmas trees to add color and texture to my display. The pops of copper are my favorite though. I just love how copper shines when the light hits it. It just reminds me of Christmas time!
The most important thing to remember is that when you are styling your Christmas jar remember to add features around it to draw attention to the focal point (which is your jar) not take away from it. If you have too many focal points your jar will get lost and your guests won’t know where to look. So I always add one main focal point and in this case, it’s my Christmas jar, and then I add several smaller layers to bring attention to the main attraction.
And done! Thanks so much for reading along! Now it’s time to hop over and check out Terrie’s DIY Christmas hurricane! And be sure to click on the other links too – there’s so much inspiration I’m sure you’ll want to pin a few!
I know it might feel early for a Christmas post, but I feel like whenever I wait for the season to buy my Christmas decor everything is sold out! Especially if it’s the newer and trendier decor. Some of my Amazon favorites I go back for each year like beaded garland and Christmas ribbon sells out so quickly! And If I by chance find it closer to Christmas it’s like 3 times the original price!
That’s why Every October I try and get those hot items that I know will sell out and I stock up. For instance, I love red ticking Christmas ribbon to hang my Christmas wreaths on. For some reason, I can never find it in-store. I see it pop up on Amazon and they only seem to have it in stock until about the middle of October.
This is why I’ve rounded up some of my favorite farmhouse Christmas decorations on Amazon to help you get ahead of the game. I’ll also show you my favorite ways to use those decorations to decorate at Christmas time!
I always say It’s ever too early for Christmas! Especially if you’re looking to get a jump on your Christmas decor shopping by stocking up before the season actually hits. This will ensure you don’t miss out on those good sales or miss out altogether. Sometimes these popular items sell out and then never restock! Plus, if decorating for Christmas early makes you happy – I say go or it!
This is my absolute favorite time of year! Anyone else?! From about September first to January first, I get those holiday warm and fuzzy feelings. Since the wee hours of September, I’ve been making Fall centerpieces and wreaths to get in the spirit.
I may have even put on a few lbs too because the chillier weather makes me want to bake! I mean who can resist a slice of pumpkin pie?! And with all those fresh pumpkins on my porch just asking to be baked!
Well, here we are into our first week of October and I’m ready to show you guys my farmhouse Fall tour! Just in time too because later this week I’ll start to add some Halloween decor to the mix!
I’m not really a huge Halloween decor fan, but it’s fun to add a few things for the kids. Plus, it’s a great way to get the kids in on the mix by doing a few Haloween crafts!
Let’s pretend that there is inspirational music playing in the background. Like… Vivaldi’s Autumn. Ok, let’s all be honest. I’m sure this time of year we’re all sneaking Hallmark Christmas movies – and not listening to “Fall” inspired music. But just for now, let’s pretend to set the mood.
Now pretend like you have a cup of coffee in your hand. You know, a warm mug with a piping hot latte inside. It even has one of those pretty leaves formed from your steamed milk.
oh and ps. I learned this week that 90% of those coffee cups you see on the internet with perfectly formed steamed milk are fake! There’s a sight that you can copy and paste that perfect steamed leaf right into your own cup! I was kinda mad at first…and also super intrigued. I may have saved the site to try out later. So now you know If you ever see an image of me with a perfect latte – it’s fake!
Now imagine there is a fall candle burning beside you and that you are covered in cozy blankets and pillows (all fall-themed by the way) while you are watching this tour. Did I go one too far? No?! OK, now that I’ve rambled – Check out my Fall tour! A few of the images are DIY’s that I’ll link at the bottom so you can try them out yourself!
Thanks so much for popping in to see my Fall farmhouse decorating tour! If you want to check out some fun fall DIYs I’ll link them below!
If you’re looking to shop my home I have most of things linked and categorized by room. Happy shopping!
Since buying our 300-year-old farmhouse 5 years ago we have been slowly renovating each room. We do all of our renovations ourselves in our spare time and when we have some extra money. Check out our journey to the farm here!
Sometimes days, months, or even years after we’ve finished a room in our home it doesn’t quite feel right. Like maybe I choose the wrong wall color or maybe I need to add a pop of color somewhere in the space. Sometimes it’s an easy fix and other times it’s not so cost-effective.
Well, Lately I’ve been second-guessing my light fixture choices in a few rooms and have been wanting to trade them in but they’re perfectly good condition! They’re newish and in perfect condition. AND I don’t hate them… I just wish they were solid black and didn’t have white candlesticks.
The simplest and most inexpensive solution is to give them a makeover with a little spray paint. The best part is that this DIY only takes about 5-minutes and only costs about $5! What can’t we solve with a little paint and DIY power?
I have one light fixture in my dining room that whenever I see it I think… “I wish the candlesticks weren’t white!”… then it hit me one day! How easy would it be if I popped them off and spray painted them? So easy! So I made sure the lights were off and the bulbs were cooled off and unscrewed each bulb. I put my bulb pile somewhere safely and took my plastic candlesticks to the barn and put them on some scrap material so I could prep and spray paint.
First, I grabbed the spray paint I’ll be using. I’ll be sure to link it at the bottom of the post. I love spray paint because it’s cheap. A can usually runs under $5 and works with just about any material! I’m using black flat paint and primer because I want good coverage and I want it to look like my metal light fixture and metal usually doesn’t have a high gloss. I gave it a thin coat – waited for them to dry, and then rolled them over and spray painted the other side once they were all good and dry. Then I gave them all a second coat. Make sure everything is nice and dry before moving on.
After everything dry I put my candlesticks back on my light fixture. Next, I screwed my light bulbs back in and voila! Done!
Does anyone else love a good bed and breakfast? I love the antique furniture, the beautiful soft linens, and the ambiance of a cozy fireplace that most B&Bs have. It’s all so inviting that it makes you want to come and stay and never leave! I want the guests in my home to feel the same way.
I’ve picked up a few ideas from my stays at bed and breakfast places that I’ve incorporated in my own guest room. One thing I do to make my space feel more welcoming and special is to appeal to all the senses. I try and use them as a guide when preparing my guest room for company.
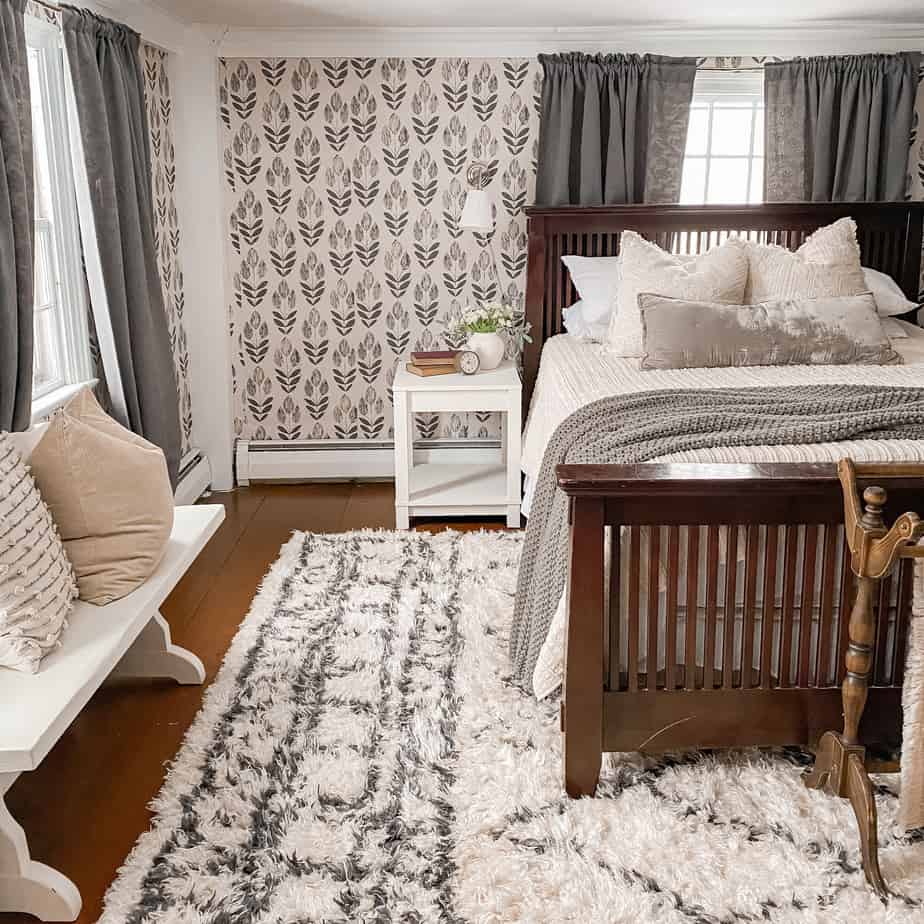
Sight is the most obvious of the senses that we want to use to invite our guests in and make them feel welcome. I believe that a beautifully styled room has the ability to bring about a feeling. In this case, I want my guests to feel cozy and relaxed, a home away from home. So for furniture, I went more on the warmer side with wood tones but added contrast with fluffy white bedding. I also have a Scandinavian printed wallpaper that gives a nod to history and adds to the antique vibe in the room.
You want the aroma in your guest room to pull people in and be relaxing. I like to diffuse lavender, which has a calming effect. Candles are a great option too. I like to leave a small tray with matches and a candle so if my guests feel like lighting a candle they can while they’re here. Sometimes I line dry the sheets and bedding so even their bedding smells as fresh as the great outdoors. My only caution is that some guests are sensitive to smells so I don’t go overboard with perfume type sprays. A clean room will go a long way, and opening windows always helps too!
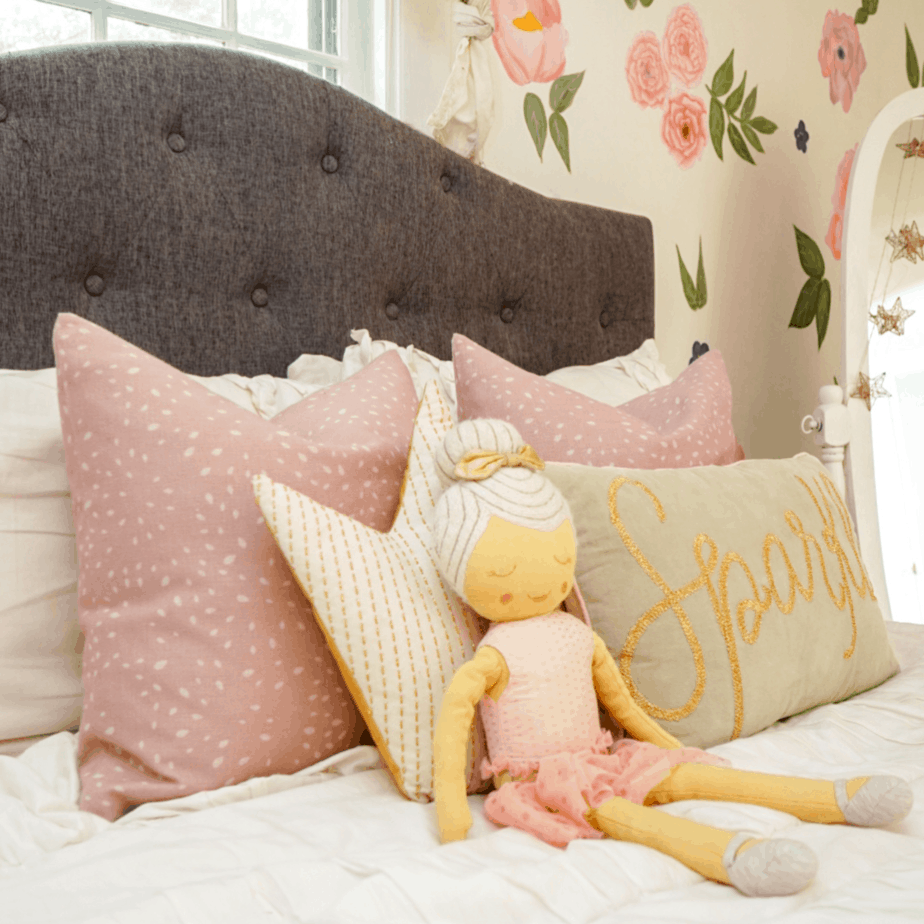
Touch is an important part of making your guest room more welcoming! Make sure the bedding is freshly laundered and soft to the touch. Adding cozy warm throw blankets and pillows is another way to add in more texture to your space. Hanging bathrobes in the corner and fresh towels folded nearby is another way to use touch to engage your guests’ sense of touch.
I know adding taste to your guest room sounds funny, but it’s a nice touch to have yummy snacks on hand for your guests. You can have a basket in the corner with some packaged goodies or tuck in a nightstand just in case they get hungry at night. This gesture doesn’t go unseen. I never had anyone complain about a fresh plate of chocolate chips cookies to snack on when they arrive! Water bottles are another great item to tuck in your snack basket too.
Playing music is another great way to welcome your guests into your home. Having an Alexa with prime music is great to have tucked in the corner. You can ask Alexa to play relaxing music and she’s all over it!
It’s also important to make sure that your room meets your guest’s needs from a practical perspective. For instance, nightstands are important so your guests have a place to put their books/phones/glasses on at night. I like to put the wifi passcode on a notecard in the nightstand drawer too. A small organizer with a nail clipper, band-aids, q tips, and a small bottle of ibuprofen is nice. A cellphone charger is also a great idea. A dim bedside lamp is very practical too. We have an armoire with a small tv hidden inside so our guests can watch tv in the evening if they prefer. Have a place to put their luggage on (like a bench) so their luggage isn’t on the floor.