I am beyond excited to be welcoming you into my home all decked out for Christmas! I hope it brings you joy and inspiration.
Today is day three of the Blogger’s Best Holiday Home Tour! I’ve enjoyed all the other inspiration so far! And a big thank you to Mansa and Kelly for putting this all together!
If you are hopping over from My Wee Abode’s home tour, welcome! Isn’t her home gorgeous?!
I’m Kori and I live in rural New Hamshire with my Husband, three kids, beautiful farm dog Mona, and a bunch of pigs and chickens! I love all things home decor and decorating!
Come check out how I’ve decorated for Christmas!
I try very hard to stick to the charm of my old home when decorating. We’ve got 6 fireplaces, warm wooden exposed beamed ceilings, and wide plank flooring. So when I decorate in general I try and stick to this color palette (warm colors instead of cool). So decorating for Christmas is so fun! I get to use lots of reds, plaids, and natural elements.
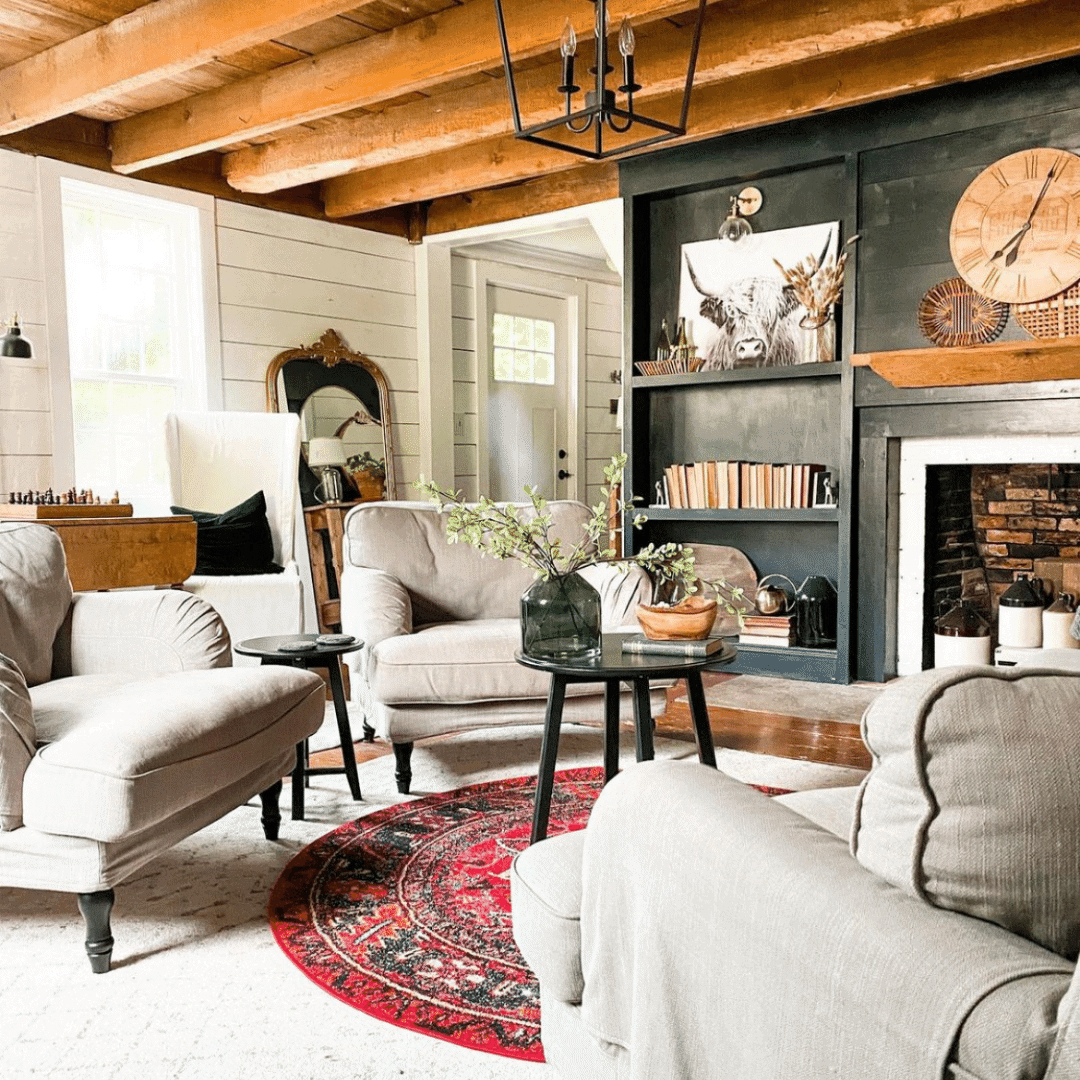
Our sitting room is one of my favorite rooms in our house. And it happens to be the room In which our tree is in! I love adding new artwork to my home, especially at Christmas time! Several of these printables are available in my shop.
I also love to layer textures in my home. I’ve added several pillows, rugs, and throws to add color and warmth to this room.
We also have a game table set up in here so the kids can play board games and do puzzles all winter long. There isn’t a TV in this room. We try and keep things on the quieter side in here.
I like to grab a cup of coffee and cozy up with a good book.
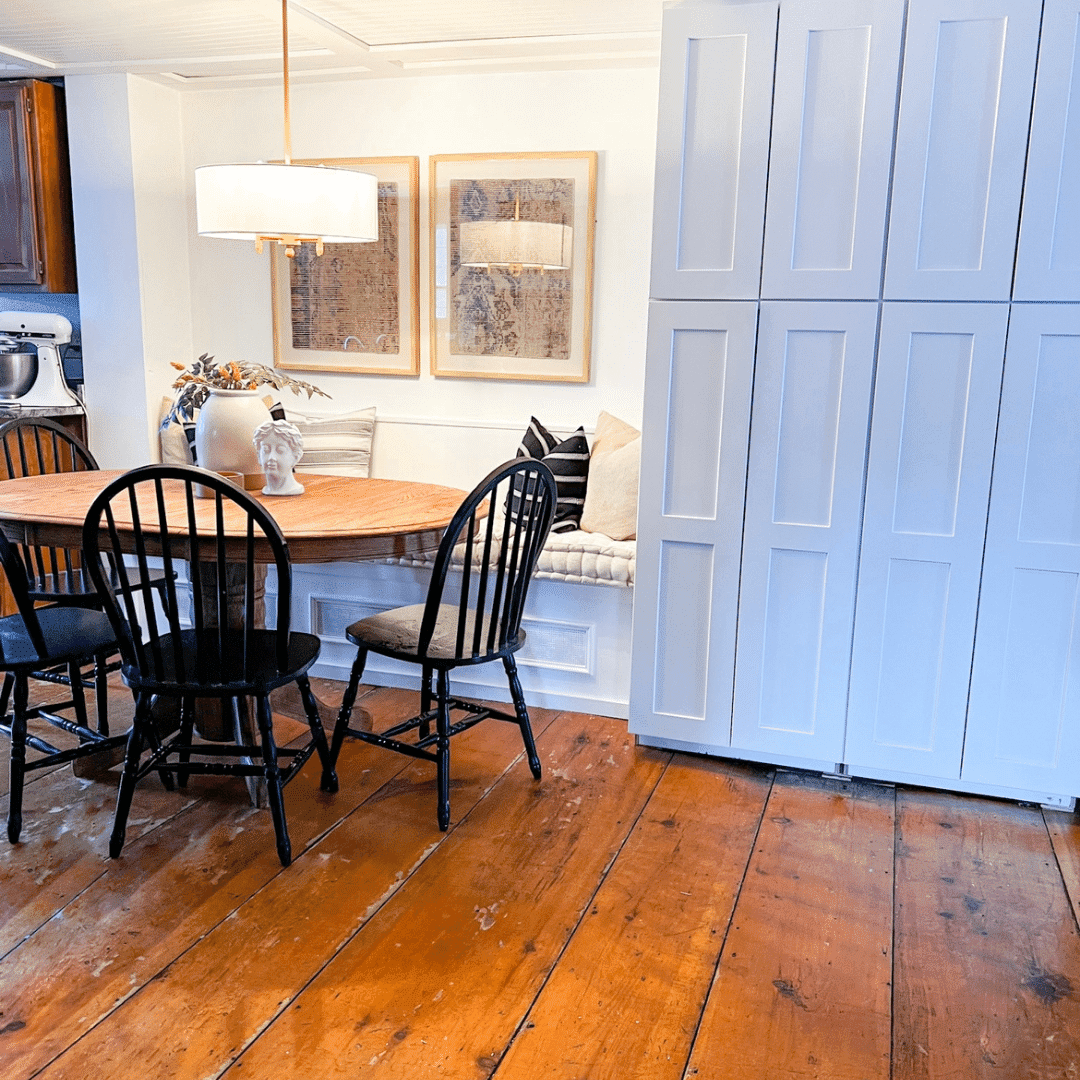
When we designed the dining room table (my husband built it), I had one thing in mind… Christmas dinner! I wanted to be able to fit my entire family at the table for dinner without having a kid’s table.
Decorating is fun in this space. I try and keep things on the more natural side by adding in lots of greenery and pops of copper for color!
We also have a large coffee/hot cocoa bar on the buffet! My kids enjoy coming home from school and helping themself to a large cup of hot cocoa. I enjoy making myself a hot latte with my Nespresso maker! It makes the most wonderful lattes!
We have two entryways in our home. This one is to the front door and I’ve decorated it very simply for Christmas.
I found these reindeer at Target this year and I had to grab them knowing they’d look amazing on my entryway table.
I also added a little swag to my mirror above my entryway table.
Pine cones are a great way to add some Christmas decor to any bowl. Plus they can stick around far after Christmas and still work as “winter decor”.
The Family room is where we all hang out. It’s where our TV is. It’s where our leather recliners are which is where you’ll find my husband.
For Christmas, I had to keep it simple and clutter-free in here or else everyone would be moving things around way too much.
Adding cozies was the most important thing in this room. Lots of pillows and throw blankets. No matter where you are on the couch… a throw blanket is in reach!
For my Master bedroom, I went really simple. I added a wreath above my bed and a tree throw pillow.
I didn’t add any reds to this space because I LOVE my brown duvet cover in here and I didn’t want it to clash. So instead I added lots of greens.
Now, I don’t know if my guest bedroom will get used this year – But I decided to decorate anyway! I found this adorable noel ticking pillow at TJ Maxx and I had to grab it for this room!
I recently added this rug in here and I love the coziness and warmth it adds.
Well, thanks for making it this far! I would love it if you subscribed!
Next, on the tour is my friend over at Stone Gable. Be sure to check out the others on the home tour as well! (Links all listed below)
The Tattered Pew // My Thrift Store Addiction // Simply 2 Moms
Worthing Court // Bricks N’ Blooms // Open Doors Open Hearts
Lora B Create and Ponder // This Is Simplicite
Shiplap and Shells // The Ponds Farmhouse //
Stone Gable // Midwest Life And Style // Follow The Yellow Brick Home
Noting Grace // My Wee Abode // The Farmhouse Life
Aratari At Home // Caitlin Marie Design // Sweet Pea
Fiddle Leaf Blog // First Day Of Home // White Arrows Home
Cottage On Bunker Hill // The Aspiring Home // Lantern Lane Designs
DIY Beautify // Cassie Bustamante // The Flowering Farmhouse
To kick off day one of the 12 days of Christmas crafts I thought it would be appropriate to start with an Advent centerpiece! I figured we should start with a little history of Advent candles.
Advent candles essentially are candles that you light each day and week until Christmas. A small candle was lit every weekday and Saturday during Advent. On Sundays, a large candle was lit. The custom started among Protestant churches in Germany and evolved into the smaller wreath with four or five candles know as today.
The candles on the Advent wreath symbolize hope, love, joy, and peace. Some denominations consider the fourth candle to stand for purity, and most call the fifth candle the Christ candle, which is lit on Christmas to remind Christians of the light Jesus brings to the world.
I love the idea of an Advent centerpiece. It’s a great way to work in the beautiful symbol of the season with something that we not only see every day, but also calls us to action. Lighting the candle symbolically each week is something fun we can do to involve our family while teaching them the reason for the season.
To start, gather up all your supplies. You’ll need candles, fresh or faux greens, twine, hot glue, and scissors.
Cut your greens to about 2-3 inches long and layer them on top of each other to stack on the candle. Then cut your twine to about 12 inches long.
Thanks so much for reading along! If you make your own Advent centerpiece, please share it with me on Instagram @thefarmhouselife
Hello Friends. It’s time again for another round of the Pinterest Challenge. Today, I’ll be showing you a fun way to decorate with wooden crates this holiday season.
If you’re coming over from Lora at Create and Ponder – Welcome! And thanks so much for stopping by! I’m glad you’re here. Wasn’t her crate beautiful?!
And a special thanks to Cindy from Country Road 407 for organizing all of this! Well, there’s a lot to see so let’s get started.
This month’s inspiration photo comes from Jennifer at The Grace House Interiors. I love how she added these rustic wooden trees and beautiful evergreen sprigs! The berries give a perfect pop of color too!
I decided for this Pinterest challenge that I was going to think outside of the box. Literally! Instead of layering Christmas goodies inside, I was going to stack mine in my fireplace along with my jars and crocks and Create a sort of pedestal.
I started with my two crates. I stacked one upside down first, that way I could put things on it. The other crate I stacked on its side so it lays vertically. I stacked them differently because I wanted to create varying heights to add dimension to my fireplace.
Next, I wanted to showcase my collection of jars and crocks. So I stacked them throughout the fireplace. Some I stacked on the crates and some right beside the crates.
Lastly, I decided my fireplace display was missing something and needed a pop of color. So I added this faux poinsettia. It adds just the right amount of color and also adds height to the overall display adding more symmetry throughout.
Now it’s time to check out Julie from My Wee Abode ‘s Christmas crate! Don’t forget to check out all the other links too. You’re bound to Pin and save several somethings! 😉
Hey Guys! I’m so excited to be joining in on my first ever Pinterest Challenge. Today we’re making our own Christmas jar or hurricane! If you’re coming over from Everyday Edits, Welcome! I’m glad you’re here. Wasn’t her lantern gorgeous!?
And a shout out to Cindy from Countryroad407 for putting this challenge together! I’m so excited to be apart of this round!!
This month’s inspiration photo comes from Katrin at Northern Feeling. She created the most adorable little village in a jar with twinkle lights, faux snow, mini trees, and of course these sweet little houses. It’s absolutely adorable and my kids have already put this craft on their list to-do list this holiday season.
The great thing about the Pinterest Challenge is that we can look at wonderful inspiration photos like Katrin’s jar and make our own – but with our own twist!
For this month’s Pinterest Challenge I’m going to make my own Christmas jar to use as my dining room tables centerpiece with my antique Santa figure on display.
I’ve gathered some other supplies to fill up my jar and to complete this project. Projects like these are so fun because you can add your own twist as opposed to buying one new.
To fill your jar you can add pinecones, twinkle lights, real or faux stems, etc. I decided to keep it as natural and rustic as possible. So I grabbed my largest glass jar, some pinecones from outside, and I cut up a faux cedar branch that I had laying around in my attic.
This is where you can have fun! Add really anything that makes your heart feel happy and reminds you of Christmas. I always like to pick a theme first. Are you looking for a snowy Christmas scene or maybe a rustic walk in the woods?
Whichever direction you are looking for, try and stick to your theme that way your jar doesn’t seem overwhelmed with items. You’ll at least need a jar to add your items into and whatever your main feature will be. For instance, an antique Santa like mine or maybe a snow-covered house or barn. And then all your other supplies to fill in your scene.
Onto the fun part… assembling your jars! I added the pinecones to the bottom layer of my jar first. If you don’t have pinecones you could maybe add faux snow or even twinkle lights.
Then you add your next layer. This is where I added my antique Santa figure.
And Lastly, once my Santa figure was securely placed in the pinecones I added my faux stems. I cut small pieces of my faux cedar branch and placed them all around my jar so it looked like my antique Santa figure was talking a walk in the woods.
As I said earlier in this post, I wanted to show my Christmas jar off by using it as the centerpiece to my dining room table. Now, It would look pretty bare if I didn’t add other elements to the tablescape. So I used a pretty striped table runner, some eucalyptus garland, candle holders, pinecones and pinecone garland, and copper accents.
I placed the jar itself on a cake stand so my Christmas jar would be the tallest element and layered in some Christmas trees to add color and texture to my display. The pops of copper are my favorite though. I just love how copper shines when the light hits it. It just reminds me of Christmas time!
The most important thing to remember is that when you are styling your Christmas jar remember to add features around it to draw attention to the focal point (which is your jar) not take away from it. If you have too many focal points your jar will get lost and your guests won’t know where to look. So I always add one main focal point and in this case, it’s my Christmas jar, and then I add several smaller layers to bring attention to the main attraction.
And done! Thanks so much for reading along! Now it’s time to hop over and check out Terrie’s DIY Christmas hurricane! And be sure to click on the other links too – there’s so much inspiration I’m sure you’ll want to pin a few!
I know it might feel early for a Christmas post, but I feel like whenever I wait for the season to buy my Christmas decor everything is sold out! Especially if it’s the newer and trendier decor. Some of my Amazon favorites I go back for each year like beaded garland and Christmas ribbon sells out so quickly! And If I by chance find it closer to Christmas it’s like 3 times the original price!
That’s why Every October I try and get those hot items that I know will sell out and I stock up. For instance, I love red ticking Christmas ribbon to hang my Christmas wreaths on. For some reason, I can never find it in-store. I see it pop up on Amazon and they only seem to have it in stock until about the middle of October.
This is why I’ve rounded up some of my favorite farmhouse Christmas decorations on Amazon to help you get ahead of the game. I’ll also show you my favorite ways to use those decorations to decorate at Christmas time!
I always say It’s ever too early for Christmas! Especially if you’re looking to get a jump on your Christmas decor shopping by stocking up before the season actually hits. This will ensure you don’t miss out on those good sales or miss out altogether. Sometimes these popular items sell out and then never restock! Plus, if decorating for Christmas early makes you happy – I say go or it!
Hey guys! I hope you’re enjoying your day today! I’ve been busily designing our next reno! If you’ve been following along, you know that we’ve been renovating our main entrance/entryway. We’re getting closer to wrapping that one up with the only two things left to install: the new railing and to reroute the electrical. Once that is done we’ll start shiplaping up the walls of the stairs which will lead us to our next reno project – the upstairs landing!
Our upstairs landing is pretty large! Like it could be a separate room if we threw up some walls. But I’ve always imagined it being a library nook. Add some built-in wooden bookshelves with glass doors and a comfy wingback chair with matching ottoman… and bam! A cozy library nook! Doesn’t that sound awesome?
One thing I do when renovating our 300-year-old farmhouse is to ALWAYS keep to the era of the house. It’s an OLD house and has some really cool features! I try and highlight those and mix in some old school charm to help tie the old and new together. So when planning this entryway I went for dark and moody! I’ve added Warm wood tones and deep greens and reds to help give the room some depth. I’m also adding a mural – which I’ve never done before but I’m beyond excited!
New lighting is an absolute necessity in our upstairs landing. Not only is there not enough, but the light fixtures are very outdated. Over the stairs, I’m adding a white chippy wooden chandelier. I’m also adding several gold sconces with white shades in the space as well. I can’t hang an overhead light in the landing itself because the ceilings are much too low. Those are the quirky things I’ve come to appreciate in our old house. I think adding a few new sconces and a floor lamp near the wing back chair will add enough light to the space. Maybe not a ton of light, but again I’m going for a library vibe which I imagine is a little dimmer and has warm lighting instead of bright and white.
At the top of the stairs, you’ll walk right into an entryway table. This will be a wooden table that will take up the wall space of that nook. Behind it will be a mural from Anewall. I’ve chosen a black and white scenic print. Over the entryway table will be a round gold mirror and two sconces on either side. I’m going for a really simple design because I want the scenic mural to be a show stopper!
Right now I’m doing all my ordering so that way we have everything on hand when we wrap up downstairs. I’m a few hours from an Ikea so I may go and pick up those items in store. Ikea’s delivery is really expensive so I’m sure when trying to convince the husband to take the trip with me knowing that we’ll be saving on the shipping costs will convince him lol.
And lastly, wrapping up the downstairs entryway has to come first. We’ve ordered our stair rail from an Etsy shop and are just waiting on it to be custom made and delivered. I’ll definitely write a blog post on the installation process of our custom stair rail when we get it.
This is my absolute favorite time of year! Anyone else?! From about September first to January first, I get those holiday warm and fuzzy feelings. Since the wee hours of September, I’ve been making Fall centerpieces and wreaths to get in the spirit.
I may have even put on a few lbs too because the chillier weather makes me want to bake! I mean who can resist a slice of pumpkin pie?! And with all those fresh pumpkins on my porch just asking to be baked!
Well, here we are into our first week of October and I’m ready to show you guys my farmhouse Fall tour! Just in time too because later this week I’ll start to add some Halloween decor to the mix!
I’m not really a huge Halloween decor fan, but it’s fun to add a few things for the kids. Plus, it’s a great way to get the kids in on the mix by doing a few Haloween crafts!
Let’s pretend that there is inspirational music playing in the background. Like… Vivaldi’s Autumn. Ok, let’s all be honest. I’m sure this time of year we’re all sneaking Hallmark Christmas movies – and not listening to “Fall” inspired music. But just for now, let’s pretend to set the mood.
Now pretend like you have a cup of coffee in your hand. You know, a warm mug with a piping hot latte inside. It even has one of those pretty leaves formed from your steamed milk.
oh and ps. I learned this week that 90% of those coffee cups you see on the internet with perfectly formed steamed milk are fake! There’s a sight that you can copy and paste that perfect steamed leaf right into your own cup! I was kinda mad at first…and also super intrigued. I may have saved the site to try out later. So now you know If you ever see an image of me with a perfect latte – it’s fake!
Now imagine there is a fall candle burning beside you and that you are covered in cozy blankets and pillows (all fall-themed by the way) while you are watching this tour. Did I go one too far? No?! OK, now that I’ve rambled – Check out my Fall tour! A few of the images are DIY’s that I’ll link at the bottom so you can try them out yourself!
Thanks so much for popping in to see my Fall farmhouse decorating tour! If you want to check out some fun fall DIYs I’ll link them below!
If you’re looking to shop my home I have most of things linked and categorized by room. Happy shopping!
I love a good basket wall. I love the texture that it adds to a wall and the fun patterns in which to display them. I also love the Boho-Farmhouse style that they add to any space. And you all know – I love me some Boho-Farmhouse!
The best part is that if you don’t mind getting thrifty then you can put together a basket wall for next to nothing! I can understand figuring out how to arrange one is the tricky part which I why I’ve rounded up 10 of my favorite basket wall patterns! I’ve also linked at the bottom of this post my favorite places to shop for baskets!
This is one of my favorite patterns because it requires very little effort and very few baskets. Just group together three baskets so you have one higher, one medium height, and one lower height so it creates a zigzag pattern like so.
I like the oval cluster design because it’s just wide enough to style over a large bed. In this photo, Irene has used her basket wall in lieu of a headboard. It works so well because the basket wall as a whole is grand and is about the size of her bed. So it works quite well. Symmetry is key here. You’ll notice there is one basket starting at the highest point and the rest zig zags down, creating an overall oval shape.
If you’re looking to fill up a wall that is taller rather then wider, then the cascading arch might be your best bet. Whenever adding wall art of any kind to any space you always want to consider the size of the wall and the size of the artwork. You want them to be pretty equivalent to each other.
What I love about the rectangle method is that you really can go as wide as you need which makes it the perfect wall art to hang behind your sofa. What’s interesting is that they’ve used different shades of woven material with different tribal patterns, but they all coordinate so well. Generally, the rule of thumb is that when introducing new colors you want to at least tie it in once. So two of each new color – but you only want to introduce 2-3 colors max. When it comes to coordinating patterns it’s totally ok to mix and match. As long as there is generally only one larger pattern and several smaller to medium size patterns. Your eye always wants to land on one spot and if there are large patterns all over the place it won’t know where to go.
Another great way to use baskets as wall art is to use one large basket or serving tray and layer a wreath or sign right on top of the basket, just like in this picture. It looks adorable and is so simple. I find baskets like these all the time when I shopping at thrift stores.
Joanna Gaines has taught us to much but one of my favorite things is to think outside of the box when it comes to wall art. She was one of the first who introduced us to 3-D wall art and she’s showing us a great example in this picture. These larger woven baskets can cost a little more but once in a while, I’ll get lucky and find a woven laundry basket at a thrift store. Woven laundry baskets are great because the bottom is perfect for your large plants or indoor trees and the top is great to add to a basket wall. Here, Joanna is using it as a wall organizer. Such a great idea to pin “to-do” lists and your favorite prints on!
What I love about this design is that it’s so simple and yet adds so much texture to this design! The three baskets to the right of the picture cascading down from small to large balances the artwork on the left so well. The reason this works is because proportionality they are the same length from top to bottom. The horizontal artwork on the top balances everything out so well. It squares off the whole design giving it symmetry.
I love the open weave on a tabasco basket. They are surprisingly pretty affordable too! This set is styled with a large and medium basket on top of each other and white plates on either side. You see, The baskets alone don’t quite fit the scale of the table, but with the added plates it works perfectly. You always want your wall art to mimic the scale of the table below it.
In this look, I took two baskets and layered one behind a clock that was hand-carved and the other I put underneath the clock. I wanted the clock to be front and center but because it’s just a tad too small, I added some bulk to make it scale better on the mantel. This large basket I get asked quite often about, but it was actually the top to a laundry basket I found at a thrift store!
And lastly, this large basket works so well over this table because it adds the perfect neutral to this area! There is so much to look at with the ceramic jars and the bold pops of color that the basket works to neutralize everything. It also adds a beautiful texture AND ties in the color of the table in! This is one of my favorite designs!
When shopping for baskets to create wall art I will first and foremost always check with thrifts stores. People donate a surprising amount of baskets. After that Etsy is a great resource and then Walmart and Target. I have noticed you can buy a collection of beautiful baskets as a set in stores like Pottery barn, Ballards, etc – but you’ll definitely pay for them as they are not cheap!
Click on an image below if you want to shop for baskets!
Since buying our 300-year-old farmhouse 5 years ago we have been slowly renovating each room. We do all of our renovations ourselves in our spare time and when we have some extra money. Check out our journey to the farm here!
Sometimes days, months, or even years after we’ve finished a room in our home it doesn’t quite feel right. Like maybe I choose the wrong wall color or maybe I need to add a pop of color somewhere in the space. Sometimes it’s an easy fix and other times it’s not so cost-effective.
Well, Lately I’ve been second-guessing my light fixture choices in a few rooms and have been wanting to trade them in but they’re perfectly good condition! They’re newish and in perfect condition. AND I don’t hate them… I just wish they were solid black and didn’t have white candlesticks.
The simplest and most inexpensive solution is to give them a makeover with a little spray paint. The best part is that this DIY only takes about 5-minutes and only costs about $5! What can’t we solve with a little paint and DIY power?
I have one light fixture in my dining room that whenever I see it I think… “I wish the candlesticks weren’t white!”… then it hit me one day! How easy would it be if I popped them off and spray painted them? So easy! So I made sure the lights were off and the bulbs were cooled off and unscrewed each bulb. I put my bulb pile somewhere safely and took my plastic candlesticks to the barn and put them on some scrap material so I could prep and spray paint.
First, I grabbed the spray paint I’ll be using. I’ll be sure to link it at the bottom of the post. I love spray paint because it’s cheap. A can usually runs under $5 and works with just about any material! I’m using black flat paint and primer because I want good coverage and I want it to look like my metal light fixture and metal usually doesn’t have a high gloss. I gave it a thin coat – waited for them to dry, and then rolled them over and spray painted the other side once they were all good and dry. Then I gave them all a second coat. Make sure everything is nice and dry before moving on.
After everything dry I put my candlesticks back on my light fixture. Next, I screwed my light bulbs back in and voila! Done!
It’s that time of year where the air is chilly and I usually have a pumpkin spiced latte in hand. Yea – I know, I’m basic. I can’t help it… I love Fall! I usually have something baking in the oven too which I why my pants start fitting a little tighter this time of year as well. Not kidding… I seriously baked cookies, 2 loaves of bread, and an apple pie this weekend 😬. Although my house does smell amazing from all this baking so there’s that. Plus the festive smell makes me want to go all out and decorate for Fall. So today I’m decorating my front porch – farmhouse style!
To start I Headed to my local grocery store and home improvement store to pick up as many pumpkins as I could. Seriously, my cart was loaded. I also grabbed some corn stalks to frame my pillars around my poch. I also grabbed a bunch of mums too. Seriously, this stuff isn’t cheap, but the way I like to justify it is that all pumpkins are edible and I will eventually I’ll bake them all for dinners and desserts. It’s true… all you have to do is toss the whole pumpkin in the oven at about 400 degrees for an hour. Then, you cut the pumpkin down the middle and scoop out the seeds. Lastly, the pumpkin meat is ready to be scooped out and added to whatever dish you’re making. I explain it all here in my pumpkin bars recipe.
I always start by framing out my door. I have to start somewhere and this always helps me have a starting off point. Instead of putting garland all around my door I just went with a simple magnolia wreath and a festive blanket draping down. Next, I put two planters on either side of the door. They are both varying heights but they work because on one side I’ve added smaller planters and the other artwork. They both hit about the same place on either side and evens it out. The eye is going to catch the symmetry on either side of the door. It doesn’t have to match exactly, as long as each side balances each other out.
No Fall font porch would be complete without a welcome mat! It can be so fun this time of year! I went with a simple mat that I actually painted on using a stencil. Check it out here. There are so many farmhouse style mats available all over the place. I’ve linked some of my favorites at the bottom of the post. My favorite trick is to layer two different mats on top of one another in front of the door! I picked a farmhouses style check cotton mat that is larger than my welcome mat. This just adds a little more visual interest making is eye-catchy.
I knew I needed one thing that was going to catch people’s eye when looking at my front porch. Sometimes when there are too many decor items all about the same size and color it can feel overwhelming because there are so many things to look at and the eye doesn’t know where to land. Adding one large eye-catching piece solves that issue. This time I knew I wanted a large Fall sign. I decided to make one, but I’ve linked my inspiration sign at the bottom. I’ll have a tutorial out soon for that sign.
Lastly, It was time to fill in the porch steps with layers of pumpkins and mums. I’ve added a few large pots to try and give the mums a little varying height. This is the fun part. There isn’t a wrong way to layer pumpkins and mums. Just have fun. To give you a little guidance I generally go from large, to medium, and then too small. Start with your large mums and pumpkins. Next layer in the medium size by stacking or leaning them next to each other. Then lastly, I stack in the smallest pumpkins and mums as sort of a filler – filling in any wholes in my decor.